Essential House Painting Tools And Equipment

Painting your home is an exciting venture that can transform your home and give it new life — but only with the right tools.
Without the necessary tools and equipment, even the best professional painters would find it difficult, nigh Impossible, to properly
paint a home and achieve a smooth, flawless finish.
You can't just use a single brush or a single roller for every part of your home. Different areas and different techniques require different tools and equipment, and it's crucial to know what you need for each part of the job to ensure a successful project.
Here are the tools and equipment you'll need to paint your home.
Painting Tools & Equipment
First up, here are the must-have tools you'll need for the actual painting itself.
1. Paint Brushes
Paint brushes are a must to start off and finish your painting project.
You can't just use a roller for everything. Rollers are great for covering large areas quickly, but for precision work like edges, corners, and trims, you're going to need a brush.
There are mainly two types of brushes — angled and flat.
Honestly, the flat brush doesn't really have much of a use, because for corners and edges of your walls, doors, and so on, as well as trim work, it's best to use an angled brush that allows you to get to awkward angles more easily.
A single angled brush is going to be enough to serve you for all your precision work, especially if you're painting walls.
And if you're painting the main areas of your walls, doors, cabinets, etc, you're going to either be using a standard or a mini roller.
There's just no situation in which a flat brush is the best option.
When buying your angled brush, you'll also need to choose the right thistles.
If you're using latex (water-based) paint, use synthetic bristles, and if you're using oil-based paint, use natural bristles.
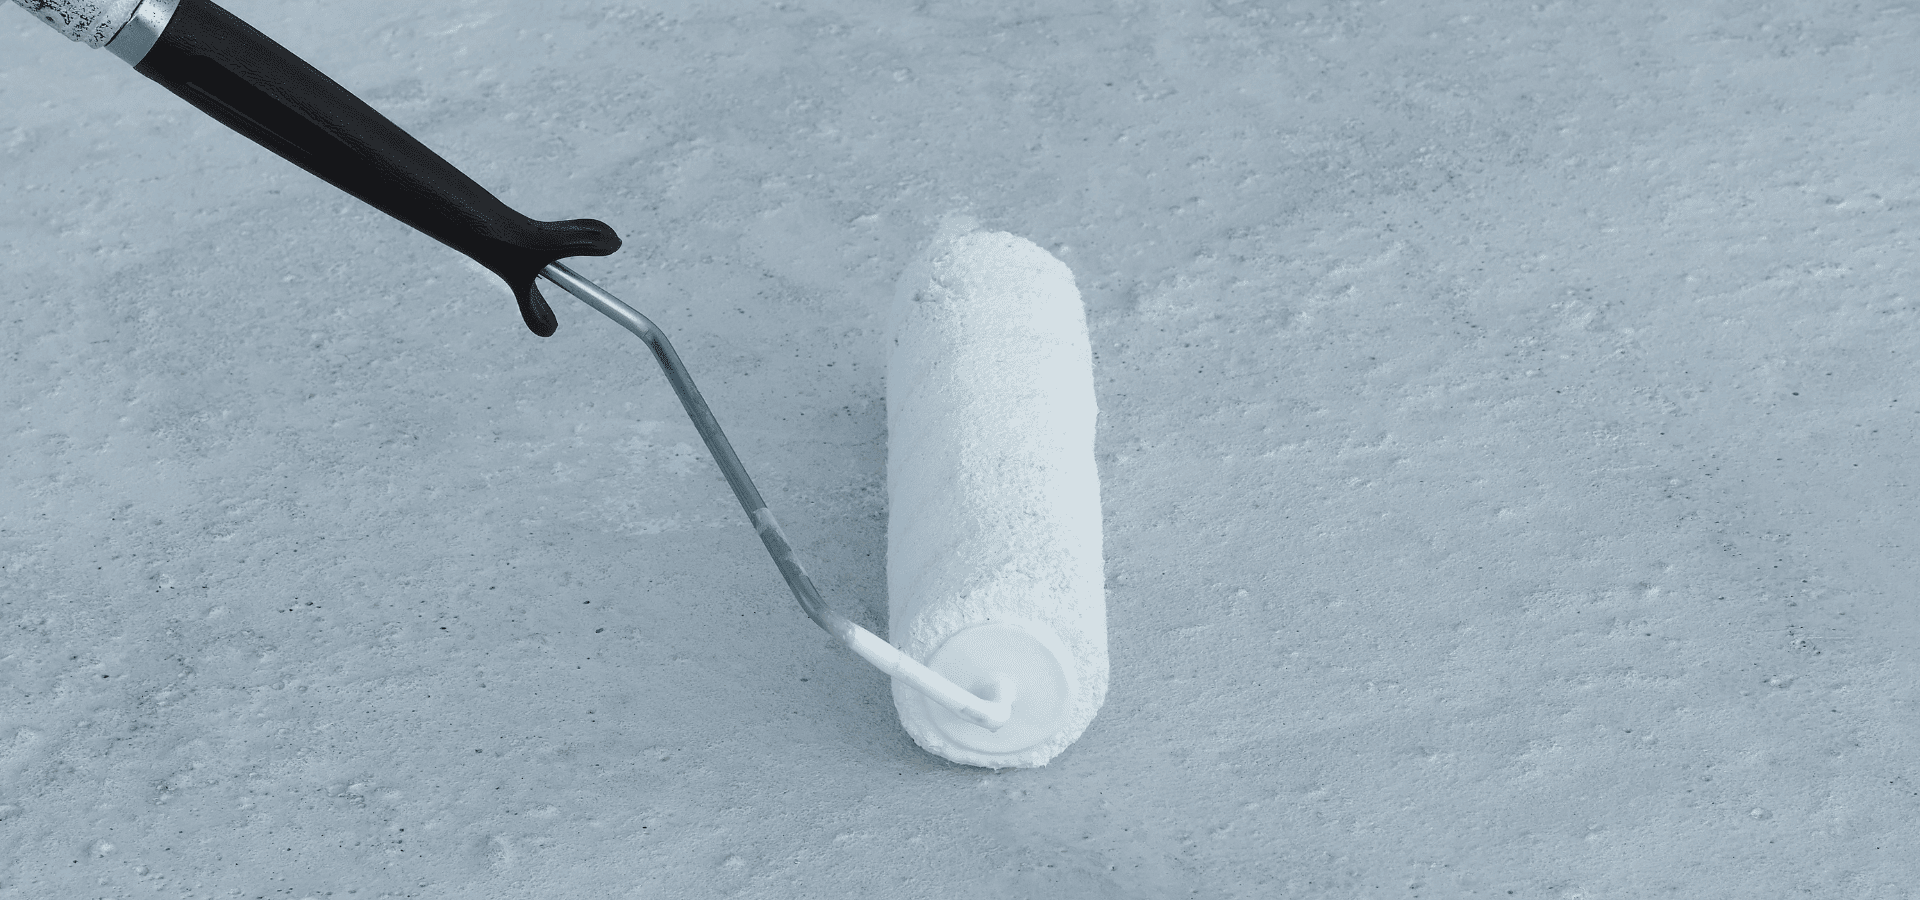
2. Paint Rollers
Next up is your paint roller.
Note that the paint roller actually comes in two parts — the roller frame and the roller cover.
When it comes to rollers, there are really only two types — standard and mini ones.
Standard 9-inch rollers are the ones you use to paint your walls, and mini 4-inch rollers are the ones you use for your doors, cabinets, and any other smaller surfaces, excluding precision work like edges and corners of course.
The thickness of the roller cover is important too. For smoother walls, you want thinner ones, while for rougher walls, you want thicker roller covers.
The reason for this is that thicker covers hold more paint, so when used for smooth walls, there's nowhere for the additional paint to go, which means it pools, runs, or results in a fuzzy or pebbled texture.
Thicker covers are used for rough surfaces with dips, bumps, or crevices. They can push paint into these dips and crevices since they hold more paint.
Here's how to decide:
- Smooth surfaces (drywall, wood): 1/4 to 3/8-inch
- Semi-smooth surfaces (old doors, old cabinets): 3/8 to 1/2-inch
- Textured surfaces (brick, stucco): 3/4-inch or more
3. Paint Trays And Liners
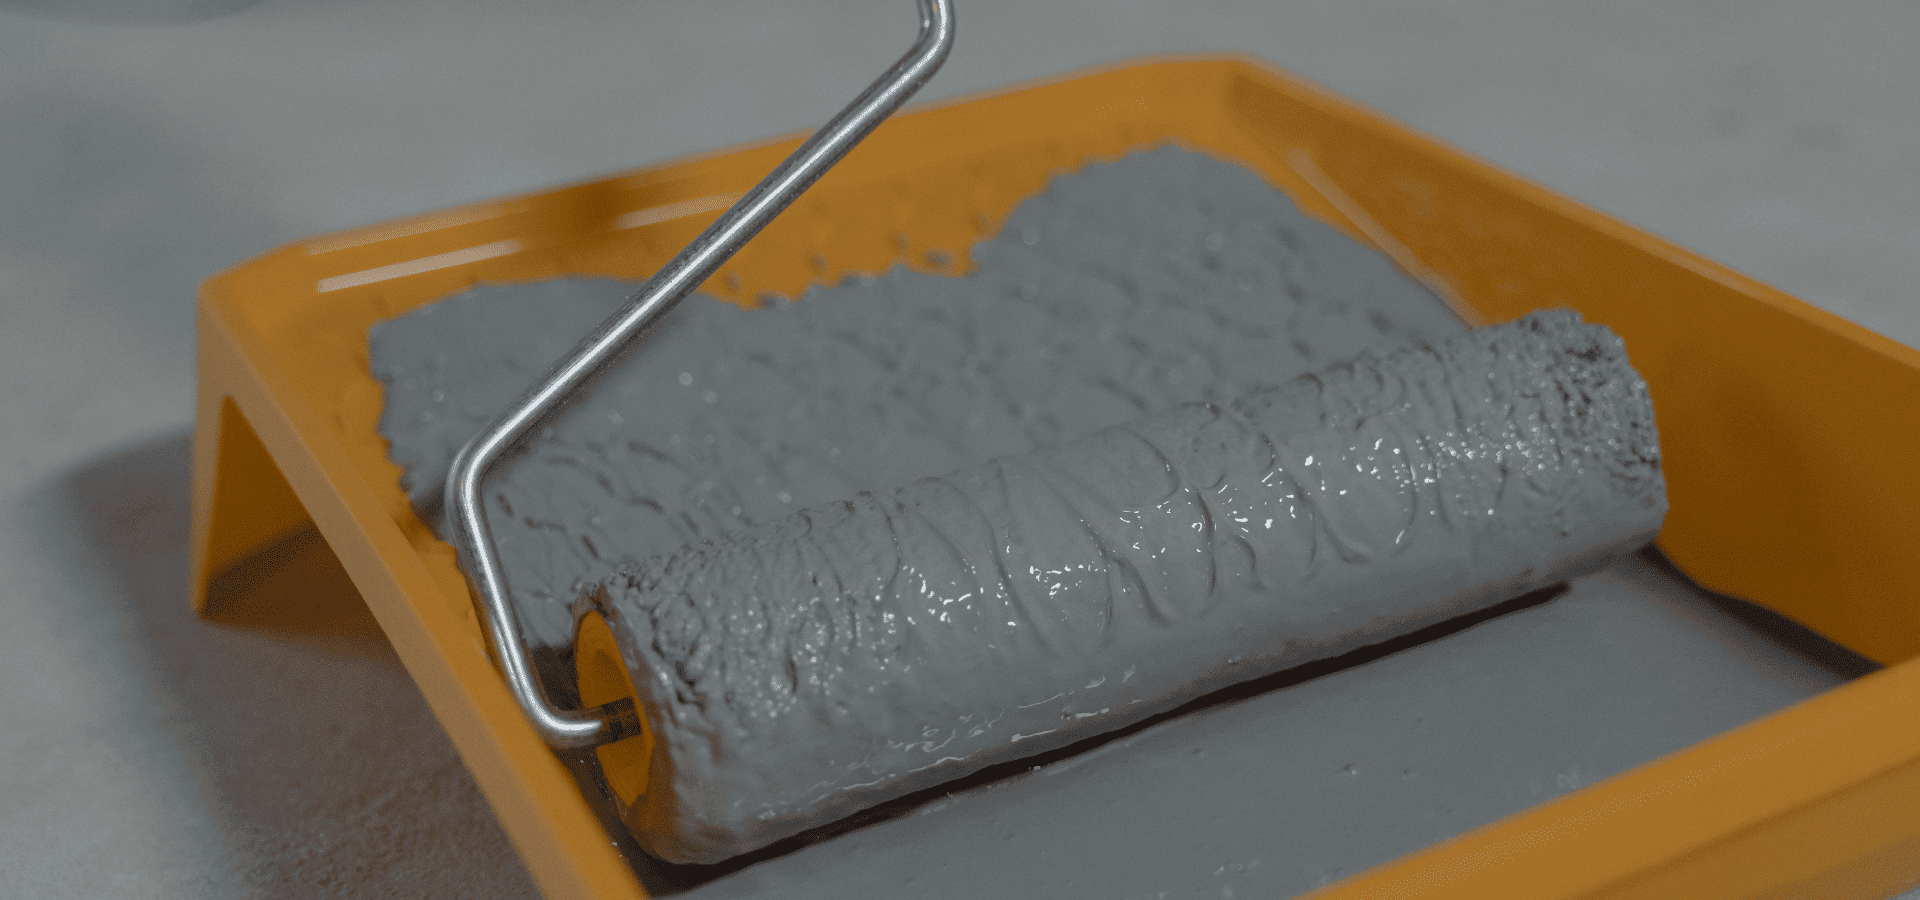
Paint trays are necessary to hold paint for your roller. You can't just dip your roller into the can directly, or it'll be coated too thickly and drip all over.
Look for a paint tray that:
- Is sturdy and won't bend easily
- Is deep enough to hold a good amount of paint to prevent frequent refills
- Has a non-slip base or rubber feet to prevent any kind of sliding
- Can be used with liners
For liners, there isn't much to be aware of. Just make sure to choose one that is compatible with your paint tray.
You can also use cling wrap, though it’s much less robust than liners, so it's only suitable for light jobs, and you might need a double layer.
For heavier jobs where you'll be repeatedly rolling your roller around, cling wrap may tear, so it's best to use liners for bigger jobs.
Note that neither liners nor cling wrap are a must, they just make clean-up a lot easier since you can just dispose of them once you're finished with the painting.
4. Painter’s Tape
Painter's tape is basically used to cover areas that you don't want paint to get onto, and is usually used for edges.
For example, if you're painting the edges where your walls meet the ceiling, you'd put painter's tape around the edges of the ceiling.
Skilled painters can actually paint perfectly around the edges without getting paint onto unwanted areas, but for the average homeowner, it's highly recommended that you use painter’s tape.
There are different kinds of painter’s tape too. Painter's tape varies by color, with each color having a specific level of adhesion.
Here's how to choose:
- Blue: Medium adhesion. Best for general purpose painting, i.e. regular walls, trim, and ceilings.
- Green: Low adhesion. Best for delicate surfaces like textured walls.
- Purple: Very low adhesion. Best for ultra-delicate surfaces like fresh paint, wallpaper, or drywall.
- Yellow: Stronger adhesion. Best for rough or exterior surfaces, eg brick, concrete, stucco.
- Orange: Strongest adhesion. Best for heavy-duty surfaces, eg heavy metal or during harsh conditions outdoors.
In most cases, blue tape is going to be your best choice.
5. Drop Cloths
Drop cloths are cloths designed to protect your items from paint. These include your furniture, your floor, your landscaping, and so on.
The two main types are canvas and plastic.
Canvas drop cloths are more expensive, but also tougher and reusable.
Plastic drop cloths are flimsier and meant for one-time use, but also cheaper.
In general, you should be using canvas drop cloths for your floors and plastic drop cloths for everything else. This is because plastic is slippery, so if used for your floors, it'll shift as you walk around, and you might even slip.
Canvas drop cloths aren't typically used for anything else besides the floor because they're bulky, and you don’t need the toughness since you won’t be walking on the other elements.
You just need a drop cloth that can keep light splashes or drops of paint off your furnishings, your landscaping, and so on, so canvas drop cloths are overkill.
6. Stool/Ladder And Roller Extension Pole
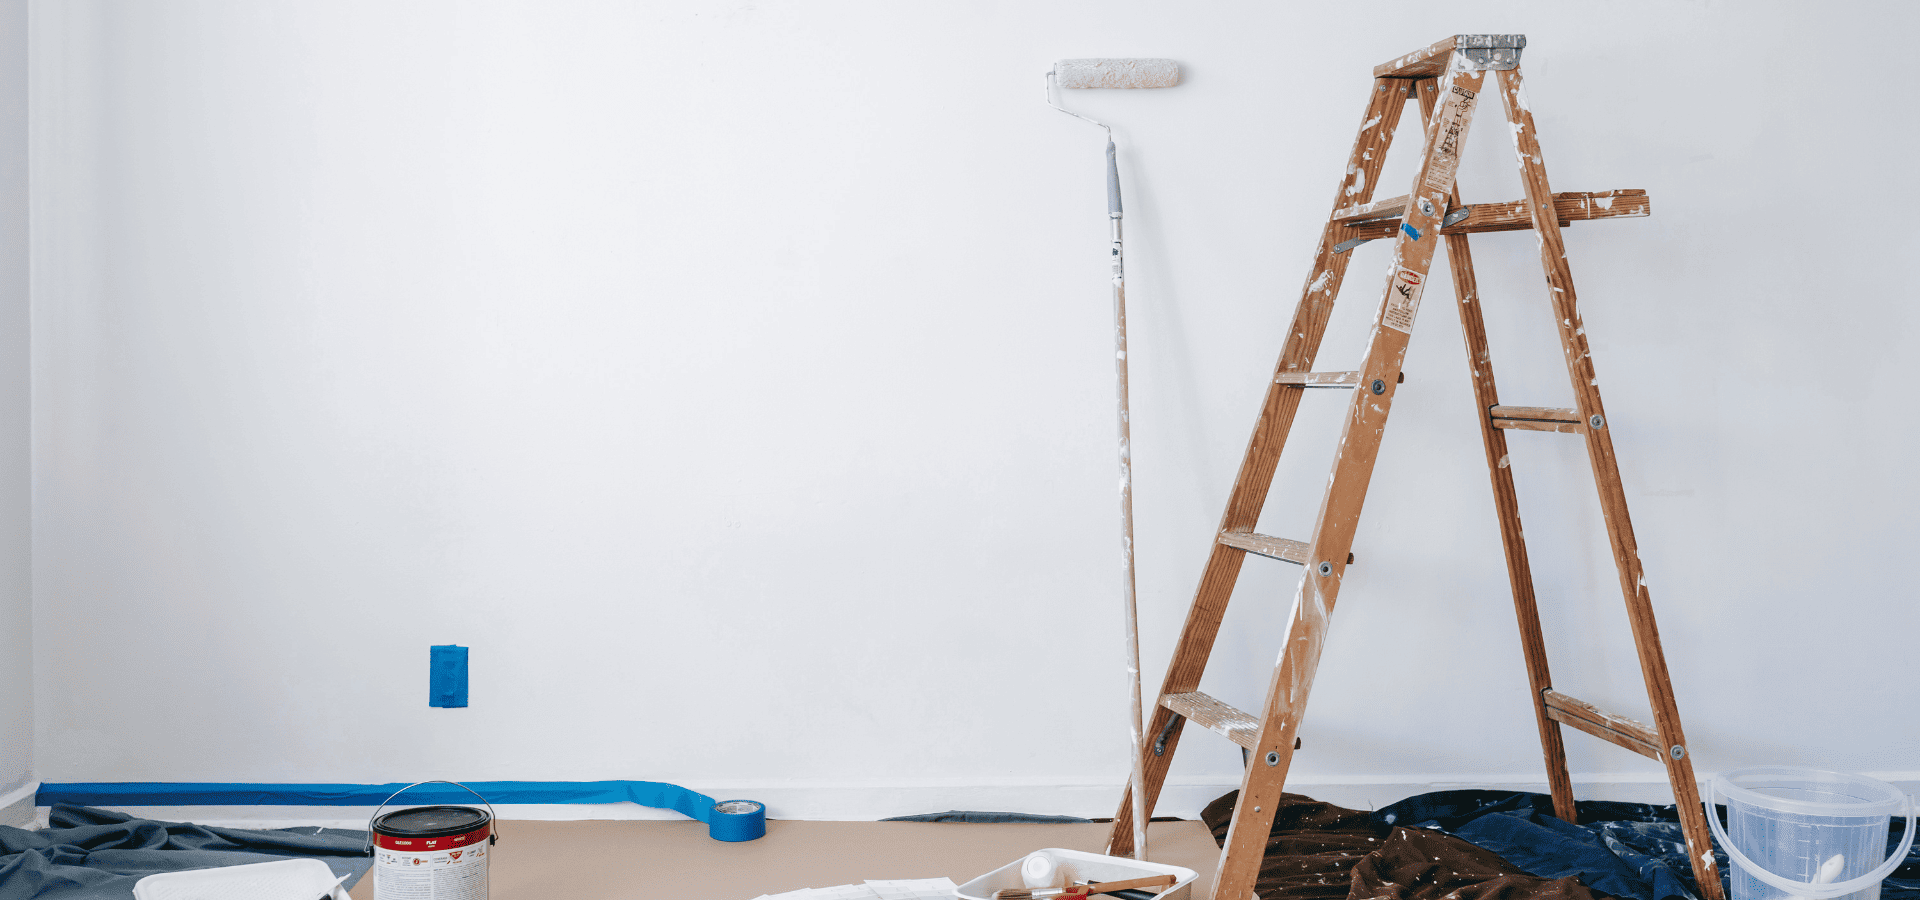
If you’re painting taller walls, you’re going to need a stool or ladder and ideally a roller extension pole.
You definitely need a stool or a ladder to reach the edges of the top of your walls and paint the edges with your brush.
However, for the rest of your regular painting, even though you can also climb up and down the stool or ladder and make do with a normal roller, it’s much more tedious that way.
Instead, we’d highly recommend getting a roller extension pole that allows your roller to easily reach higher areas.
Surface Preparation Tools & Equipment
Surface preparation is just as instrumental to success as the actual painting itself. Surface preparation actually includes repairing any wall damage like holes, cracks, or dents, but we won’t be listing the tools for those.
The first reason is that there’s a long list of tools, and they vary depending on the type of damage too, which means there’s going to be a pretty long list if we actually list everything.
But more importantly, wall damage isn’t something that you should be tackling on your own. Anything larger than a tiny hole or dent is going to be complicated to repair and require skills and techniques that only professionals would be able to execute successfully.
If you try to remedy larger wall damages on your own, the end result is probably going to be very unsightly, even more so than if you had just left the damage alone in the first place.
So while wall damage repair is part of surface prep, it’s not something you should be DIYing, so we won’t be including the tools for it.
With that said, here are the tools you’ll need for the rest of the surface preparation.
1. Scrapers And Putty Knives
Scrapers are used to easily scrape off flaking paint and old finishes. Then, putty knives are used to fill small nail holes, cracks, or dents with filler or spackle.
Again, for anything larger than a tiny hole or dent, call up a professional. Don’t ruin your walls by trying to DIY something you don’t have the expertise to accomplish.
2. Sandpaper & Sanding Blocks
Sandpaper is used to sand areas where you’ve patched up holes or dents to smooth out the area.
It’s also useful if there are slight bumps or rough spots anywhere to smooth them out and ensure your paint adheres properly.
It’s also a good idea to sand your walls if glossy paint was used previously, as glossy paint is meant to resist dirt and stains, which means paint won’t adhere very well onto it.
Sanding blocks can be quite handy for holding your sandpaper and making sanding large areas easier and less tiring. They’re not essential, but nice to have.
3. Caulk & Caulking Gun
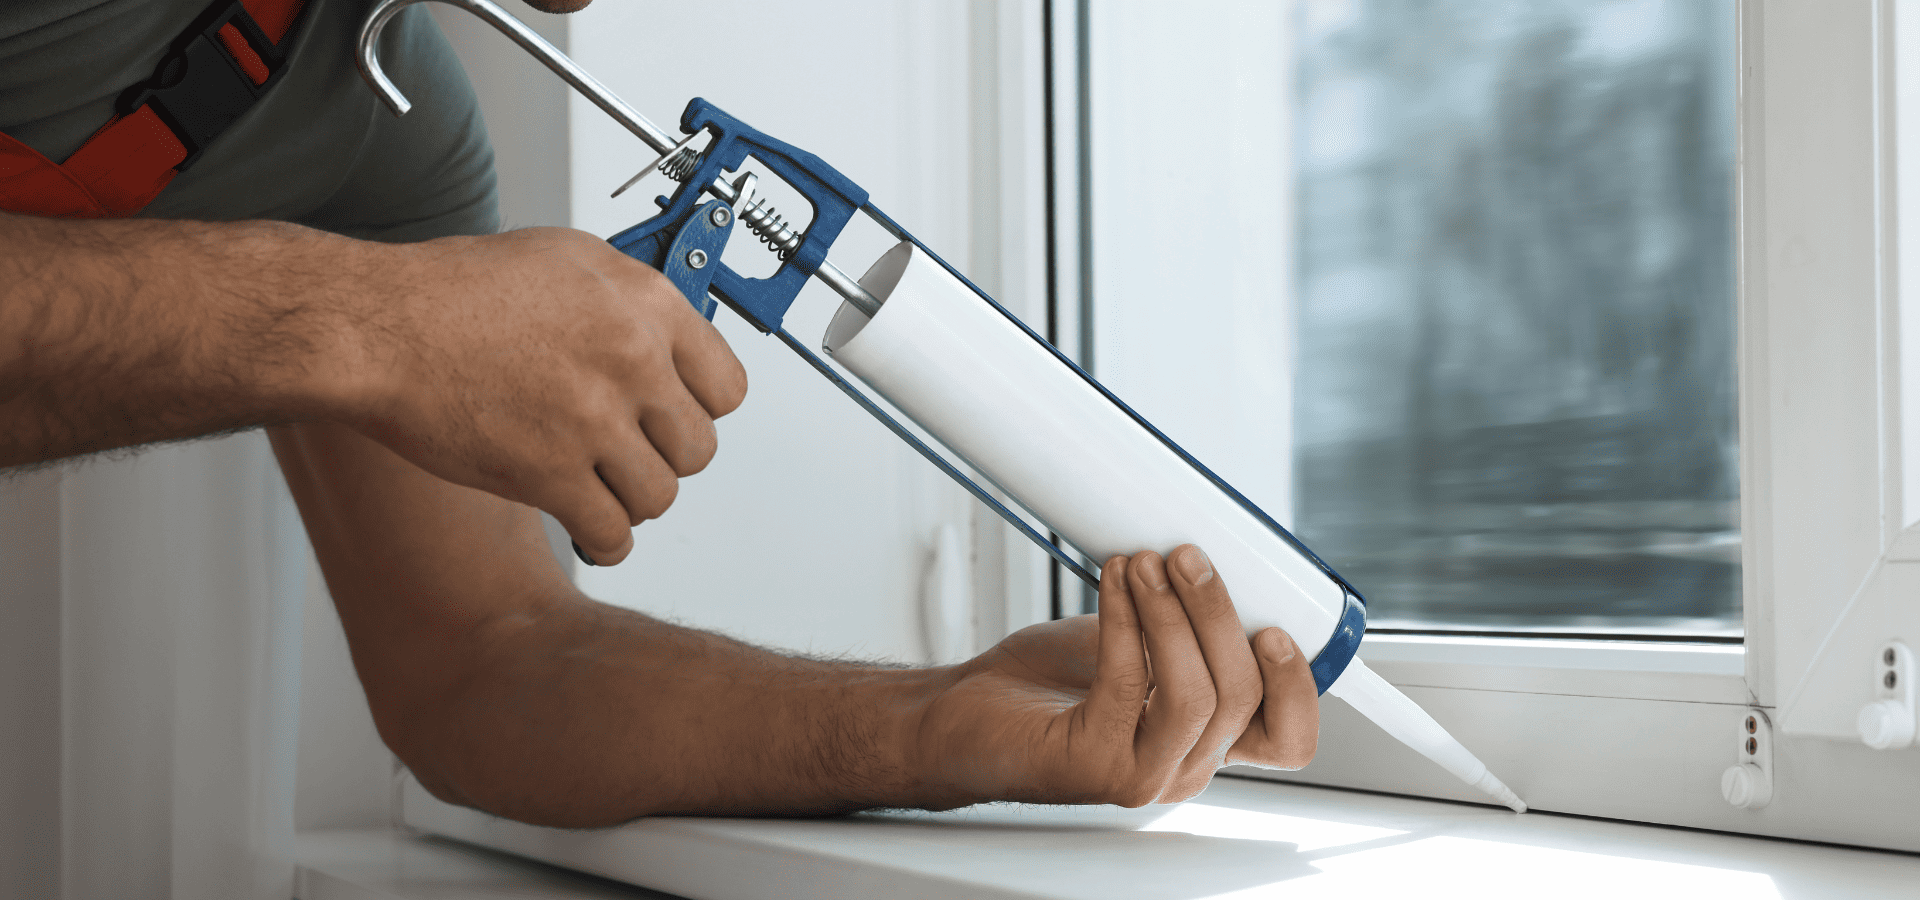
Next, there may be gaps and cracks, not on your walls, but around windows, doors, trim, etc. These gaps need to be filled for both aesthetic purposes and to prevent moisture intrusion.
If you only have a small area, you won’t need a caulking gun. You can squeeze the caulk out by hand.
But for larger areas, it’s best to get a caulking gun to reduce fatigue and for more control.
4. Cleaning Supplies
Lastly, you need to clean your surface to remove dirt, dust, oil, and other elements that will prevent your paint from adhering properly.
For this, you’ll usually need to use either soap and water or a degreaser if you’re cleaning kitchen or bathroom walls.
Professional-Grade Tools & Equipment
If you’re considering starting your own painting business, you’ll want professional-grade tools that allow you to work faster and on a larger scale. Professional tools will also be more heavy-duty and can handle repeated daily use.
1. Airless Paint Sprayers
Airless paint sprayers are the most powerful type of paint sprayer. Professionals use these to paint large areas like the exteriors of buildings quickly.
2. Power Washers
Professional-grade power washers are used by professionals to deep clean large surfaces quickly for surface prep.
3. Scaffolding And Mechanical Lifts
A ladder might be enough for the tallest areas of your home’s walls, but it’s nowhere near enough for a building or even the exterior of a multi-story home.
Scaffolding and mechanical lifts are indispensable equipment for professional painters to safely paint higher surfaces.
Conclusion
With that, you should have all the essential tools and equipment you’ll need for a house painting job.
You don’t have to limit yourself to just these though. There’s a lot of other optional equipment you can get to make your job easier. These include paint sprayers, painting multi-tools, magnetic brush holders, and so on.
This article went over the essential ones you’ll need, but don’t hesitate to get anything else that you feel is necessary to make your job more manageable.
And if you need help with painting your home,
Renewed Walls Painting is always here to help. When you work with us, you save money on buying all these tools yourself, and the job will be completed efficiently to professional standards, so give us a call today at 919-759-6676!
Recent Posts
