How To Paint Your Driveway

Your driveway is one of the first things that passers-by and visitors see. It's also the first thing that greets you when you return home.
Granted, most driveways aren't there for aesthetics, but a worn-out driveway can give your property an overall rundown and neglected feel.
To prevent this, you don't have to splurge on an expensive driveway replacement — all it takes is some simple repairs and a new coat of paint (or technically coating).
In this article, we're going to cover how to choose the right coating, how to apply it for both concrete and asphalt driveways, and other important things to note when painting a driveway.
Here's how to ensure a smooth and successful driveway paint job.
How Much Of An Impact Can Painting Make?
It's not just about looking nice — a new layer of coating is instrumental to ensuring the longevity and durability of your driveway.
UV rays, moisture, and oil are the main culprits behind cracking, fading, and staining.
A good protective coating shields your driveway from these damaging elements, adding years to its lifespan and dramatically reducing the amount of maintenance and repairs that you'll need to perform.
And don't forget that with the huge facelift that it gives your home, it also brings up its resale value by quite a fair bit. It's not uncommon for a driveway paint job to yield a return on investment of 50% to over 100%, especially if you’re DIYing to keep costs down.
On top of all these, consider that by protecting your driveway and helping to stave off any significant damage, the protective coating delays a $5,000-15,000 driveway replacement.
So the impact a coating can have, particularly on your finances, is certainly more than enough to justify the time and capital costs.
Here’s how to protect your driveway with a coating.
Step 1: Choosing The Right Paint
For concrete driveways, since they’ll be subjected to stressors like the weight of cars and friction from car tires, you need to use an extra-tough coating.
And there’s no tougher paint out there than a combination of an epoxy base coat with a urethane top coat. These are two separate coatings that you’ll have to purchase on their own, but it’s necessary for maximum toughness.
Alternatively, you could also opt for acrylic concrete coatings. Those are less durable, but much easier to apply.
Layering an epoxy and urethane coating will give you solid protection. You’ll have:
- Strong UV resistance
- Excellent moisture resistance to prevent moisture damage
- Great abrasion resistance to resist wear and tear from tires and foot traffic
- Chemical resistance for protection against oil, fuel, brake fluid, etc
By layering those two coatings, you’ll keep your driveway well-protected against the main damage culprits — UV rays, moisture, and oil.
In comparison, acrylic concrete coatings still protect against UV rays and moisture, but they don’t hold up well against friction, chemicals, and oil.
Consequently, if you opt for acrylic concrete coatings, expect to have to recoat about twice as often.
Moving on to asphalt, asphalt is petroleum-based, and petroleum reacts poorly with most paints. As such, regular paints won’t stay on asphalt.
Instead, you’ll need specialized asphalt sealers.
These specialized sealers will soak into asphalt and restore its deep black color, as well as help keep out UV rays, moisture, oil, and chemicals, while also improving the asphalt’s flexibility.
Step 2: Cleaning And Repairs
If there's debris and dirt all over your driveway, your coating won't adhere securely, so cleaning is an essential preparation step.
Cleaning
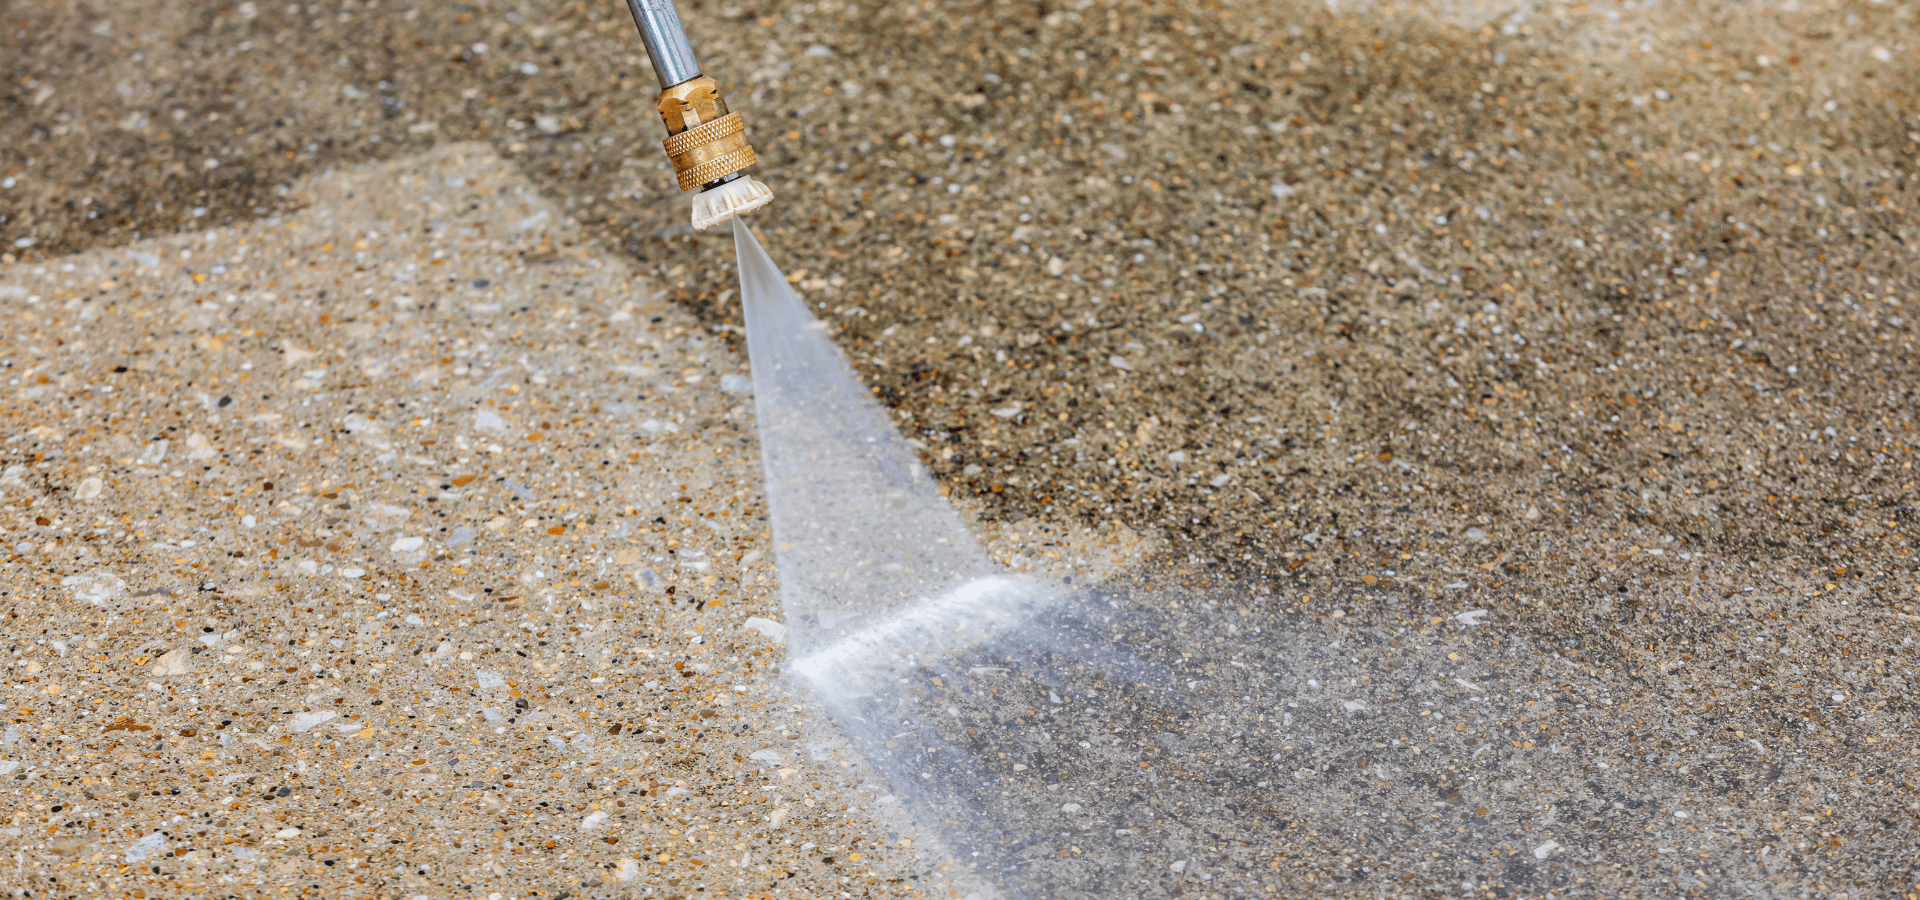
Start by removing dirt, debris, and leaves with a stiff broom or blower.
Then, you'll want to use a pressure washer to get rid of the remaining tougher dirt and stains.
For asphalt, make sure to use only moderate pressure so that you don't damage the asphalt.
If there are any oil stains, you'll also need to degrease them with a driveway cleaner or degreaser, because paint won't stick to oily parts.
Once the cleaning is done, it's time to move on to the repairs.
Repairs
Damaged areas need to be fixed before painting. Otherwise, you'd essentially just be sealing them in, and they're likely to worsen under the coating.
These are the various driveway damages and how to repair them.
Cracks:
For cracks, use a concrete crack filler or patching compound for concrete, and a rubberised asphalt crack filler for asphalt.
Use a caulk filler to apply them, and then smooth them out with a trowel or putty knife.
Holes:
For holes, use vinyl concrete patcher or resurfacer for concrete. For asphalt, use cold patch asphalt, tamp it down firmly, and level it.
Make sure to press the patches down firmly so that they're level with the surface.
Spalling Concrete:
Use a resurfacer to create a new top layer.
Asphalt Alligator Cracking:
Cut out the damaged section and patch it with cold patch asphalt.
Step 3: Choosing The Right Time
When it comes to driveway painting, choosing the right time to carry out the painting is extremely important.
This is because you need to factor in drying time for the repairs and curing time for the coating, which will each add an extra day to the overall timeline.
If it rains before your repairs have had time to dry or before your coating has fully cured, it'll compromise the integrity of the coating, shortening the coating’s lifespan.
Water could also be trapped under the coating, and over time, due to expanding and freezing, cause damage to your driveway.
That's why it's of the utmost importance that you check the weather forecast and paint only when there's a good chance of dry weather for at least three days.
Or if you only get a day or two of dry weather, carry out the repairs first, then hold off until the painting until you've got two days of dry weather.
Ideally, to be doubly safe and minimize the risk of rain, try to perform your driveway painting during dry seasons.
Step 4: Applying The Coating
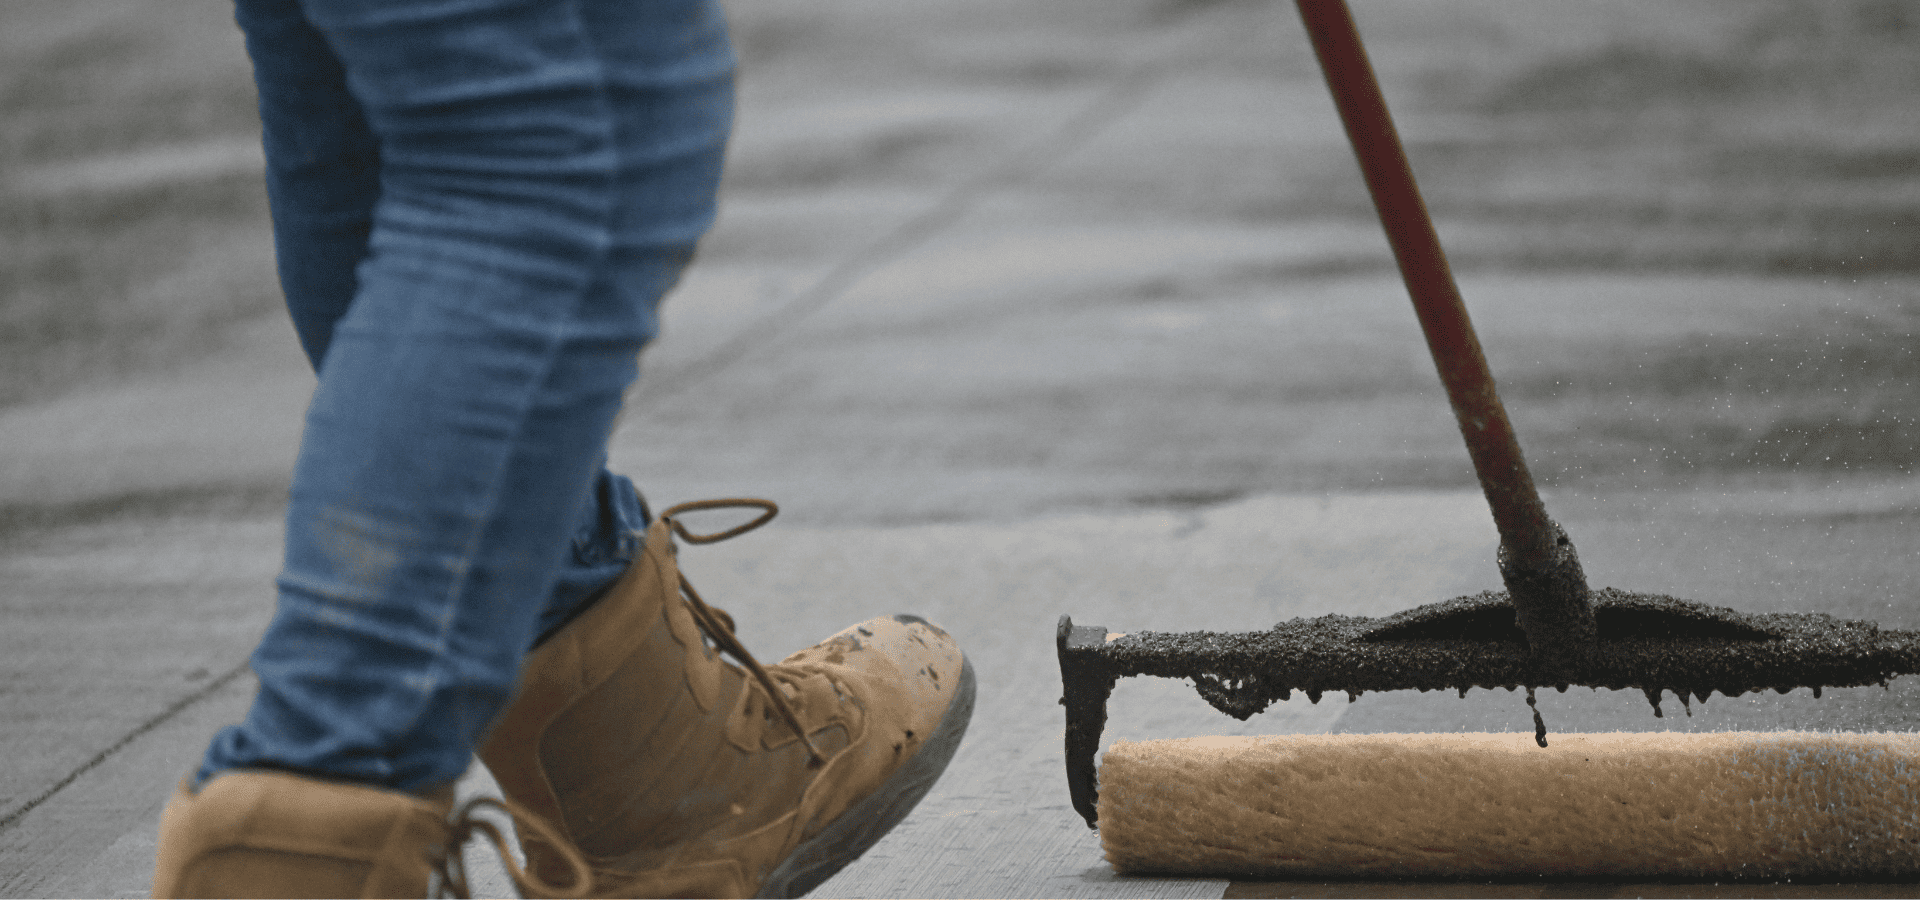
The actual coating application isn’t too complicated or complex, but there are a few important things to take note of.
Unlike walls, doors, and most other surfaces that are usually painted, you won’t need much painter’s tape, if any at all, for your driveway, because its surroundings will usually be gravel or garden beds.
If there are edges where the driveway meets painted surfaces, then you’ll need some painter’s tape to protect them, but you won’t have to worry about the other edges that are surrounded by grass and gravel.
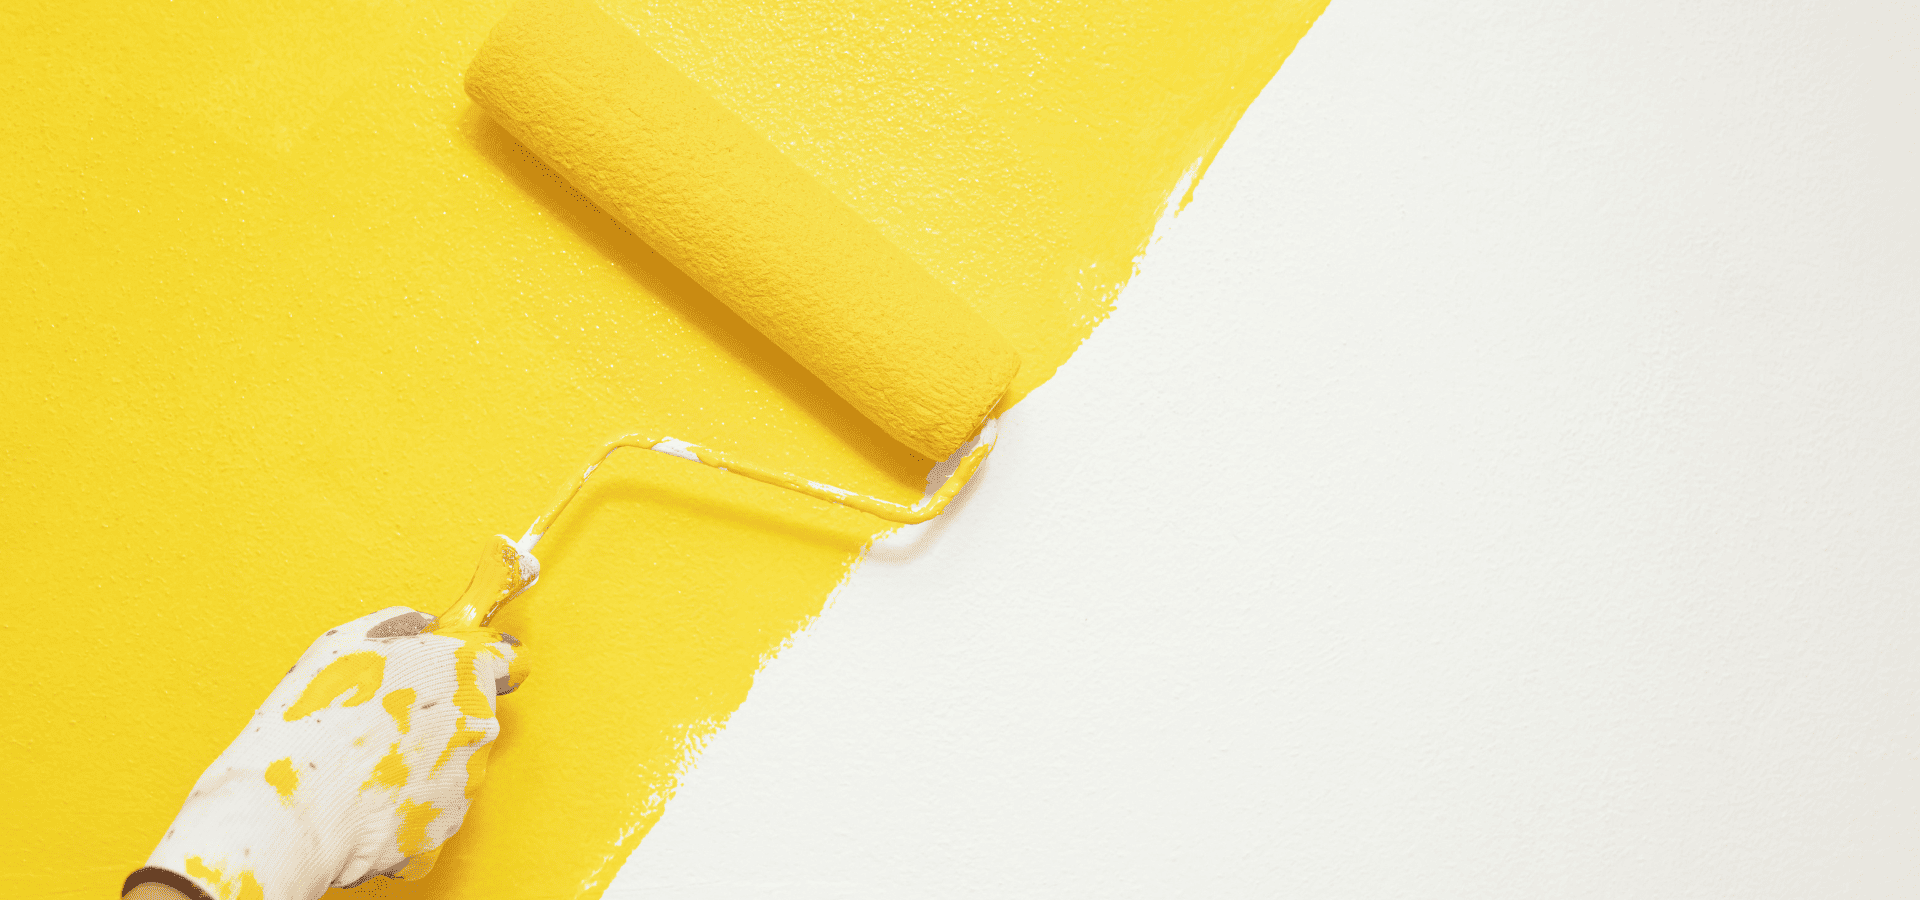
After you’ve taped up the necessary edges, cut in like you would for normal walls painting with a paint brush.
The coating process from here will differ slightly for concrete and asphalt.
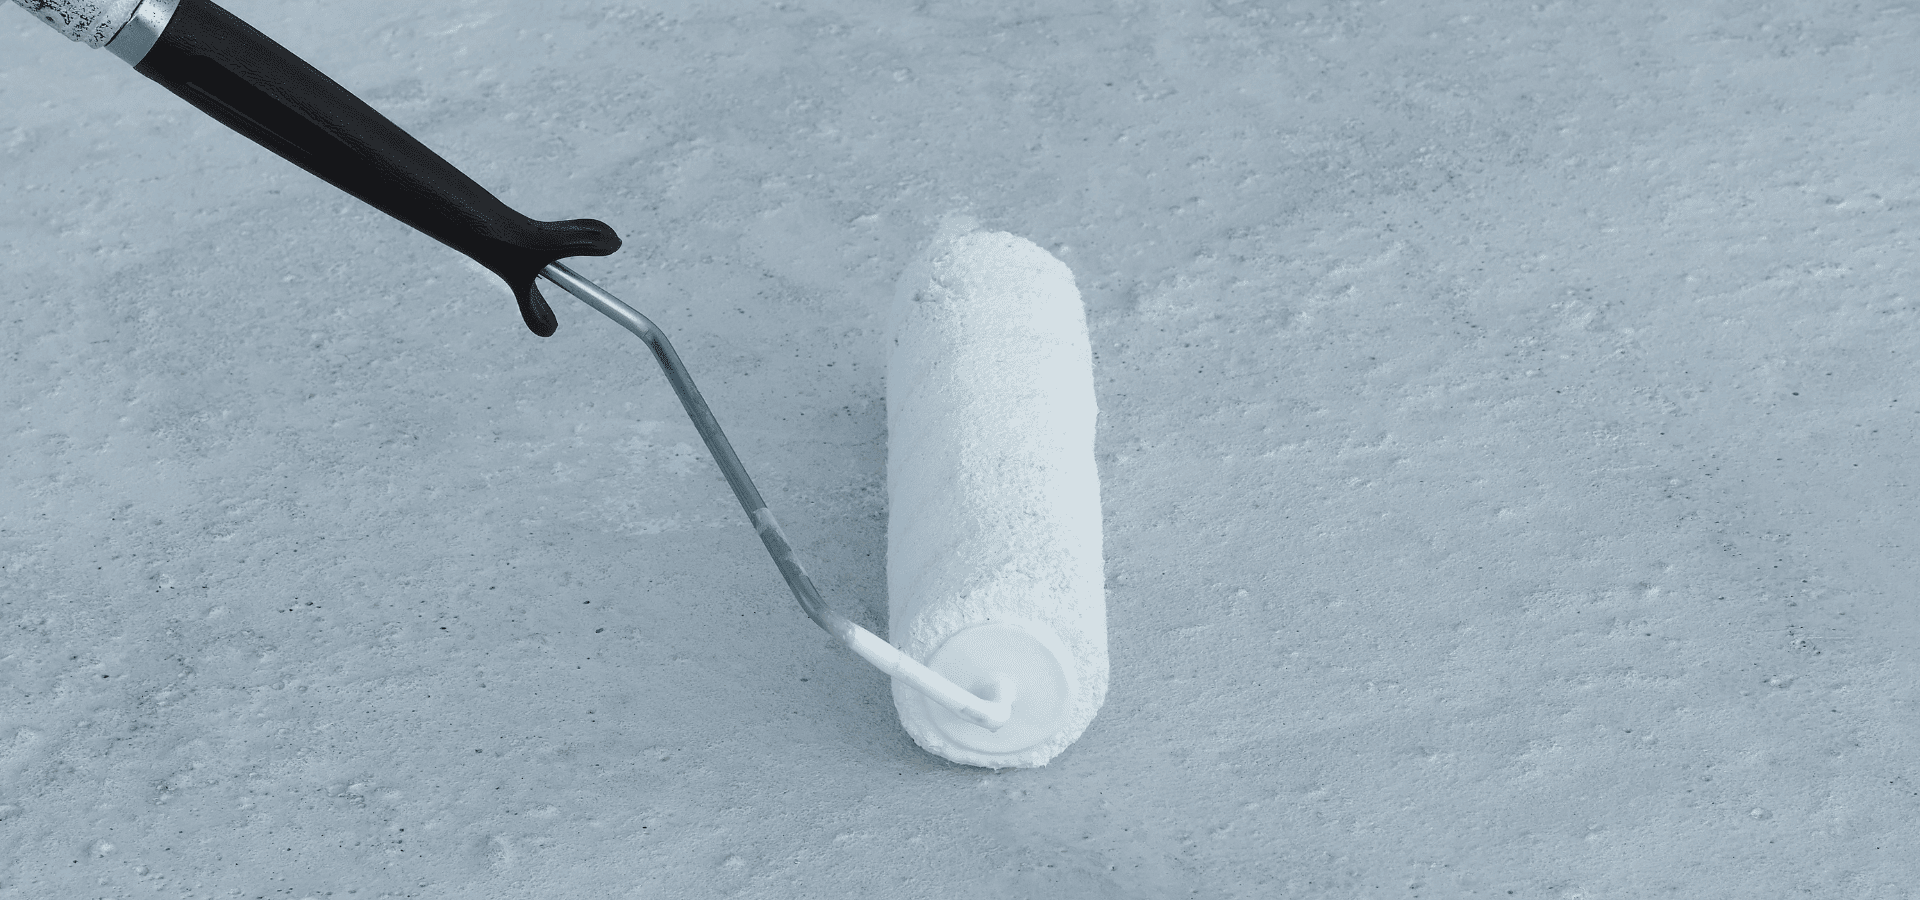
For concrete, you’d use a roller with an extension pole and work in small sections, rolling in a “W” or “M” shape and ensuring each section overlaps the previous section slightly. Remember to maintain a wet edge too.
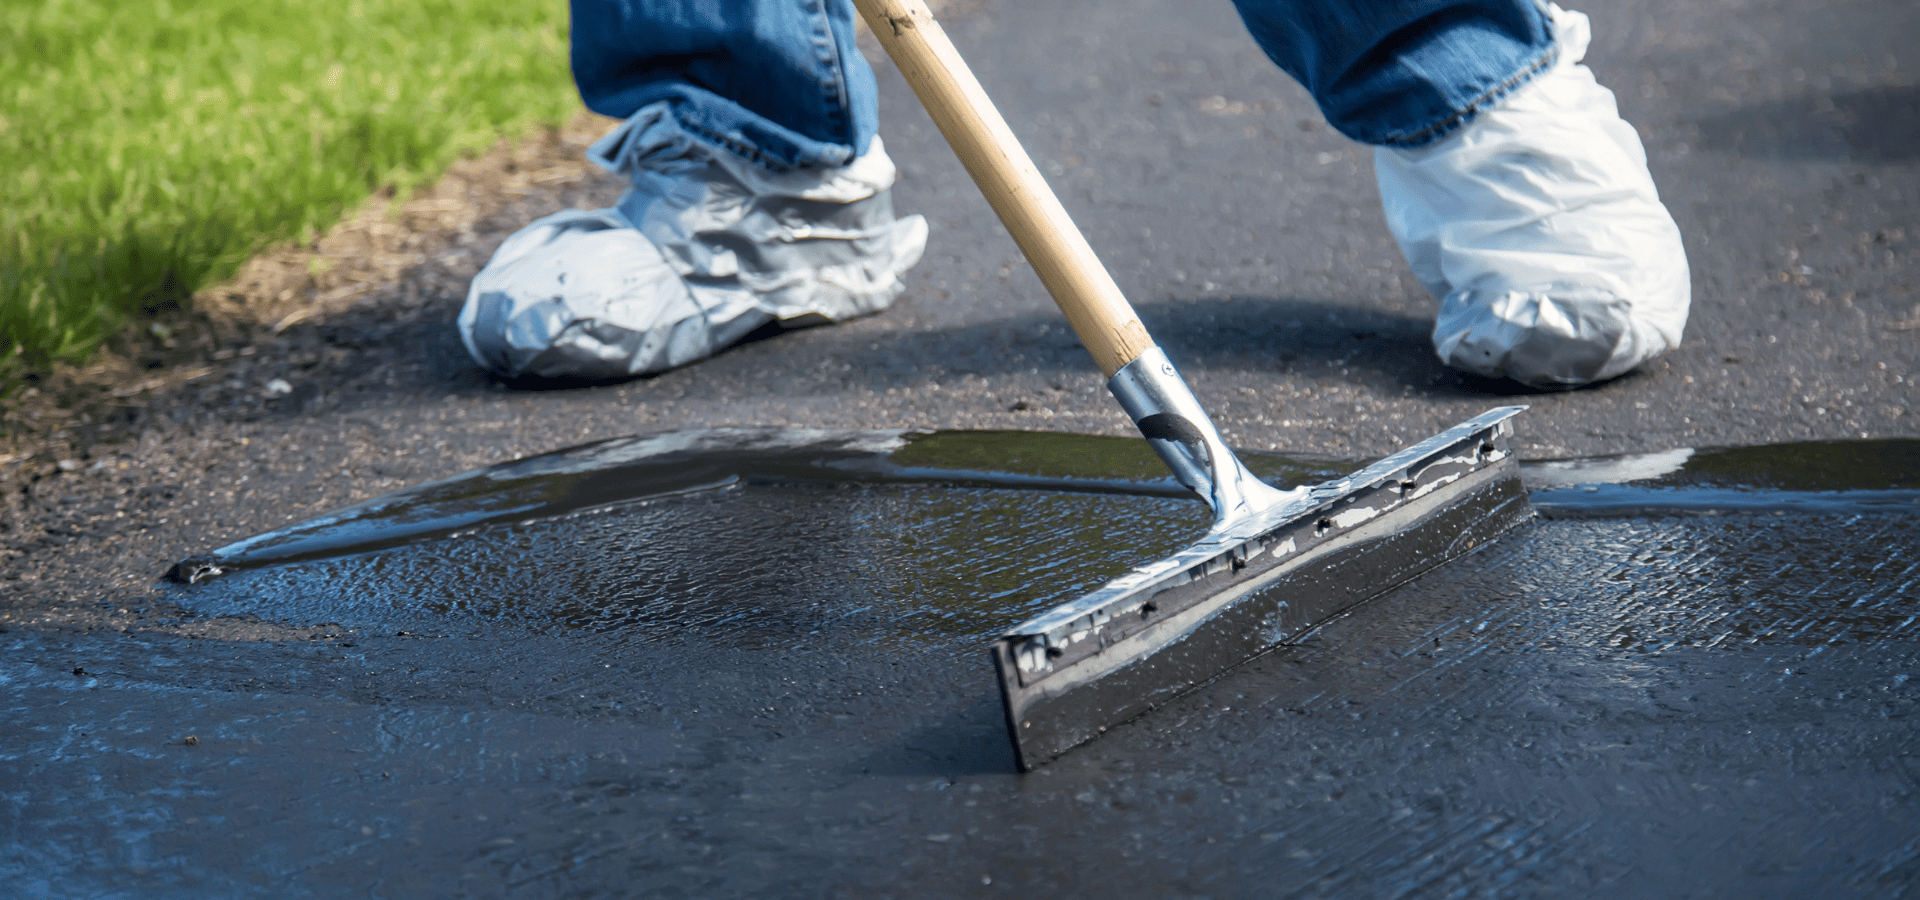
For asphalt, you’d pour the sealer, then spread it evenly with a squeegee.
Either way, take care not to walk over coated areas, so you’ll want to work backwards towards your exit point to ensure that you’ll never be walking over coated ground.
Note that for asphalt sealers, just a single coat is usually enough, but when it comes to concrete, it’s best to have a second coat for even coverage.
After you’ve finished the coating application, remember to let it cure for at least 24 hours before walking on it. And give it another 3-7 days after that to let it fully cure before driving over the coating.
How Often Do You Need To Recoat?
For concrete, a good ballpark figure is every 5 years or so, and sooner if you notice:
- Color unevenness: Patchy, faded, or chalky areas. These are signs of a worn-out coating and surface damage.
- Peeling or flaking: The coating lifts up in spots.
- Coating wear: You can visibly see the coating wear off and the concrete showing through.
- Water penetration: You notice dark spots and you see water clearly soaking in instead of staying on the surface like it should.
- Surface dusting: If you notice fine concrete dust when you sweep, that’s a clear sign that the coating has worn off and it’s just the bare concrete now.
For asphalt, aim to reseal every 2-3 years, or whenever you see these:
- Faded spots: Spots that are grey or dull instead of black.
- Water no longer beading: This applies to concrete too, but it’s easier to look out for dark spots with concrete, as it’s not as dark as asphalt, so the dark spots are more visible.
- Surface drying or brittleness: This is when the asphalt looks chalky or rough rather than being smooth like it should be.
- Oil and chemical stains: Both your concrete coating and asphalt sealer should repel oil and chemicals, so if they don’t come off even when you wash them, or it takes quite a bit of effort, that’s a sign that your sealer is losing its effectiveness.
- Cracks or raveling: Cracks or raveling signal that the sealer is gone, which is why these UV and moisture damages are appearing.
Ending Tips
Driveway painting is a high-ROI project that staves off a costly replacement, but it’s not all-powerful.
When there are oil and chemical spills, you still need to clean them off promptly.
In addition, you should avoid using sharp metal tools that could damage the coating and even the driveway itself.
Take care of your coating, and your coating will take care of your driveway.
If you reside in Raleigh and prefer to have painters in Raleigh, NC, perform your driveway coating for you, Renewed Walls Painting is here to help. Give us a call today at 919-759-6676 for your free quote!
Recent Posts
