How To Paint Your Mobile Home Exterior: Step-By-Step Guide

Looking to revamp your mobile home?
Or maybe you're just tired of driving around a relic on wheels.
Either way, repainting your mobile home can make it look like new again, and turn it from a tired, weathered ride to something that you proudly show off to others.
It also helps protect your mobile home’s exterior from the elements, and can even help maintain interior energy efficiency.
Before you start painting your mobile home though, you should know that painting mobile homes requires different preparation techniques and steps, as well as different paint types from normal wall painting.
The painting application method is the same as for normal walls, but given that you'll be painting either metal siding, vinyl siding, or fiberglass panels, you'll need to prepare them differently for the paint to be able to adhere to them.
Since your mobile home will also be exposed to road debris, you'll also need to choose your paint carefully for toughness.
And that's not all.
There are a few other things that need to be done differently throughout the entire painting process, and it’s important to get them right for a successful mobile home painting project.
You’ve got nothing to worry about though, because we’re here to walk you through the entire process.
Let’s get started.
Tools & Equipment
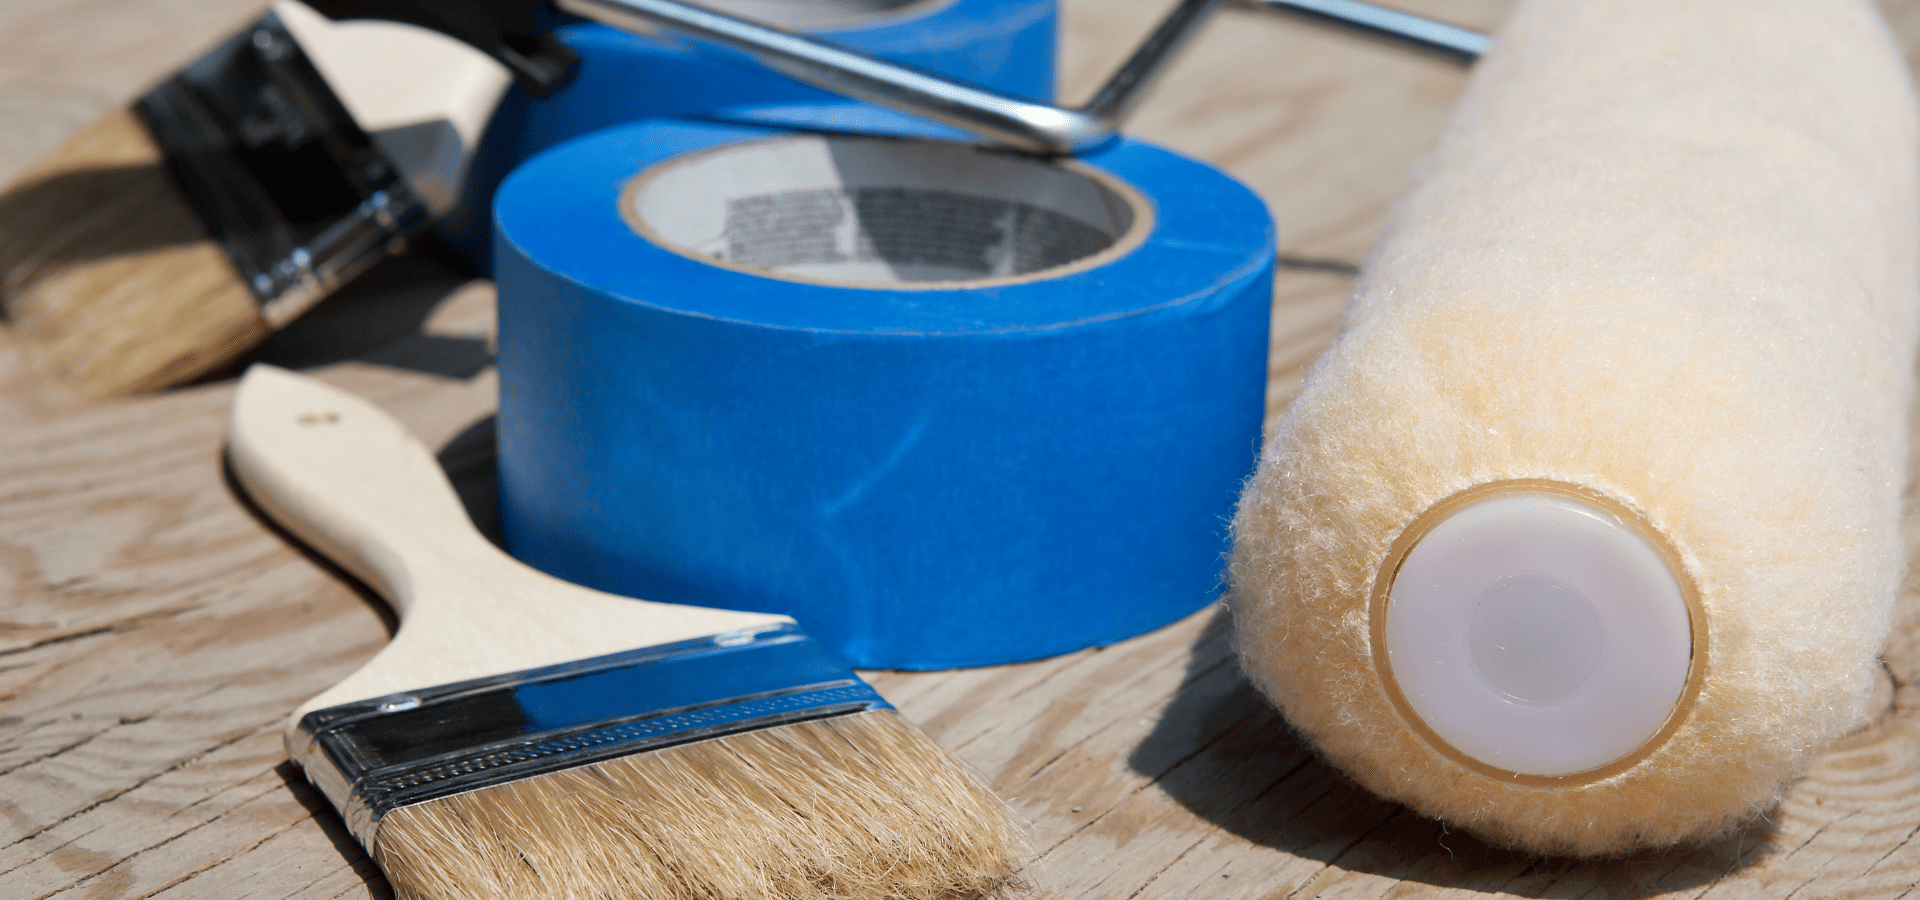
Before you start painting, you need to have the tools and equipment. Here’s what you’ll need.
Cleaning Supplies
To clean your exterior, ideally, use a pressure washer. Mobile homes tend to accumulate road grime, mileage, and oxidation, especially if they’ve been stationary for years, and a pressure washer will get these off efficiently. If not, at least use a garden hose.
You’ll also need mild detergent and a TSP (trisodium phosphate) solution to clean off oxidation, mildew, and stubborn stains.
Repair Tools
If there are any holes, cracks, or gaps in your mobile home exterior, you need to fix them before painting. You can’t just paint over them, or your paint won’t stick on well, and it’s highly likely that you’ll eventually face issues like peeling, bubbling, and flaking.
Plus, these damages are very unsightly, so if you just paint over them, you’re kind of defeating the purpose of painting, which is to make your mobile home look great.
For repairs, you’ll need scrapers, wire brushes, sandpaper, and exterior spackle or caulk for filling cracks and holes.
Painting
For the actual painting, here’s the list of tools and equipment you’ll need:
- Primer
- Paint
- Paint roller/Paint sprayer
- Paint brush
- Painter’s tape
- Ladder
How To Choose The Right Paint For Your Mobile Home

Your mobile home’s exterior isn’t like normal houses, so you need to select the right paint for the surface type and mobile home conditions.
Choosing The Primer
The primer needs to match the material too, but for the primer, it’s quite straightforward — use a metal primer for aluminum or steel siding, wood primer for wood, vinyl/plastic primer for vinyl siding and skirting, and bonding primer for fiberglass panels.
Make sure the primer is suitable for exterior use and is flexible, so that it can expand and contract with your exterior.
If your exterior is metal and has rust on it, remove the rust first, then choose a rust-inhibitive primer.
And finally, make sure your primer is compatible with your paint type, whether it’s latex or oil-based.
Choosing The Paint
Now, for the paint, first off, remember that as you drive your home on wheels around, there’ll be all sorts of debris that your wheels will go over and kick up — dust, dirt, road salt, glass shards, and whatever else is on the road.
That’s why your paint needs to be extremely robust and able to stand up to these attacks. This means it needs to be high-quality exterior paint that not only matches the material, but is extra durable and hardy.
To choose the right paint type for your surface, follow this guide:
- Aluminum siding: 100% acrylic latex paint
- Steel siding: 100% acrylic latex paint
- Vinyl siding: Vinyl-safe acrylic latex paint
- Wood siding: 100% acrylic latex paint
- Plastic skirting: Vinyl-safe acrylic latex paint
- Fiberglass panels: Acrylic urethane or acrylic latex paint
For the color of the paint, it’s best to opt for brighter colors that will reflect light and help keep your interior cool, and it’ll go a long way towards energy efficiency and cutting down on electricity use.
And for the paint finish, even though glossier finishes are tougher, for the sake of aesthetics, you still want to stick with the usual recommendations as for normal walls.
If you paint your entire exterior in gloss or semi-gloss, sure you’ll have a tougher protective layer, but that layer will also highlight every little imperfection.
Plus, the sheen gets more obvious the glossier your finish is, so you’ll end up with a shiny exterior that, most of the time, just doesn’t look right on a mobile home (or any home for that matter).
Here’s a guide to the finish to use for each surface. Note that these are the same recommendations as for regular homes too:
- Main walls: Satin for added toughness, or eggshell for a surface that’s better at hiding flaws
- Trim, doors, and window frames: These are high-touch areas, so you’ll need the added durability of semi-gloss or gloss.
- Skirting: Skirting sits close to the ground, so a little extra toughness will be useful for your skirting’s longevity. That said, it’s still a fairly large and noticeable part of your home on wheels, so you don’t want to go full gloss. Instead, the best finishes to use are satin or semi-gloss.
Step-By-Step Mobile Home Painting Guide
With that, you should now have everything you need to begin the actual painting. Here’s how to paint your mobile home, step-by-step.
Step 1: Thorough Cleaning
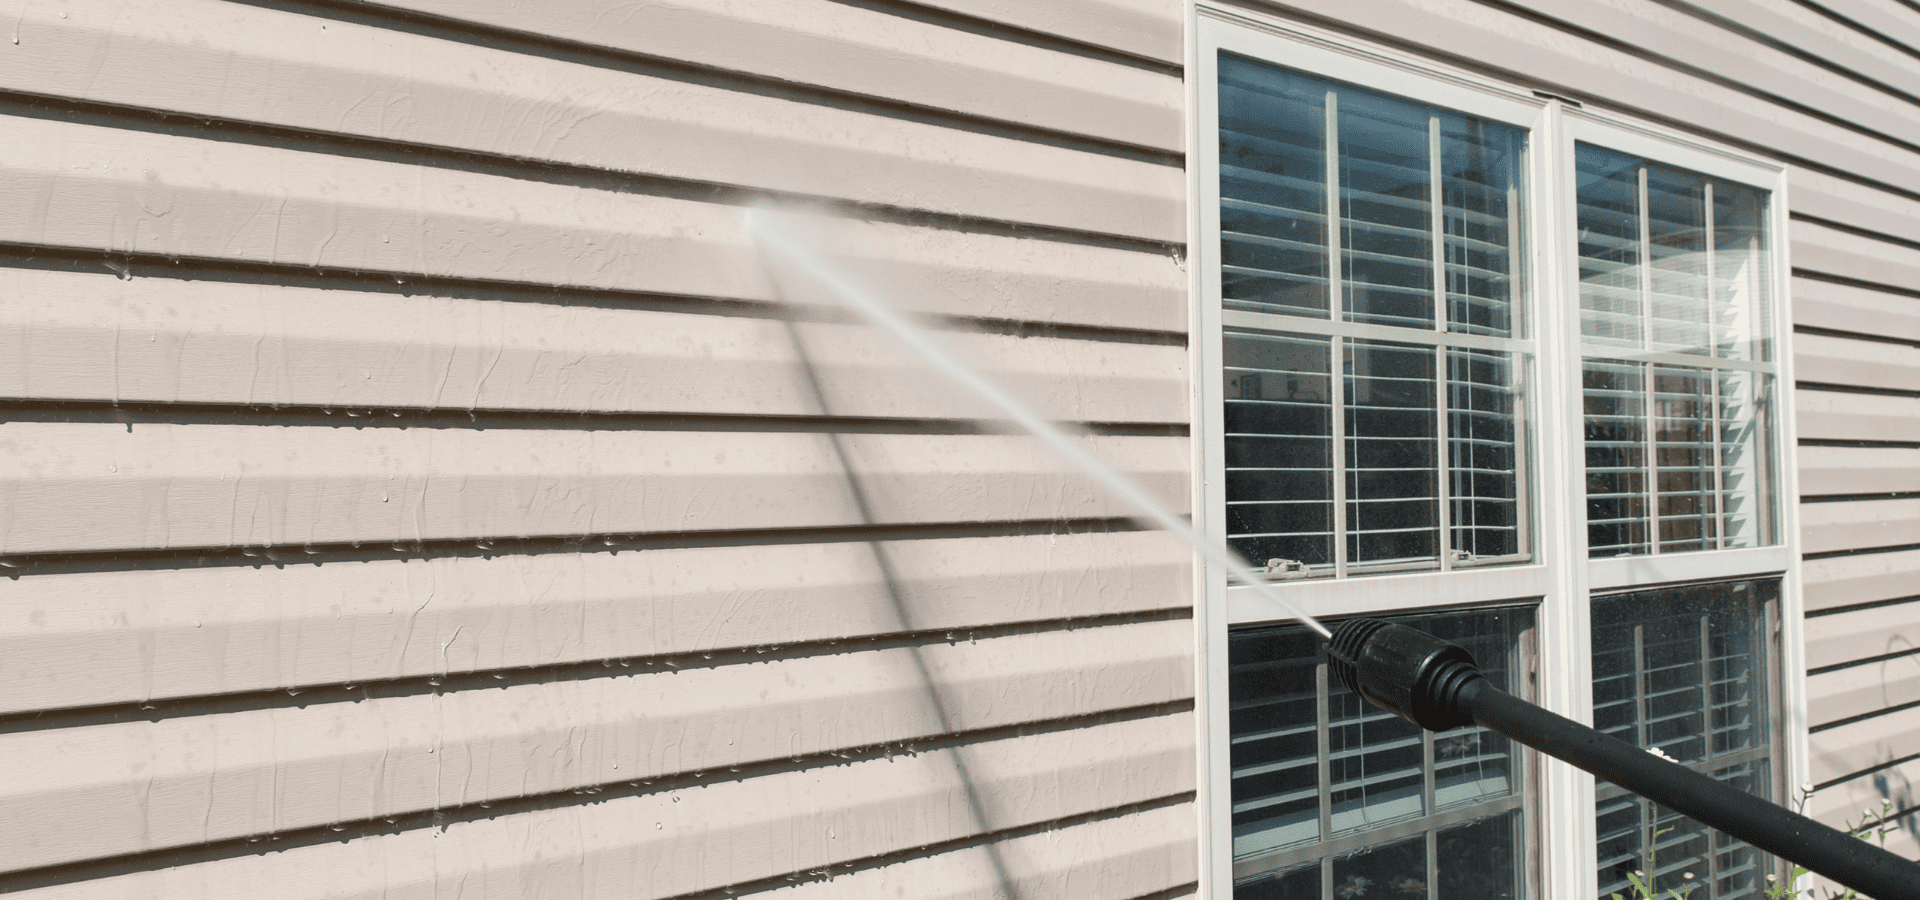
Paint isn’t going to stick to a surface full of dirt, dust, and debris, no matter how strong its adhesion is, so you need to start by ensuring your exterior surface is clean.
Make the cleaning solution by mixing 1/4 cup of mild detergent with 1 gallon of warm water.
Then, if you’re using a pressure washer, pour the cleaning solution into the detergent tank and attach the soap applicator nozzle before using the pressure washer to spray off dirt, mildew, debris, and even flaking old paint.
If you’re using a garden hose instead of a pressure washer, you won’t be able to spray water with cleaning solution, so you’d just be rinsing down your mobile home with water to get rid of any loose dirt and debris.
Afterwards, you’ll need to do quite a bit of manual brushing with the cleaning solution to get rid of the more stubborn stains and dirt.
You’ll still have to do manual brushing even with pressure washing, but the difference is that with a pressure washer, you’ll be able to remove mildew, flaking paint, and slightly tougher grime, so most of the heavy lifting is done. This will drastically reduce the amount of manual brushing you need to do afterwards.
You'll need to clean off dirt, stains, debris, and any other external substances. Once that's done, there's one last thing to clean — oxidation.
Light oxidation can be washed off, but heavier oxidation will require a separate round of scrubbing with TSP cleaning solution.
After this final round of scrubbing is done and your exterior is free of external substances, rinse off any leftover cleaning solution and let your home on wheels dry.
Give it about a day to make sure it's completely dry so that there won't be trapped moisture under your paint, which can cause bubbling and peeling.
Step 2: Scraping, Sanding, & Repairs
Before you begin painting, there are just a few more housekeeping tasks.
The first is to scrape off remaining loose paint and rust with a paint scraper or wire brush. Otherwise, when new paint goes over, there's a good chance that this loose paint eventually comes off, taking the new paint with it.
The same goes for rust. You need to scrape it off with a scraper or wire brush so that it doesn’t keep spreading underneath the paint.
After removing rust and loose paint, the next step is to sand rough patches to smooth them out. Sanding rough surfaces is important to prevent uneven finishes.
Finally, patch up holes, cracks, and gaps, if there are any. Fill them with exterior spackle or a paintable caulk and follow the packaging instructions to apply them properly, and make sure to let them dry before you start painting.
Step 3: Masking Off
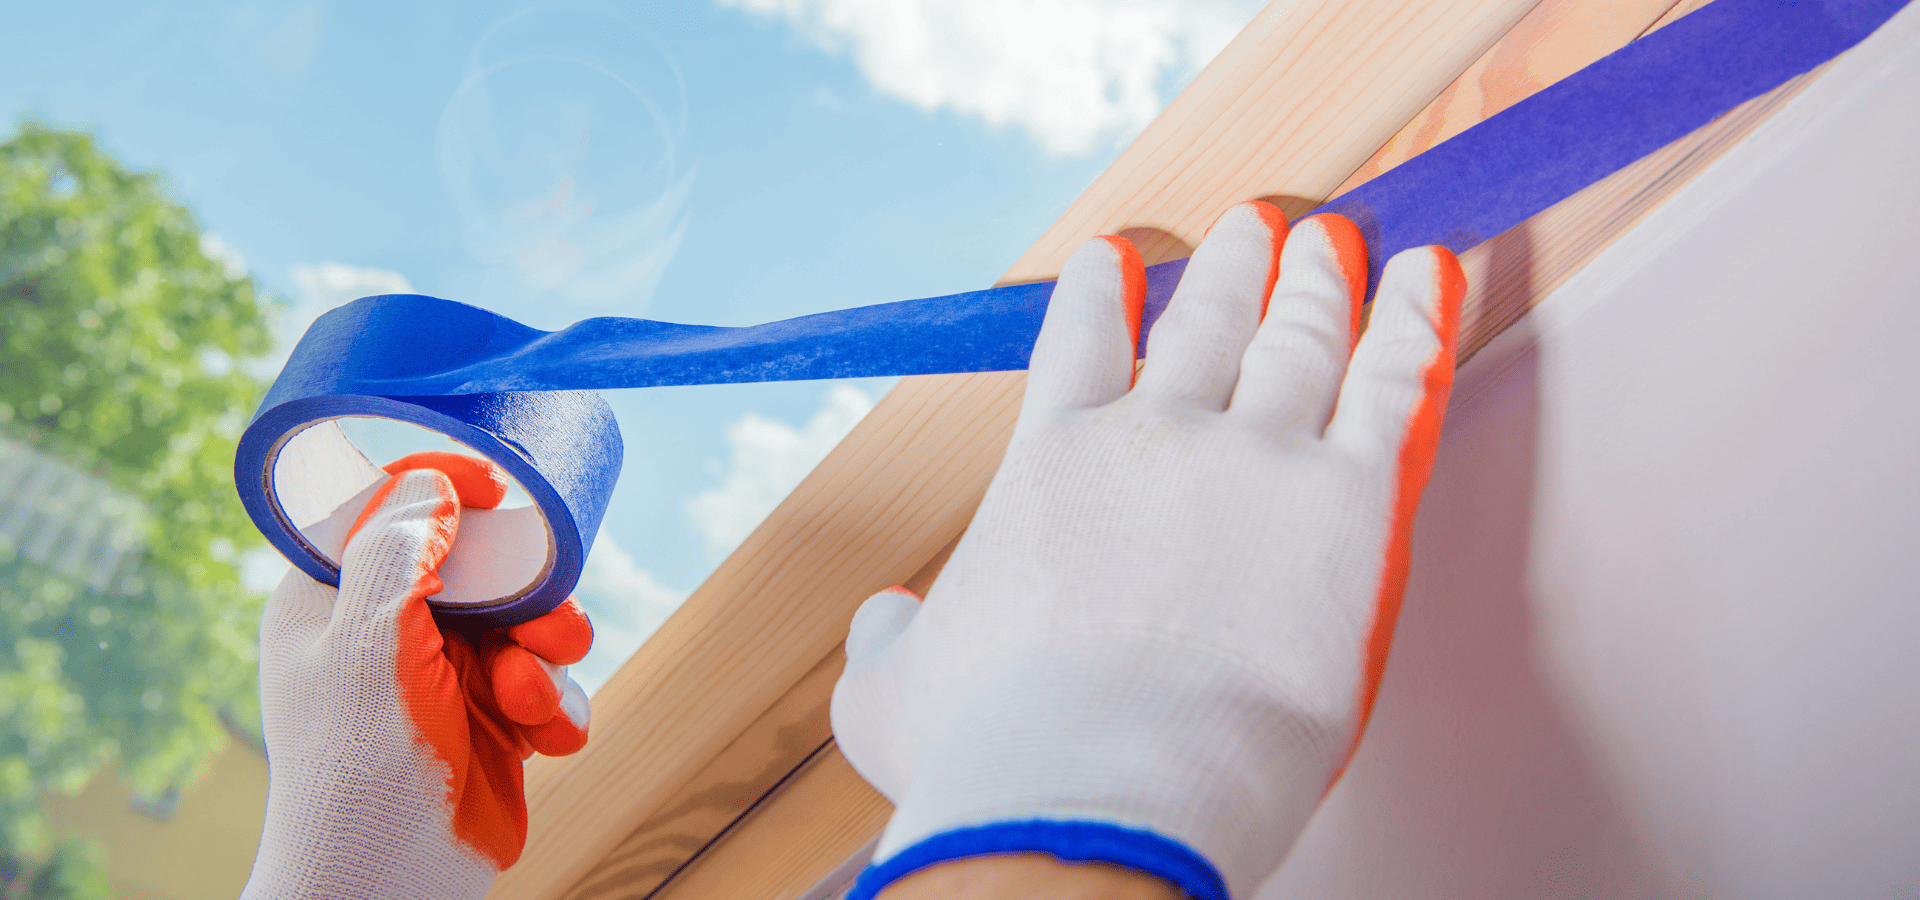
The last thing to do before you can begin the actual painting is to protect areas that you don’t want paint getting on with painter’s tape.
Even the best painters have a hard time painting exactly at the edges, so you’ll usually want to tape the edges around your painting area, and the edges of the doors and windows too if you’re not painting them.
Step 4: Priming
Primer helps your paint adhere better and more securely, but it’s not always needed.
You’ll usually want to apply primer if you’re painting metal or vinyl surfaces, because those are smoother, so the primer will give your paint something to grip on and help it adhere more strongly.
You should also prime your surface if you’re making a drastic color change.
Primer also has other benefits, like enhancing the toughness of your paint, preventing peeling, and even inhibiting rust, depending on what primer you choose.
Note that existing paint in good condition can serve a similar purpose as primer, so if your existing paint is still healthy and going strong, you can skip the primer.
Step 5: Painting
Ah, the moment you’ve been waiting for — painting!
After all that preparation, you’re finally ready to begin painting.
There’s just one more thing to consider though — will you be rolling or spraying?
Both have their pros and cons, and in this case, both are perfectly fine. You’d save more time by spraying paint, but you’ll spend more money too, and you’ll have to spend more time picking up the technique as well as on the preparation.
On the other hand, rolling is slower, but also cheaper and easier to control, with less preparation needed.
Here’s a guide on
choosing between spray painting and rolling. If you’re not sure which to choose, you’ll know by the end of that guide.
Once you’ve made your choice, whichever you choose, like we mentioned earlier, the painting for mobile homes is the same as you would for normal homes. The main differences lie in the paint choice and preparation, so whether you’re spraying or rolling, you’d follow the same technique as you would for regular house painting.
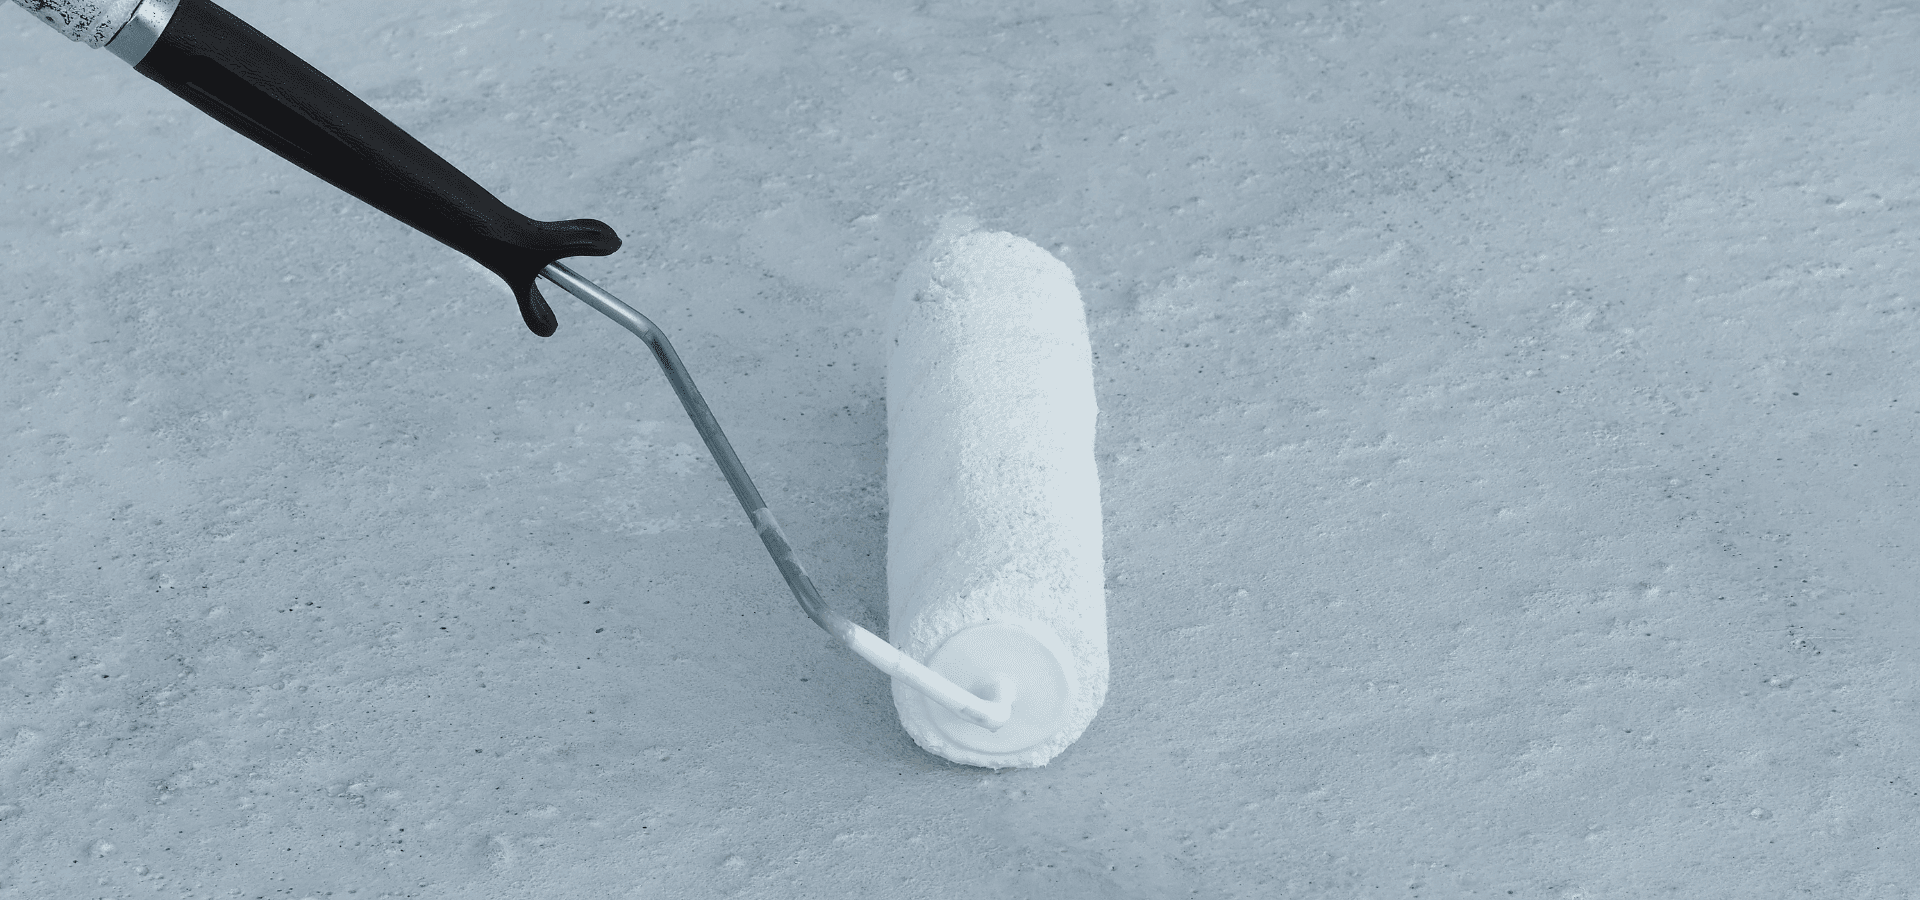
For rolling, that means painting in a “W” pattern, maintaining steady pressure throughout, and painting in controlled squares, with each square overlapping the previous one slightly. Here’s a detailed guide on
house painting techniques if you need more in-depth advice.
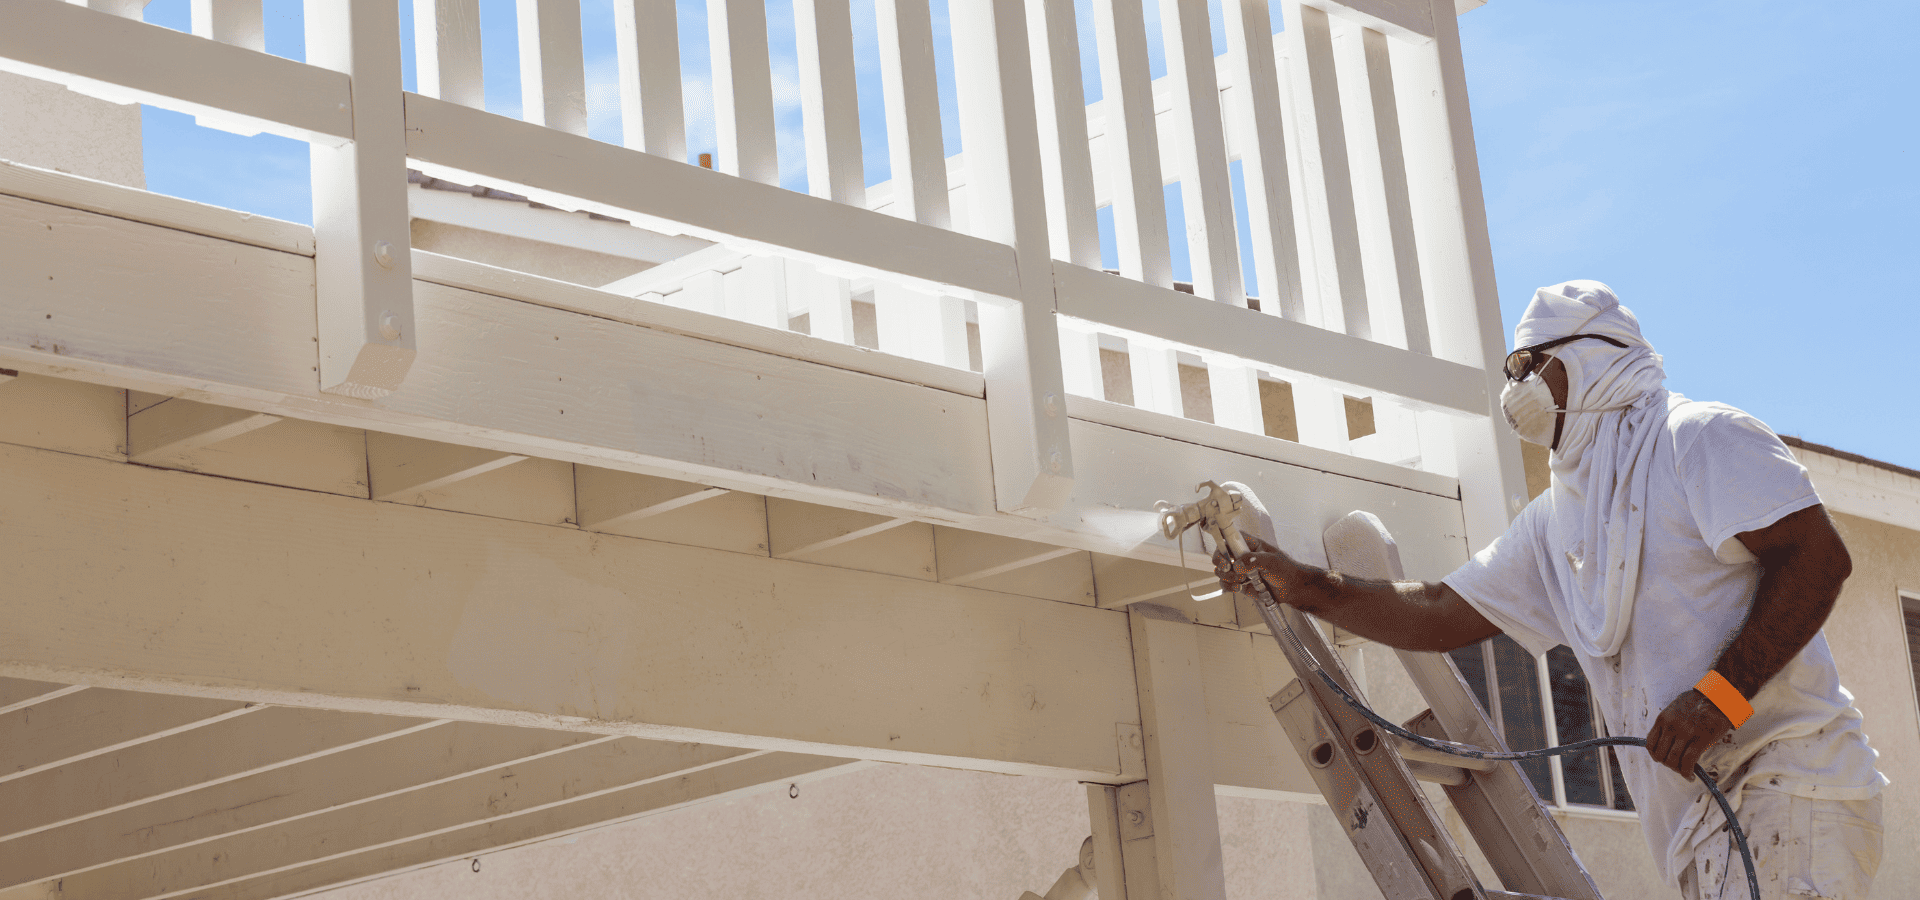
For spraying, the main points to take note of are to wear protective gear, mask off all areas where your overspray could get onto, and to spray at a steady pace. Not too quick, not too slow, so that the paint doesn’t end up pooling up or being sprayed too thin.
And whichever paint application technique you decide on, don’t forget to apply two coats or even more if needed.
Ending Tips
At this point, we’ve covered everything you need — from the tools and equipment you need to choosing the paint, cleaning and preparation, and then the actual painting of your mobile home.
So by now, you should know exactly how to go about painting your mobile home from start to finish, and assuming you follow the steps carefully, you’ll have no issues completing a successful and long-lasting paint job on your home on wheels.
The job doesn’t end with the painting though. Regular maintenance is still key to preserving the longevity of your paint job.
Clean regularly, inspect often, and remedy issues asap whenever you spot any, such as peeling, cracks, etc.
As long as you do your maintenance diligently, your paint job will last for years to come.
And just one last thing before we end off. If you find these steps overwhelming, you can always engage a professional
house painting company to take charge of the whole project and return you a professionally painted mobile home.
Recent Posts
