House Painting Techniques And Tips

Thinking of painting your own home?
Painting can actually be pretty therapeutic, especially if you love DIY projects or creating art.
Even if it’s not enjoyable, for the sake of cost-efficiency, many people still opt to paint their own homes, especially if it’s a small area or just a single room.
However, it’s not worth it to save on the
cost of a professional if you’re going to end up ruining your home’s aesthetics with a poor paint job, which is why it’s important that if you’re planning on painting your house, you know the proper techniques.
While painting walls may look simple on the surface, there’s a lot that goes into it — surface prep, pressure, angle, and consistency.
These techniques require practice to get the hang of, so be prepared that even if you know the theory of how to perform the technique, smooth and successful execution is still going to take some hard work and practice.
The fact is, even with practice, painting is still a tedious and messy task that involves many steps. And when fatigue sets in, DIYers often subconsciously start applying more or less pressure, resulting in thicker or thinner patches.
So even if you know the right techniques, success is far from guaranteed.
Nonetheless, knowing the techniques is definitely one of the keys to success, and that’s what we’ll be covering in this article.
Technique 1: Cutting In
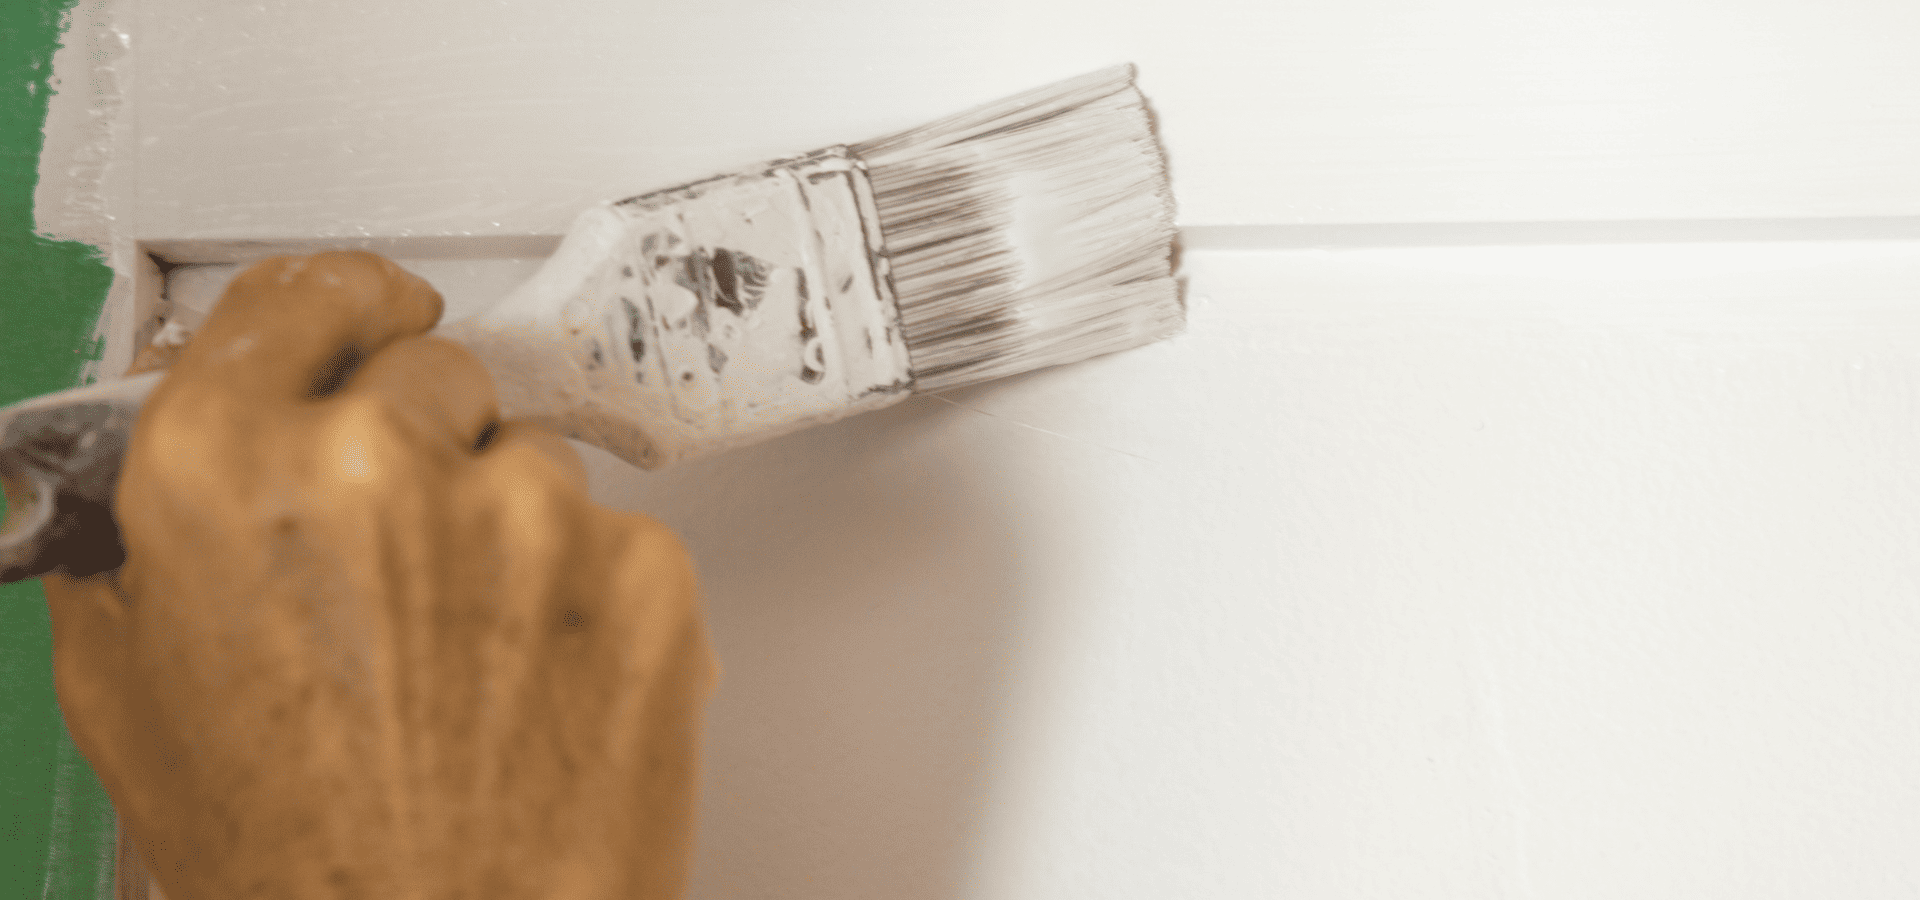
The first step in painting walls is always cutting in. Cutting in refers to painting corners, edges, and any other areas that a roller can’t get to.
Technically, you could also leave this for last, but by cutting in right at the start, you create clear borders for yourself to follow.
This makes it much easier when painting, as you won’t have to mentally decide each time how close your roller should go to the edges. It also reduces the chances of you accidentally painting outside of your intended painting area.
Here’s how to get the technique right:
- Hold the brush nearer to the bristles so that you have more control
- Pull gently. Don’t jab the brush hard into your wall or apply so much pressure that the bristles bend too much. Instead, there should be just a slight bend. Then, pull gently to paint your walls.
- Paint in one single, continuous motion. Don’t keep bringing the brush up. Short choppy movements will result in uneven texture.
- For each of your strokes, overlap them slightly. It’s impossible to align each stroke edge-to-edge. Trying to do so will only leave gaps.
And here are the steps to cutting in:
- Painter’s tape (Optional): This first step is optional, but if you’re worried about your brush going outside of the intended area, i.e. if you’re trying to paint the edges of your walls and you’re worried about it going onto the ceiling, simply stick painter’s tape along the edges and peel them off once you’re done painting.
- Dip your brush 1/3 of the way into the paint: There are a number of reasons why you shouldn’t dip your brush all the way into the paint, but the main reasons are that you don’t want uncontrollable dripping and you don’t want your brush to stiffen over time.
- Wipe the sides of your brush against the can or tray: This should be quite intuitive, but in case it isn’t, after dipping your brush into the paint, before you take it out, gently wipe both sides of the brush against the can or tray to remove excess paint and prevent dripping.
- Paint with the right technique described above
Technique 2: Rolling
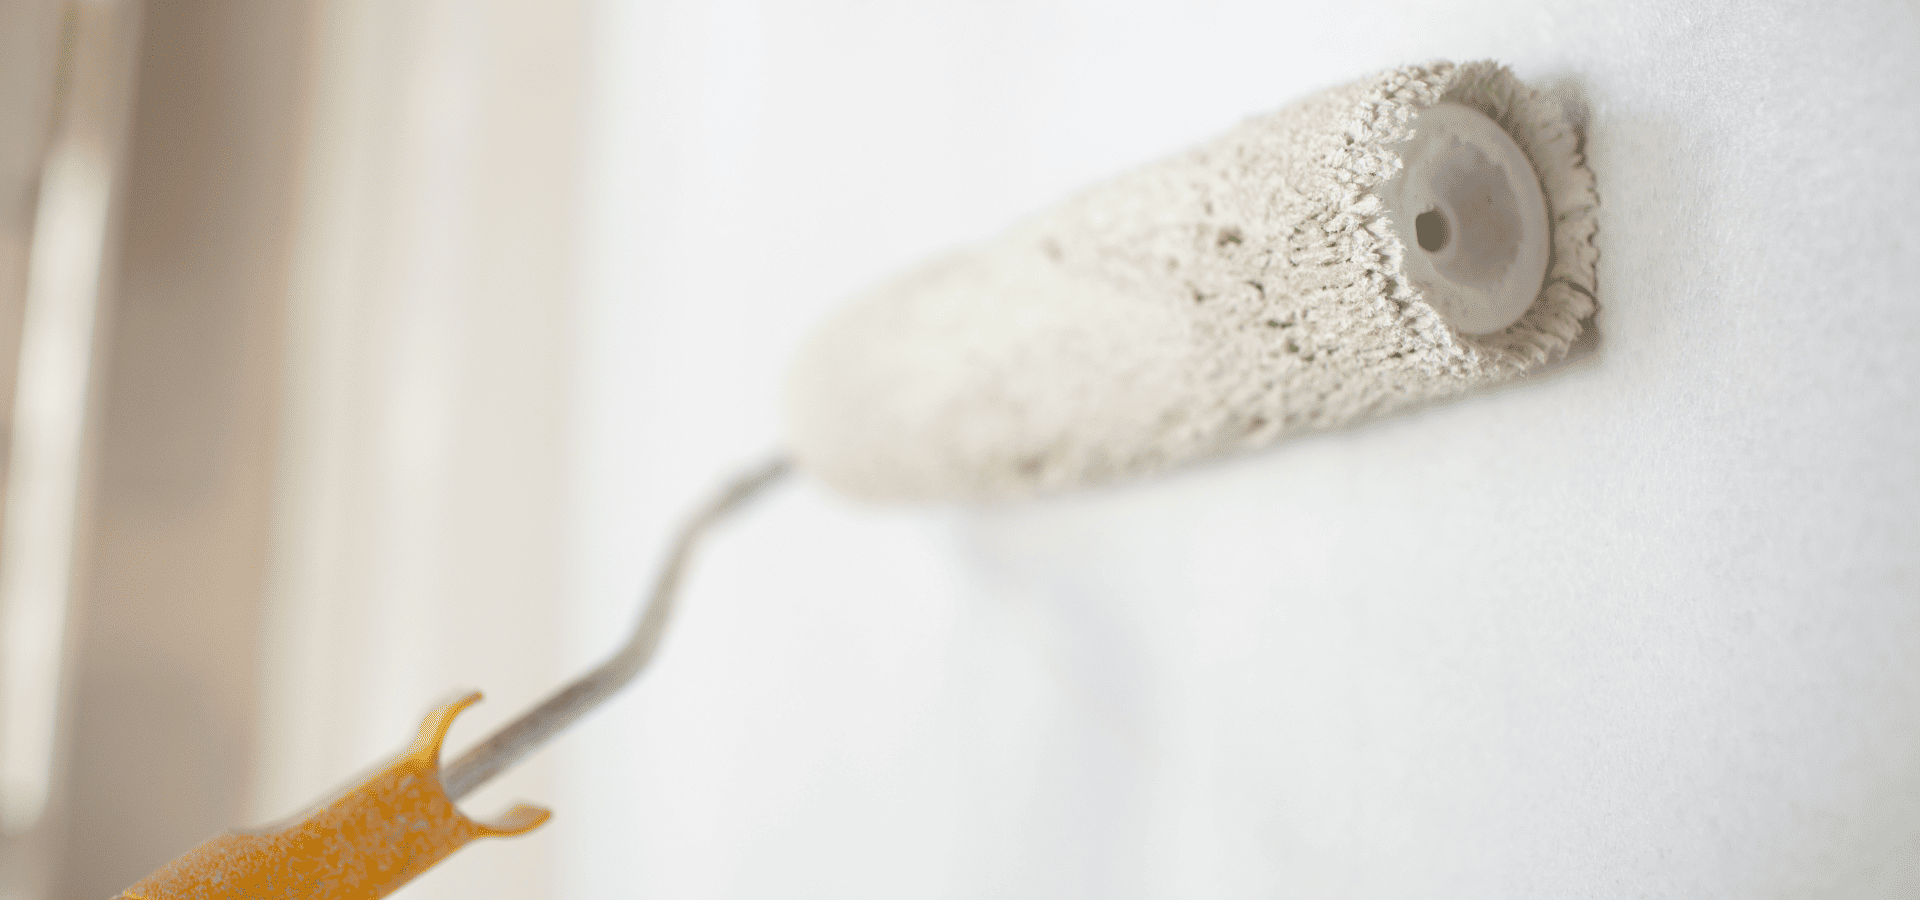
Once your cutting in is done and you have your borders clearly in place, it’s time to start the serious painting.
Note that you want to do the actual painting as soon as you can after you’re done with cutting in. This is so that you’ll be painting on wet paint and not dry paint, which can result in visible lines or lap marks.
For the rolling technique:
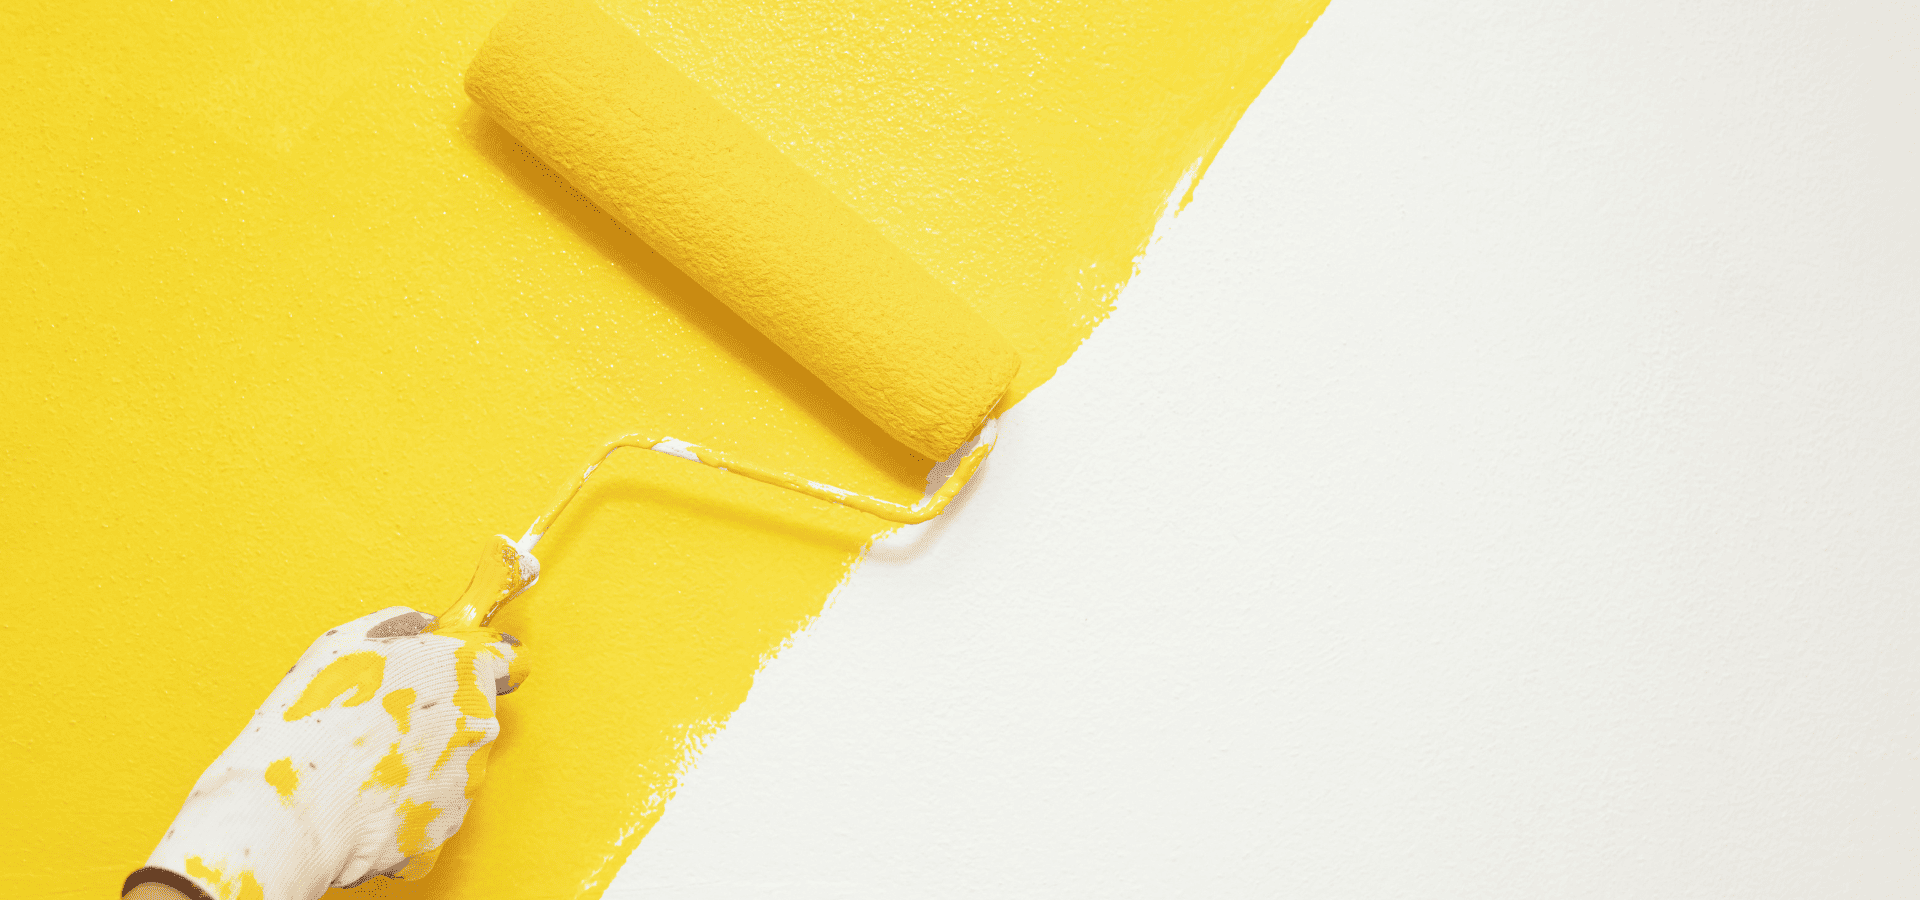
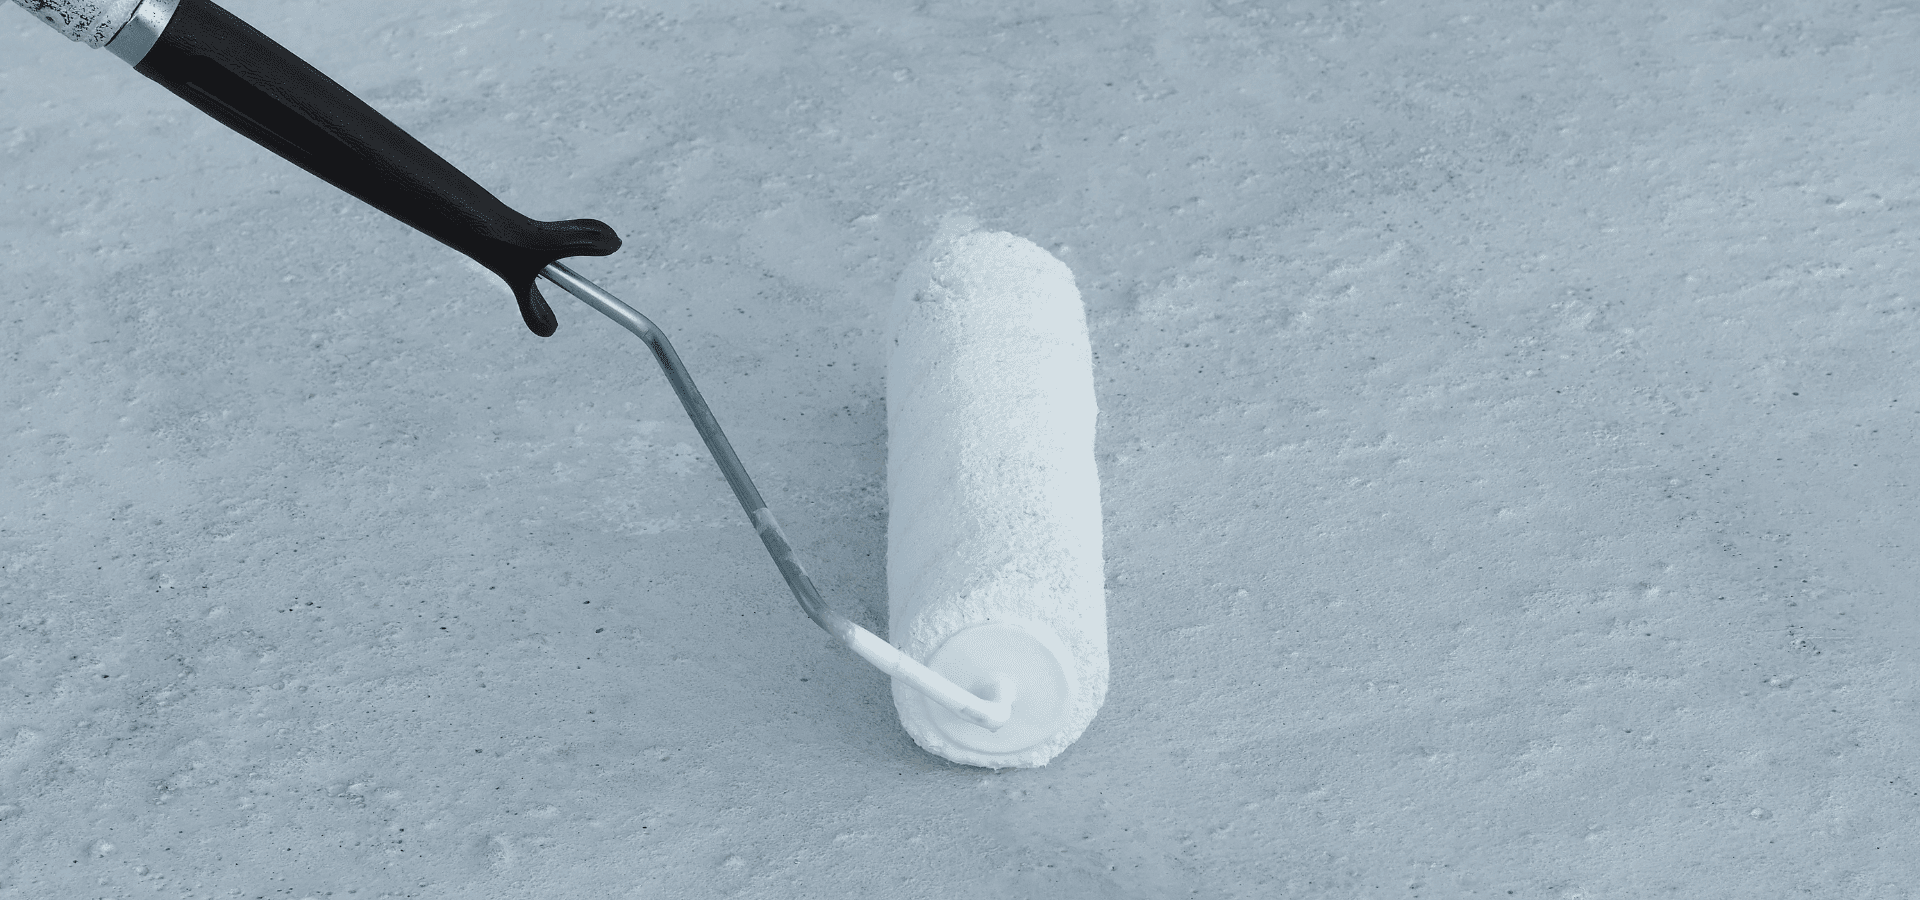
- Paint a “W” or “M” in a small, 3-foot by 3-foot section. Your roller should be quite thick, so as you can imagine, with only a 3-foot by 3-foot area to paint in, your W or M will be thin in width, not stretched out like handwriting, and that's the point. The gaps between the lines shouldn't be too big, not like a normal W or M would be. Think of it as painting W or M in super chunky block letters.
- Without lifting your roller, continue rolling it in vertical motions to fill up the gaps between your W and M. Yes, you will be going over the W or M multiple times, and the end result should be a square.
- Make sure to maintain even pressure as you paint. Don't press harder to get more paint out. Instead, go over the area as many times as needed.
- If you're tired, take a break. When you're tired, the fatigue often leads to homeowners either trying to rush the project and apply more pressure, or apply less, which results in uneven patches.
And here are the steps to ensure your painting goes smoothly:
- Paint ASAP after cutting in. As we explained earlier, this ensures no visible lines that shouldn't be there.
- Load the roller on a tray. Pour your paint onto a tray and roll your roller over it back and forth to cover it fully and thickly before you start painting. Don't dip the roller into your paint can directly or it will be covered too heavily and will drip.
- Paint in squares using the right technique described above until your walls are fully painted
- Make sure each square overlaps the previous one slightly. This is for the same reason as painting ASAP after cutting in — you want wet edges to overlap so that there are no visible lines, and you'll have a smooth finish.
Most of the time, you're going to need at least two coatings to ensure even coverage, so just follow the same techniques.
Note that for each layer, you'll also need to cut in again so that there won't be visible lines between the cutting in areas and your main painting area.
Technique 3: Finish Painting
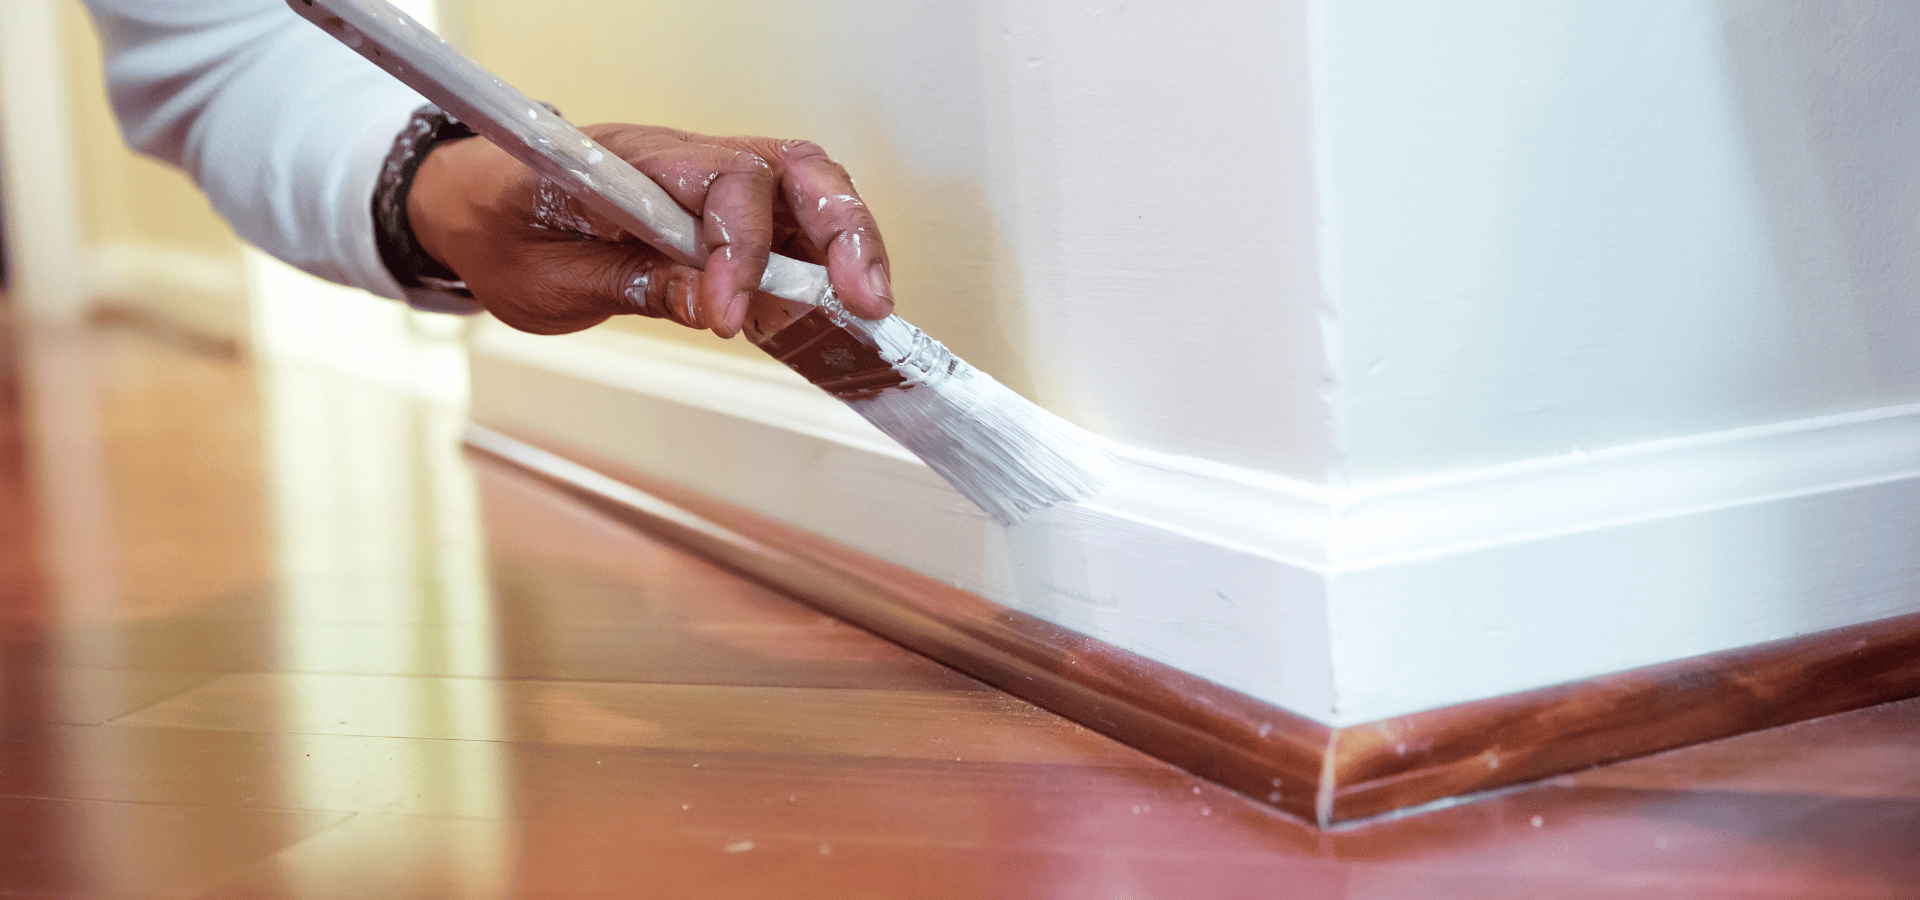
Finally, once your walls are painted, all that's left are your trim, doors, and detail work.
These don't need to be painted if they're in good condition, but if they're starting to yellow or have scratches or chips, they'll make your fresh, new paint job look out of place.
It's kind of like leaving your old, yellowing bathtub in your sleek, remodeled bathroom. It hurts the overall aesthetics, no matter how well the painting was done.
Since you'll be working on your doors, windows, and other elements that are going to have more edges and will require more dexterity, you'll want to use a brush instead of a roller.
It's also best to use an angled brush so that you can reach tight and awkward corners more easily.
For the paint, you'll want a glossy or semi-glossy finish. This is to help set them apart from your walls, and also because these finishes are more durable.
It's important to use more durable finishes for your doors, windows, and other detail work as these are high-traffic areas. They'll be exposed to because they’re going to be subjected to more stress and traffic. They’re going to be frequently exposed to friction from people touching them, may be exposed to harsh cleaning chemicals, and may even be exposed to more moisture, depending on their position.
So make sure to use paints with glossy or semi-glossy finishes.
As for the painting itself, here's how to get the right technique:
- Paint one-way and follow the grain, especially for wood. Don't go back and forth too much to ensure a smooth, even finish.
- Aim for fewer longer strokes rather than more smaller strokes, because those run the risk of more uneven painting and more edges and ridges.
- Of course, follow the basic rules mentioned earlier. Paint with consistent pressure and overlap your strokes.
Now for the steps:
- Dip your brush 1/3 of the way
- Wipe the sides of your brush against the can or tray
- Paint with the technique we just detailed
- Light sand between coats. Glossy or semi-glossy finishes reflect light better, so any imperfections like tiny bumps or ridges are more visible than with normal paint. As such, it’s a good idea to sand between your coats for glossy and semi-glossy finishes to remove these imperfections and ensure a smooth finish.
House Painting Tips
Now that you know all the necessary techniques for painting your home, here are some tips to help ensure the success of your project.
1. Always Test A Small Sample First
When you find a color that you really like, it can be tempting to start painting with it immediately.
However, a lot of times, what you see on a screen or a brochure will differ slightly from what it looks like in real life. It’s not that companies are trying to scam you, but rather, the lighting in real life is hard to capture perfectly in pictures, which results in pictures being a slight bit different.
The last thing you want is to buy multiple gallons of paint only to find out after a few strokes that it’s not quite what you wanted, or worse, only find out after you’re done with all the painting.
So while it’s going to be more hassle and will slow down your project a little, always purchase sample-size paint jars first and paint a small section of your walls to see if it’s really what you want.
These sample-size jars are usually 8 oz and won’t cost more than a few dollars. Think of it as insurance to guarantee you’re choosing the right color and saving yourself from wasting money on a larger can of paint that turns out to be different from your vision.
And don’t worry about having to clean off the small area you painted. You’ll be priming or painting over it.
2. Never Skip The Prep
Again, it can be very tempting to skip the prep and get right into your painting. After all, once you paint over your walls, who’s going to care what it looks like underneath right?
Well, that’s true, but the problem is that without the proper prep, your paint won’t adhere to your walls, and it’ll start peeling off pretty soon.
Particles like dust and gloss will make it hard for your paint to stay on your walls, so always clean your walls to remove the dust and sand to remove gloss if there’s any.
And obviously, you need to patch up any holes, dents, or cracks before you start painting.
Lastly, don’t forget your primer. It’s the final touch to ensure your surface is smooth and that your paint will adhere strongly.
3. Work From Top To Bottom
Lastly, don’t just start painting from anywhere you like. While you could technically do that and still be successful as long as you finished painting all the areas that needed painting, it’s best to start painting from top to bottom.
This means starting with the ceiling, then your walls, then the trim and other detail work. This is a simple strategy that ensures paint doesn’t fall onto any finished areas.
If you start from the top, then even if any paint does get onto the bottom areas, all you have to do is paint over it. But if you started from the bottom and paint got onto finished parts, you’d have to paint over it, which can create uneven patches or visible lines.
Conclusion
Painting is inevitably going to be a slow and tedious process that requires patience, and it definitely isn’t for everyone.
Still, knowing the right techniques is a great start, and with the tips we’ve provided, you’ll be much better equipped for success.
If you’re already dreading the idea of painting and all the work and mess that comes with it, you’re not alone. With the amount of effort, time, and patience required, many homeowners don’t just dread painting — they outright hate it.
That’s why we’re here.
At
Renewed Walls Painting, we take this burden off your shoulders, giving you peace of mind and allowing you to spend more time on things that you enjoy.
If you want expert help or don’t have time to do it yourself, Renewed Walls Painting is just a call away. We bring precision, care, and clean results to every house we touch.
Recent Posts
