How To Budget For House Painting: Costs Breakdown

House painting is generally not an expensive home project since all you need is really paint, a roller, a brush, and a few other relatively cheap tools and equipment.
Even if you factor in the cost of labor, a professional paint job is still on the lower end of home projects.
Nevertheless, you still need to have a proper, accurate budget for it. If you budget too little, you won't be able to finish the job or may have to compromise on paint quality, and if you budget too much, that leaves less for your other home projects.
To budget accurately, you obviously need to know the costs involved, which is why this article will break down the costs of house painting, as well as give you two ways to calculate how much to set aside based on the size of your house and the room you're painting.
We’ll also be going over the cost of professional vs
DIY house painting so that you can make a decision as to whether to engage professionals or not.
Let's get started.
House Painting Cost Per Square Foot
The easiest way to get an accurate idea of how much you'll need to spend is to calculate the surface area that you'll be painting and multiply that by the cost per square foot taken from national averages.
According to
Angi, here are the cost averages nationwide in the US for
professional painting the interior of your home:
- For just walls: $2.75/sqft
- Including ceilings and trim: $4.70/sqft
These costs are inclusive of both materials and labor, so they're all-inclusive.
In Raleigh, NC, you can expect to pay between $1.50 and $3.10 per square foot for just the walls, and between $2.40 and $5.40 if it’s including ceilings and trim.
So to get an idea of how much your home painting project will cost to have a professional do it, measure the length and width of all the walls and combine them to get the total surface area. Then, simply multiply this number by the averages provided above.
On average, the cost of interior painting an entire home is $2,021, although costs can go up as high as $5,800 or as low as just $350.
Keep in mind that many factors affect this price, mainly the size of your home, but also other factors like the paint used, the complexity of the job, and the amount of prep work needed.
If you don't want to go through the hassle of measuring all the walls in your home, you can simply take the average cost of interior painting for a house, which is $2,021, and increase or decrease it accordingly based on whether your home is larger or smaller than average.
Or if you're only painting certain rooms and not your entire home, read on to our next section, where we break down painting costs by room type.
House Painting Costs By Room
So one easy way to calculate the cost of your house painting project is by multiplying your surface area by the per square foot cost averages.
Here's another easy way, which is to simply take the average cost based on the type of room that you're painting.
According to Angi, these are the prices you can expect to pay for each room:
| Room | Cost |
|---|---|
| Bathroom | $200-400 |
| Bedroom | $300-750 |
| Kitchen | $300-750 |
| Living room | $900-2,000 |
These costs are all-inclusive and take into account the complexity and type of walls being painted, and the final price will vary depending on the size of the room. So if you have a larger living room, expect to pay on the higher end of the range, and vice versa if your living room is smaller.
The cost of professional painting in Raleigh, NC, is in line with national averages, so you can use the estimates above for your Raleigh or North Carolina home.
Remember, if you have an average-sized home, you can simply take the nationwide average of $2,021. Just make sure to budget an additional buffer of 10-20% to cater for unexpected costs like extensive drywall repairs.
Cost Breakdown: What Are You Paying For?

The cost of paint for an average bedroom of 12 x 12 ft is usually around just $100-150, including primer and accounting for two coats. Surface damage repair, which is part of surface prep, adds about another $50.
So why then, you must be wondering, does the cost to paint a bedroom go up to $750?
Well, the fact is, the majority of the cost of professional painting actually goes to labor, a good 65-85% in fact.
This may at first glance seem somewhat unreasonable, but it’s actually not.
For a simple 12 x 12 ft room, the whole process can take up to 7-10 hours, even for professionals. It includes repairing the surface if there are any damages, surface prep, cutting, painting, then drying, then another round of painting, and then cleanup.
If you add in trim, that’s going to almost double the amount of time needed, because trim usually requires at least 2-3 coats, with several hours of drying in between coats. The glossier paint used for trim is also more expensive.
So when you consider how much time painters need to spend, even for simple paint jobs, it’s no wonder that a large portion of the budget will go towards labor. It’s not that they’re charging a lot per hour, but rather that they have to spend a lot of time on the job
And don’t forget that you’re not just buying their time, but also the expertise that they’ve built up over the years, that’s going to give you a flawless finish. In most cases, the job will also include a warranty that protects against any quality issues, which almost guarantees that you’ll get a job well done since the painting company will have to redo the job if otherwise.
You’ll also be saving on the cost of the tools, which, to be fair, won’t add up to hundreds, but will still cost you some money, around $70-100.
All things considered, professional painting prices are pretty reasonable once you understand how much time painters need to spend on even simple jobs.
So to recap, here’s a cost breakdown of professional painting for a 12 x 12 ft room:
| Expense | Cost |
|---|---|
| Paint + primer | $50-200 |
| Surface repair materials | $50 |
| Labor | $200-500 |
| Total cost | $300-750 |
In comparison, here’s how much you’d spend if you DIYed the project instead:
| Expense | Cost |
|---|---|
| Paint + primer | $50-200 |
| Surface repair materials | $50 |
| Tools | $70-100 |
| Total cost | $170-350 |
If you DIY, you can expect to spend about half as much as if you hired professionals instead.
But you’ll probably spend more time, do a poorer job, and you won’t be able to fix any moderate or larger damages on your wall.
Wall damage is a complicated and tricky task that’s best left to professionals. When homeowners attempt to carry it out on their own, most of the time, they either fail or do a very unsightly job.
So if you’re going to paint your own walls, first check if there are any moderate damages. If there are, get a pro to patch it up first before beginning your painting.
Even assuming your walls are in perfect condition though, the end result of your painting is still likely to be of a lower standard than if you had engaged a pro, and if you screw up anything, that’s on you. You don’t have a warranty you can fall back on.
In short, hiring a professional painting company may cost you more, but it’s worth every penny and will pay off in quality, peace of mind, and time and energy saved.
What Affects The Price Of Professional Painting?
Two walls that look almost the same to the untrained eye can fetch largely different quotes from the same house painter.
A trained eye can immediately spot issues that are going to drive up the complexity or amount of work that needs to be done.
Here’s what decides how much it’s going to cost to get your space painted.
1. Prep Work & Repairs
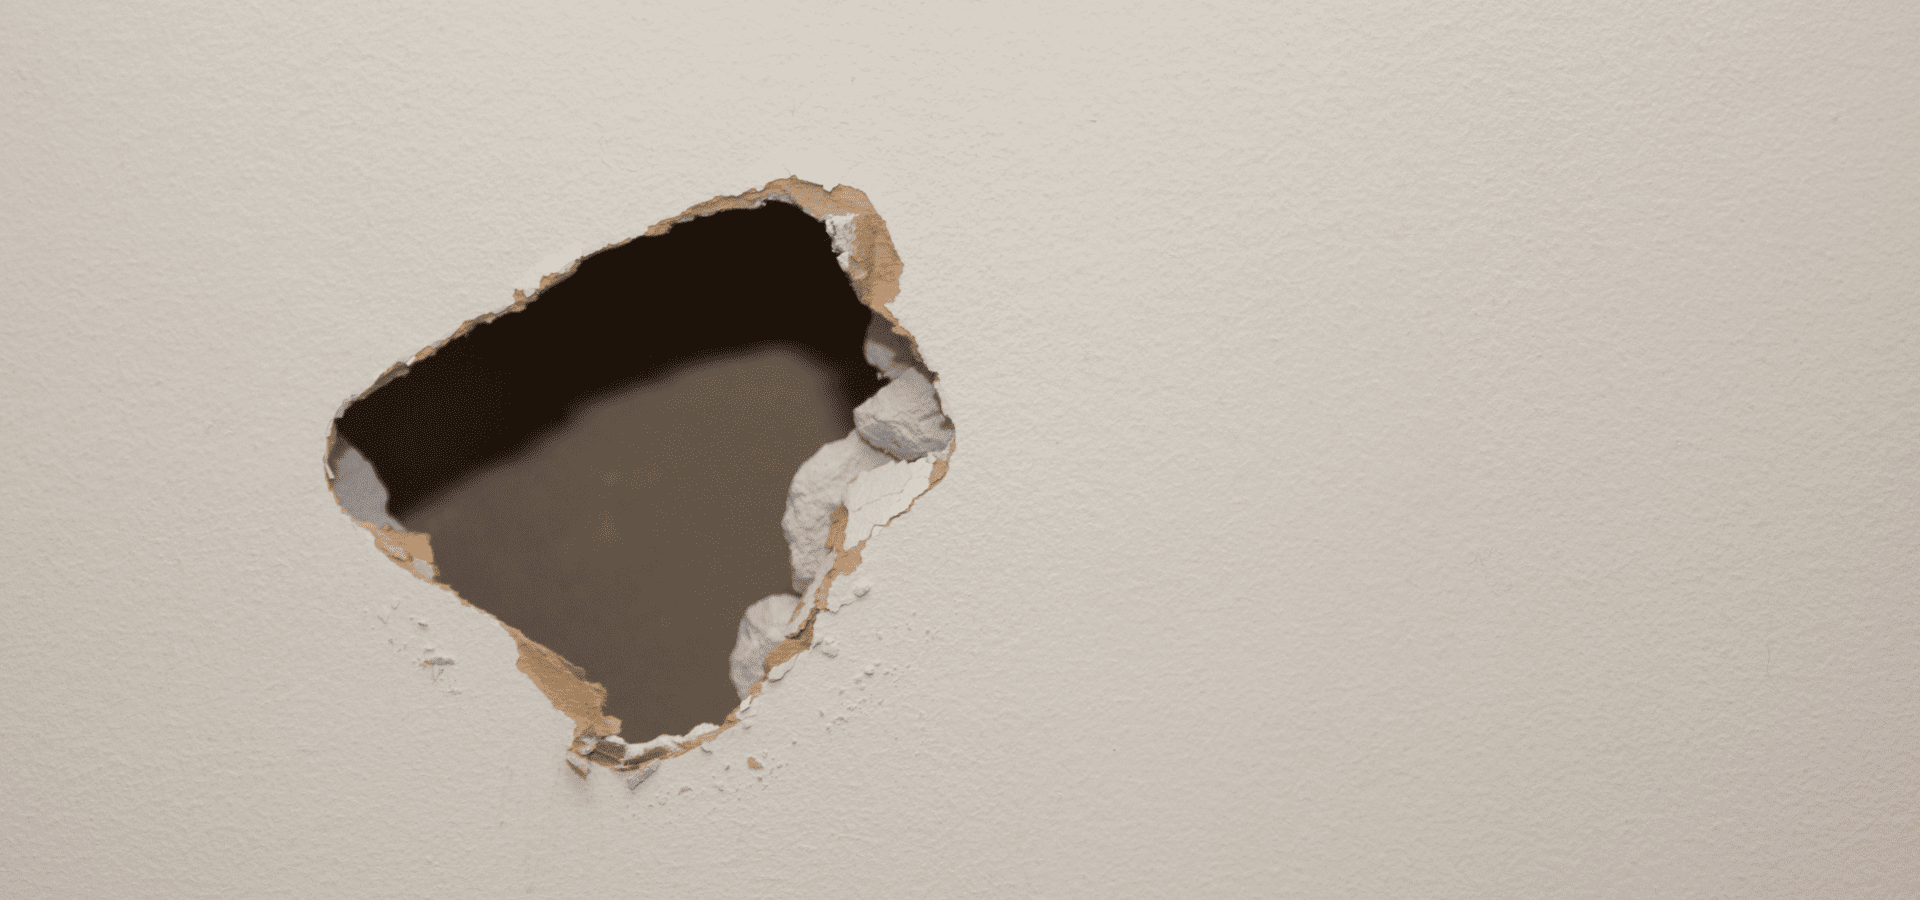
Prep work and repairs can add quite a bit to the final cost, but they’re necessary, because without a properly prepped surface, you just can’t paint well over it, and your paint job may not last long.
To properly prep your surface, the hardest part is actually repairing damages. A simple crack or dent requires multiple steps and tools to patch up and adds more time to the preparation.
The bigger the damage, the harder it is to repair, and the more costly your prep work and repair are going to be.
2. Paint Quality And Coats
Paint doesn’t cost a lot, but if you’re opting for more premium or higher-quality paints, they can actually add quite a bit to the project. The cost of higher-quality paints can be double or even triple that of normal paint.
Also, the number of coats will obviously directly decide how much paint is needed, which adds to your final cost, both in materials and labor. More coats of paint may be needed in certain situations, such as when painting over dark colors with lighter colors, using lower-quality paint, and so on.
3. Complexity
There are many things that can make a paint job more complex.
It could be:
- High ceilings
- Detailed trim
- More windows or doors
- Tight spaces
- Textured walls or ceilings
- Oil-based paint
- Textured paint
Look out for the things in the list and factor them into the complexity of your space, and then adjust your budget accordingly,
4. Room Size
Finally, there’s no explanation needed for this one. Larger rooms means more to paint.
Ending Tips
Now that you understand the various costs of house painting, what affects the final cost, and how much you should be budgeting, here are some final tips before we end off:
- Do some of the prep yourself. You can have the quality and expertise of professional painters without paying the full price, by taking on some of the less complicated work yourself. Move the furniture aside, patch small damages (ONLY small damages, leave the larger ones to the pros), clean the walls, and so on.
- Let the painter buy the paint. It can be tempting to try and source the paint yourself, thinking that this prevents the painter from overcharging you. However, contractors and companies purchase in bulk, which gives them access to better prices, even up to 50% off, and they know the right paint to buy. Yes, there’s a possibility that they might overcharge you, but most reputable pros won’t risk their reputation over such a small amount.
- Paint during the off-season. During late fall and winter, many people cut back their home improvement spendings and focus on travelling and year-end expenses. As such, companies tend to offer better prices to attract more customers during this time. If it’s interior painting, it won’t be affected by late fall or winter like exterior painting will, so you can schedule it in the off-season and possibly get better prices.
That’s all for this article, happy painting!
Recent Posts
