DIY House Painting Comprehensive Guide

Painting a house is no mean feat. It's definitely not as simple as buying the paint, covering your roller in it, and rolling over your walls.
Before you even begin the painting, you need to prepare your walls. And before you start prepping your walls, you need to have the paint ready, which means you need to know how to choose the right paint and finish.
And then there's the painting. You'll be painting your walls, your doors, your windows, and so on. These require various painting techniques and tools for different phases of the painting.
So if you're DIYing your house’s painting, you're going to need to know how to choose the right paint and finish, how to prepare your walls, the techniques to paint for different areas and phases, and the right tools to use, as well as the pitfalls to look out for.
Not sure how to do any of that?
Then you’re in the right place.
By the end of this article, you’ll know exactly how to go about each step of your house painting and you’ll have a clear idea of what it takes to successfully paint a home.
1. Choosing Paint
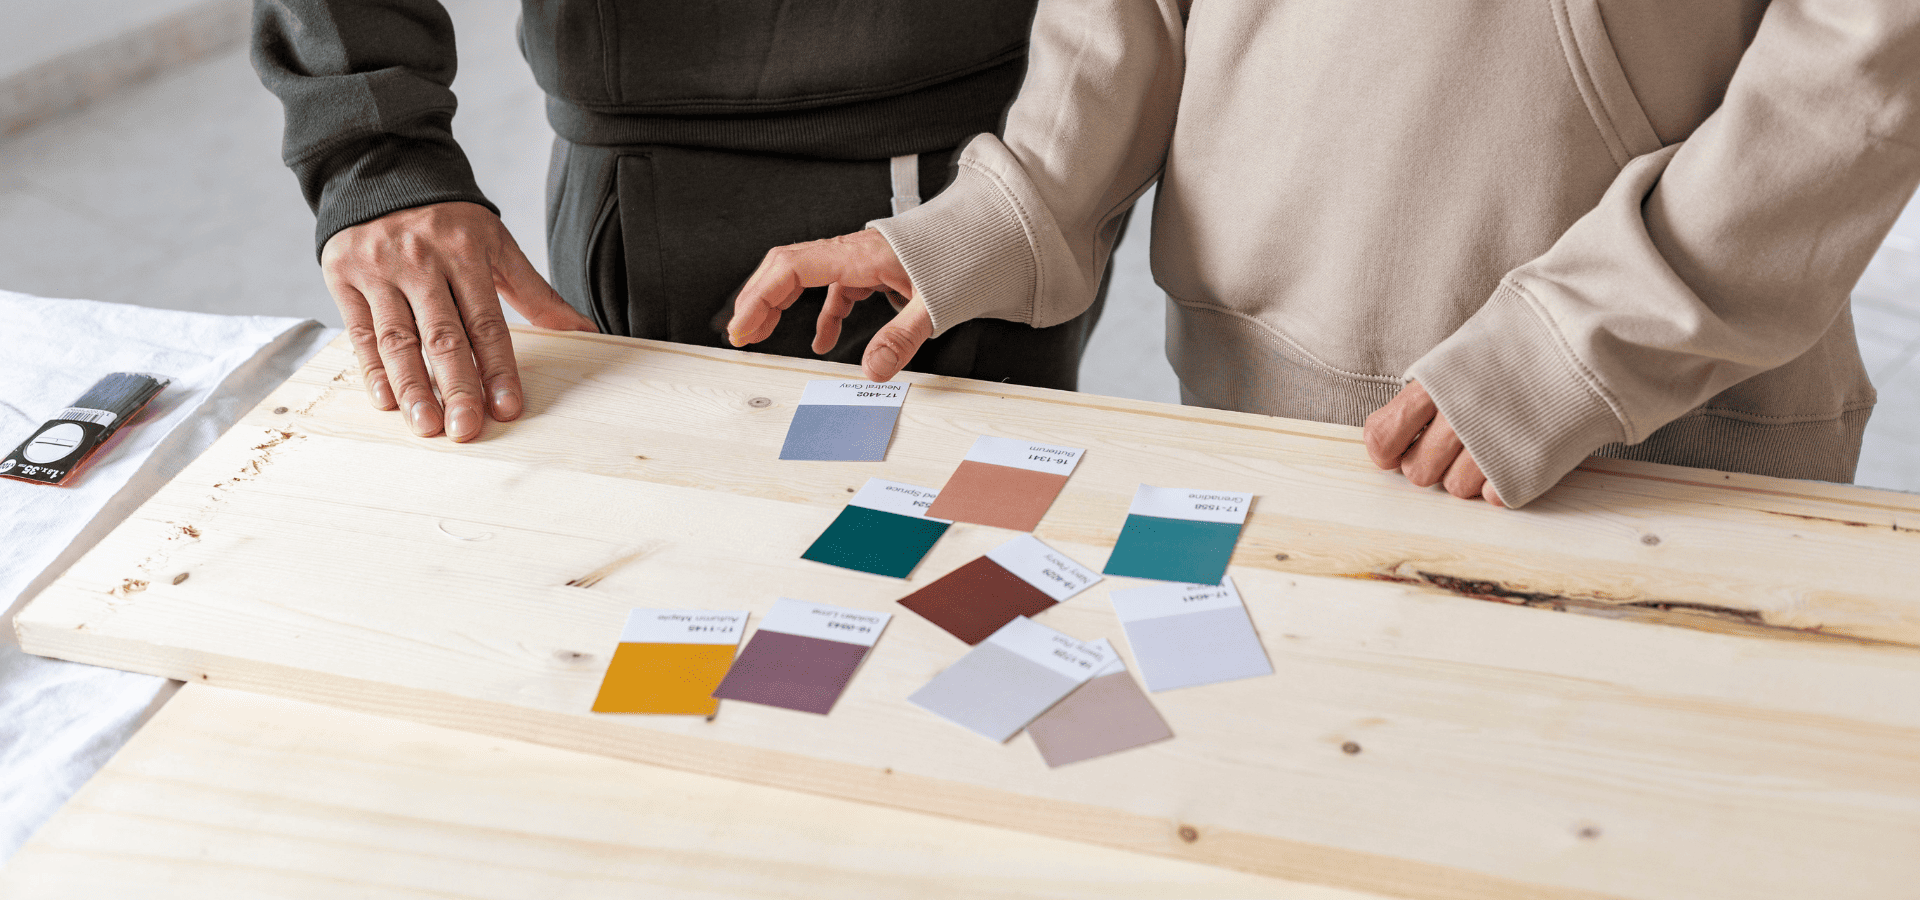
The color will be entirely up to your personal preference, so we won’t go into that. Instead, here, we’ll explain how to choose your type of paint and the finish, as well as how to know how much to buy.
Paint Type
There are two types of paint — oil-based and latex (water-based) paint.
The main differences between the two are durability, ease of cleaning, and drying time.
Oil-based paint is more durable and tougher than latex paint, but the problem is that it’s also harder to clean up your tools afterwards, and any drips or spills. There will also be a stronger odor, and it takes much longer to dry.
So while latex paint is less hardy, it’s a lot easier to clean up, dries a lot quicker, and has very low odor.
With latex paint, all you need is soap and water for clean-up, whereas for oil-based paint, to clean it off your tools or to clean up any spills, you’re going to need to use mineral spirits.
And if you’re using oil-based paint, you’ll need to wait anywhere from 8-24 hours for it to dry before you can apply subsequent coats, whereas with water-based paint, it’s just 1-2 hours.
So in short, oil-based paints are more durable, but have a stronger odor, are harder to clean, and you need to wait much longer for them to dry. You also need to maintain optimal conditions during the drying time.
Given how much more trouble you’ll have to go through with oil-based paints, and the fact that the added durability isn’t really necessary for most areas, for most people, latex paint is going to be the best choice.
In many regions, oil-based paints are also heavily restricted or banned for indoor use due to VOC emissions, so you might not even have a choice.
Oil-based paint can still be used sparingly for high-traffic areas that warrant tougher paint, but for your walls, water-based paint is going to be your best option.
Finish
The finish is a concept that many people often get confused by. The paint finish refers to the texture of the paint, or more specifically, how shiny it is.
Basically, think of it as the mood or personality of your paint. The color doesn’t change, but you can make the color more muted and softer, or shinier and louder.
In addition, the glossier the finish, the more durable it is, as glossier finishes have more resins, which makes them harder and better able to resist elements like dust, dirt, and moisture.
There are five main finishes, from least glossy to most glossy:
- Matte
- Eggshell
- Satin
- Semi-gloss
- Gloss
Here’s where to use each type of finish:
- Living room: Eggshell
- Bedroom: Matte/eggshell
- Kitchen: Satin/semi-gloss/gloss
- Bathroom: Semi-gloss/gloss
- Hallways: Satin/semi-gloss
How Much To Get
Whether you’re going to Home Depot, Sherwin-Williams, or Lowe’s, the staff will usually be there to help you figure out how much to get. You just need to give them your room dimensions, surface types, and the number of coats you’ll be doing.
In fact, some stores even have paint calculators.
If you’re still worried and would rather decide for yourself, a good rule of thumb is to get one gallon of paint for every 400 square feet of coverage. That’s for a single coat, so multiply that by however many coats you’re doing.
2. Tools & Materials
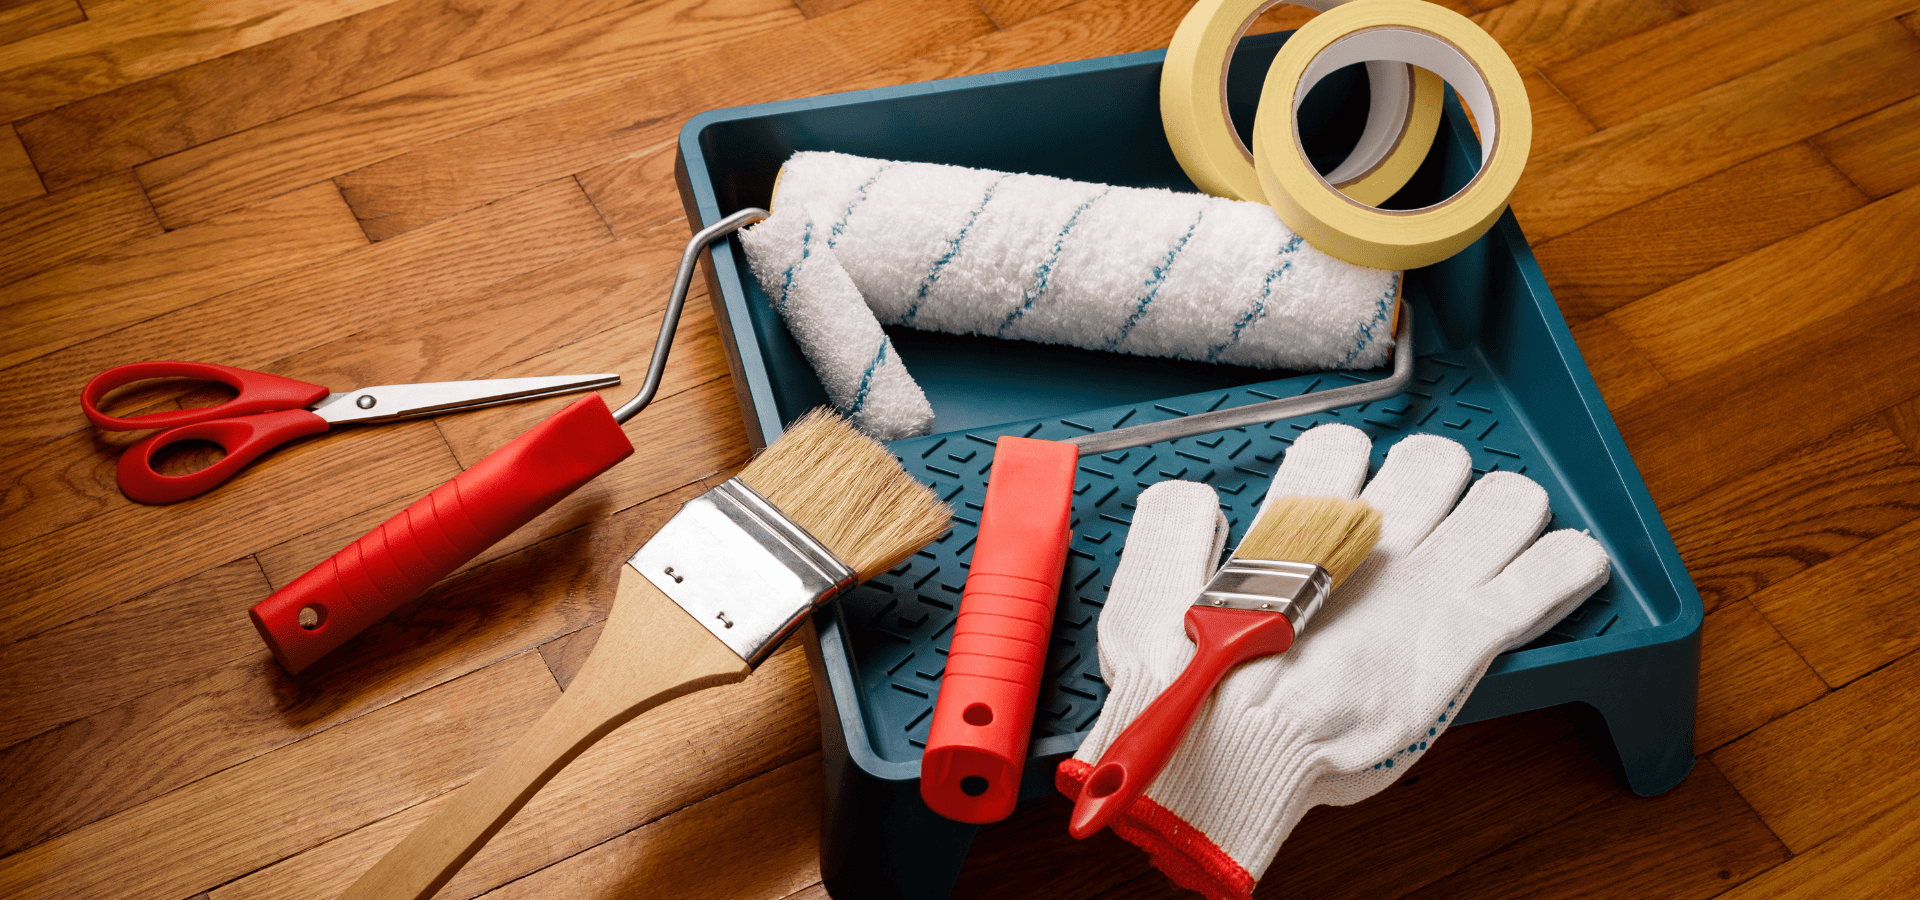
Next, here are the tools and materials you’ll need for each step of the painting.
Prepping Your Walls
First off, you need to clean the surfaces so that dust and dirt won’t prevent your paint from adhering properly. For this, you’ll need:
- Water
- Mild detergent/Degreaser (for kitchen walls)
Next, if there are any holes, cracks, or dents in your walls, you need to repair them first before painting over them. Otherwise, if you wait till after painting to patch them, you’ll then need to repaint the patched area, which is not only troublesome, but can leave visible lines between the newly painted area and the previously painted area.
For this step in particular, it’s actually highly recommended that you leave it to the professionals like us. Drywall repair is quite tricky, and when homeowners DIY it, 90% of the time, it turns out to be a very poorly done unsightly patch job.
But just to give you an idea of what’s needed:
- Drywall saw
- Utility knife
- Tape measure
- Power drill
- Drywall screws
- Drywall tape
- Taping knife
- Mud pan
- Sanding sponge
Finally, the last step of your wall prep is priming it for painting. You’ll need:
- Primer
- Separate brush and roller from the ones you use for painting
- Paint tray with liner
Painting
Moving on to the actual painting work, for painting, there won’t be too many additional tools and materials needed besides the paint and the brush or roller.
For the first step, cutting in, you’ll need:
- Paint
- Angled brush (ideally, but a normal brush can work too)
Then, for the regular painting:
- Paint
- Paint roller frame
- Paint roller covers (these are to put on the roller frame to form the complete roller and are usually sold separately, so you need to assemble the roller yourself)
- Paint try with liner
- Roller extension pole (if needed for ceilings or taller walls)
For trim and other detail work, same as with cutting in, it's going to require more manoeuvring, so use an angled brush and a mini roller for wider sections.
Clean-Up
For the clean-up, it's entirely up to you what tools you want to use. You'd be cleaning it the same as you would any other mess of your home, save for one small thing to take note of.
Like we mentioned earlier, if it's oil-based paint, you're going to need mineral spirits, even if it’s just drops on the ground and you’re cleaning it off immediate;y.
Other than that though, how you clean up the rest is up to you. There aren’t any special tools for cleaning up after painting.
3. Prepping Your Space
Now that you have your tools and paint, all that’s left to do is prepare your space before you start painting.
Here are the steps:
- Start by moving items to another room or to the center of the space. These include your furniture, shoes, appliances, and so on.
- Then, lay down drop cloth to protect your flooring from potential spills
- Cover or remove your light fixtures, ceiling fans, and other wall-mounted items like curtain rods, shelves, nails, hooks, etc, so that paint doesn’t get onto them
- Remove outlet and switch covers so that you can paint up till the edges of the outlet, and then cover the outlet or switch with painter’s tape, so that you’ll only paint around the outlet or switch, not onto it
- Clean your walls with soap and water or degreaser if needed for kitchen walls. Otherwise, with dust, dirt, or oil on the walls, paint won’t adhere tightly and will peel off very soon.
- Patch up any holes, cracks, and dents. Again, to reiterate, this part is best left to professionals like Renewed Walls Painting, because it’s just too tricky for homeowners to handle.
- Sand your surface lightly if glossy paint was previously used. Glossy paints are meant to resist dust and dirt, so if you try to paint on them directly, it won’t adhere well.
- Apply primer if you’re painting over dark colors or if the previous layer of paint was oil-based and you’re using latex instead this time round
- Lastly, use painter’s tape to protect areas that you don’t want paint to get on, eg window and door trim.
4. Painting
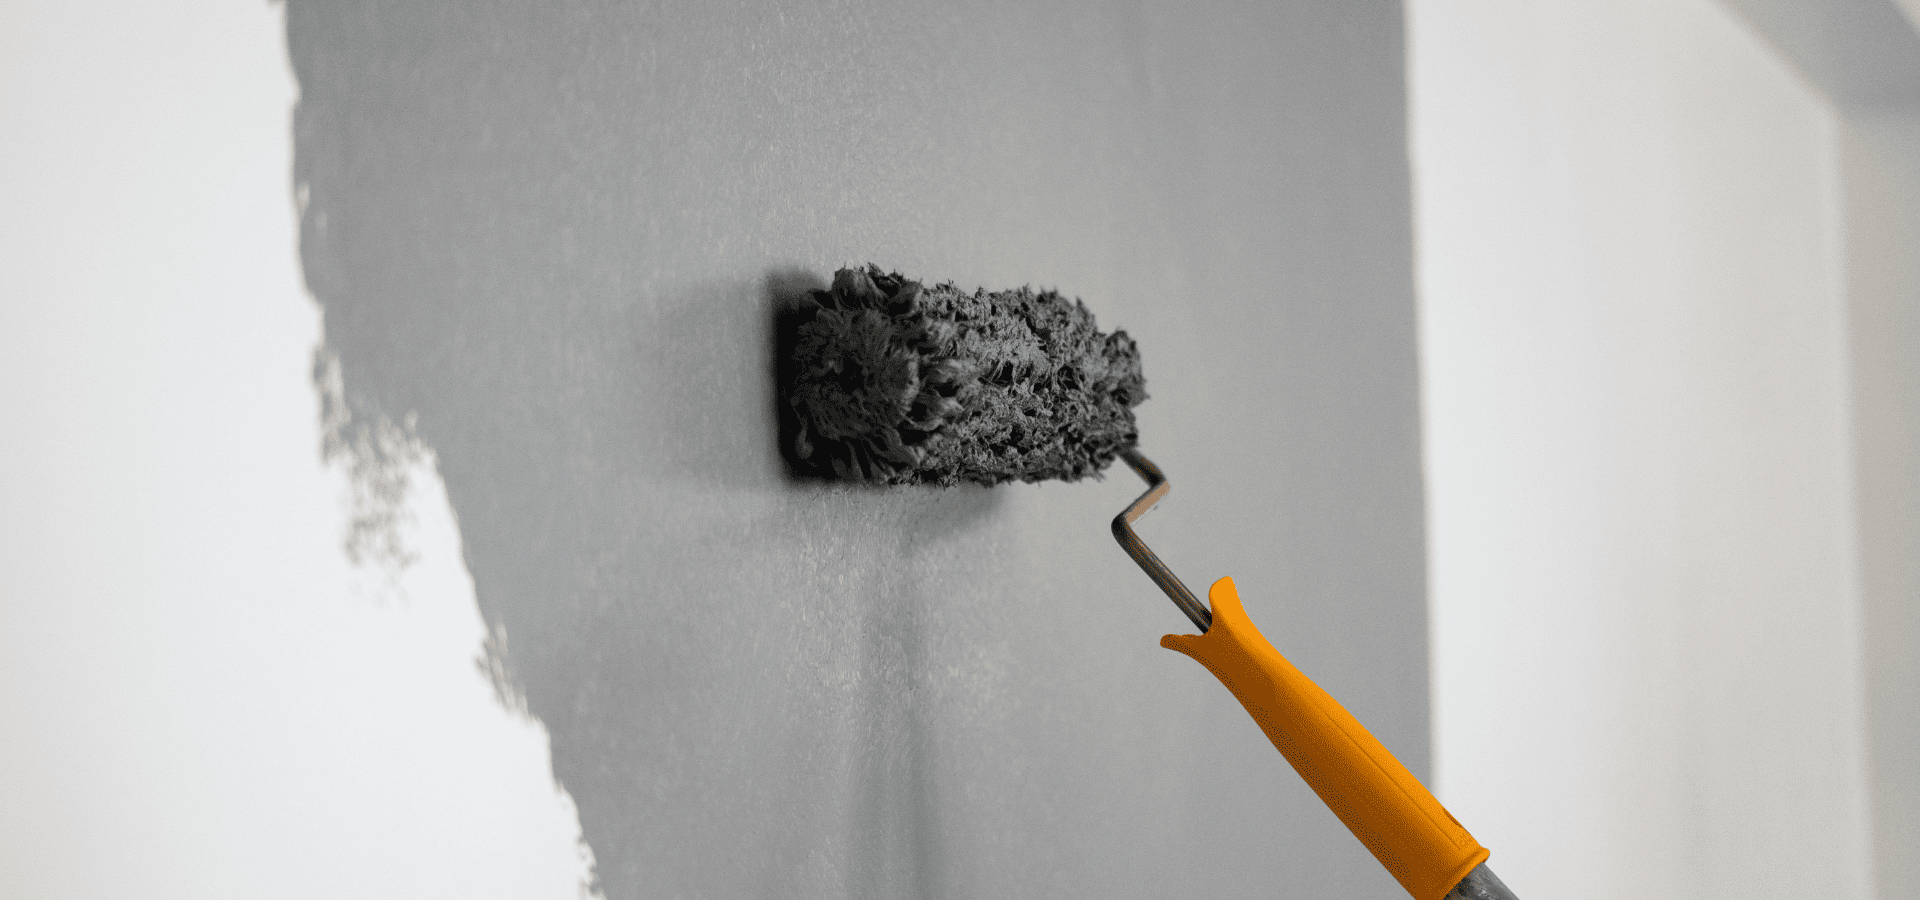
With your space all prepared and ready for a new layer of paint, it’s time to begin the painting.
Start from the top to bottom so that paint won’t drip onto completed areas. So begin with the ceiling, then your walls, and then your trim.
From here, since you already have the tools, you can start painting. Just make sure to paint with the right techniques and follow best practices.
As we mentioned at the beginning, there are various techniques and best practices that you need to follow to get a smooth finish. These techniques need to be explained in detail, and there are various things to take note of when painting different parts of your home and using different tools.
For example, you need to ideally paint in a “W” or “M” pattern, hold the brush the right way, maintain a wet edge, and so on.
There are quite a few things to be aware of to get the right technique and ensure your painting goes smoothly, way too much to cover in a single section.
As such, we wrote an entire article dedicated to painting techniques. Check out our
guide on painting techniques and tips.
5. Drying & Curing
After you’re done painting your walls, you need to let them dry and cure. Drying should be relatively quick, within a couple of hours for water-based paint.
Afterwards comes the more challenging part — curing. Curing isn’t complicated, but you need to ensure nothing gets into contact with it during this time.
Curing refers to the process where your paint fully hardens and becomes as durable as it can be, which usually takes 2-4 weeks.
During this time, it’s not fully hardened, so it’s vulnerable to scratches, smudges, and sticking to other surfaces.
That’s why you need to minimize any contact with your walls during the curing phase, so that you’ll have a perfect, blemish-free finish.
Conclusion
With that, you now know the full process to paint your home yourself.
That doesn’t guarantee a smooth, flawless finish though, far from it.
The part that most people mess up at is the painting. Lots of things can go wrong. You could apply uneven pressure, your strokes may not be smooth, or you wait too long between strokes, resulting in visible lines between the strokes.
Just knowing the theory isn’t enough. Practice is what ensures that you can actually apply the techniques correctly and consistently.
So don’t rush to begin painting your house until you’ve gotten the hang of the techniques.
If you're painting other surfaces besides just your walls, ceiling, and trim, check out our guide on painting different surfaces.
And if you're painting for home resale, you should be approaching the way you paint your home quite differently. Here's how to paint your home for selling in Raleigh.
Finally, if you have leftover paint (which you likely will), here's
how to dispose of and recyle your paint.
Recent Posts
