How To Paint Stair Railings (Step-By-Step Guide)

Your stair railings don't take up as much surface area as your walls or even your cabinets, but just like how adding a vase can elevate a dining table's aesthetics, painting your staircase railings can improve the overall look of your home.
For example, painting your railings a sleek black can instantly change your home’s vibes from farmhouse to modern and contemporary.
Painting stair railings is generally less tiring than painting walls and more straightforward. You do need to be a bit more careful, as you'll have to manoeuvre around various tight spots and corners, but overall, it’s a lot less painting to do, and it’s relatively simple, with fewer things to take note of.
Here’s how to go about it.
Gather Your Supplies
These are the supplies that you’ll be needing:
- Mild detergent and degreaser
- Sandpaper (Medium and fine grit)
- Painter’s tape and drop cloths
- Wood filler
- Paintable caulk
- Angled brush
- Primer
- Enamel trim paint in satin or semi-gloss finish
Step 1: Carry Out Repairs
Whatever you’re painting, you should never be painting over damages. Otherwise, when those damages worsen, they’ll compromise your paint and lead to issues like peeling and bubbling.
Here are the various damages and how to fix them:
- Loose spindles: Secure any wiggling spindles with wood glue at the top and bottom if the gap isn’t too big. If it’s too big of a gap, use wood filler instead, let it dry, and then sand it smooth.
- Cracks, dents, and holes: Fill them up with wood filler slightly higher than the surface level, as it’ll shrink as it dries. Then, once the filler has dried, sand them smooth.
- Rust (for metal railings): Scrub the rust off with a wire brush or sandpaper, then continue scrubbing until the surface is smooth, and then apply a rust-inhibiting primer before painting.
Step 2: Cleaning And Sanding
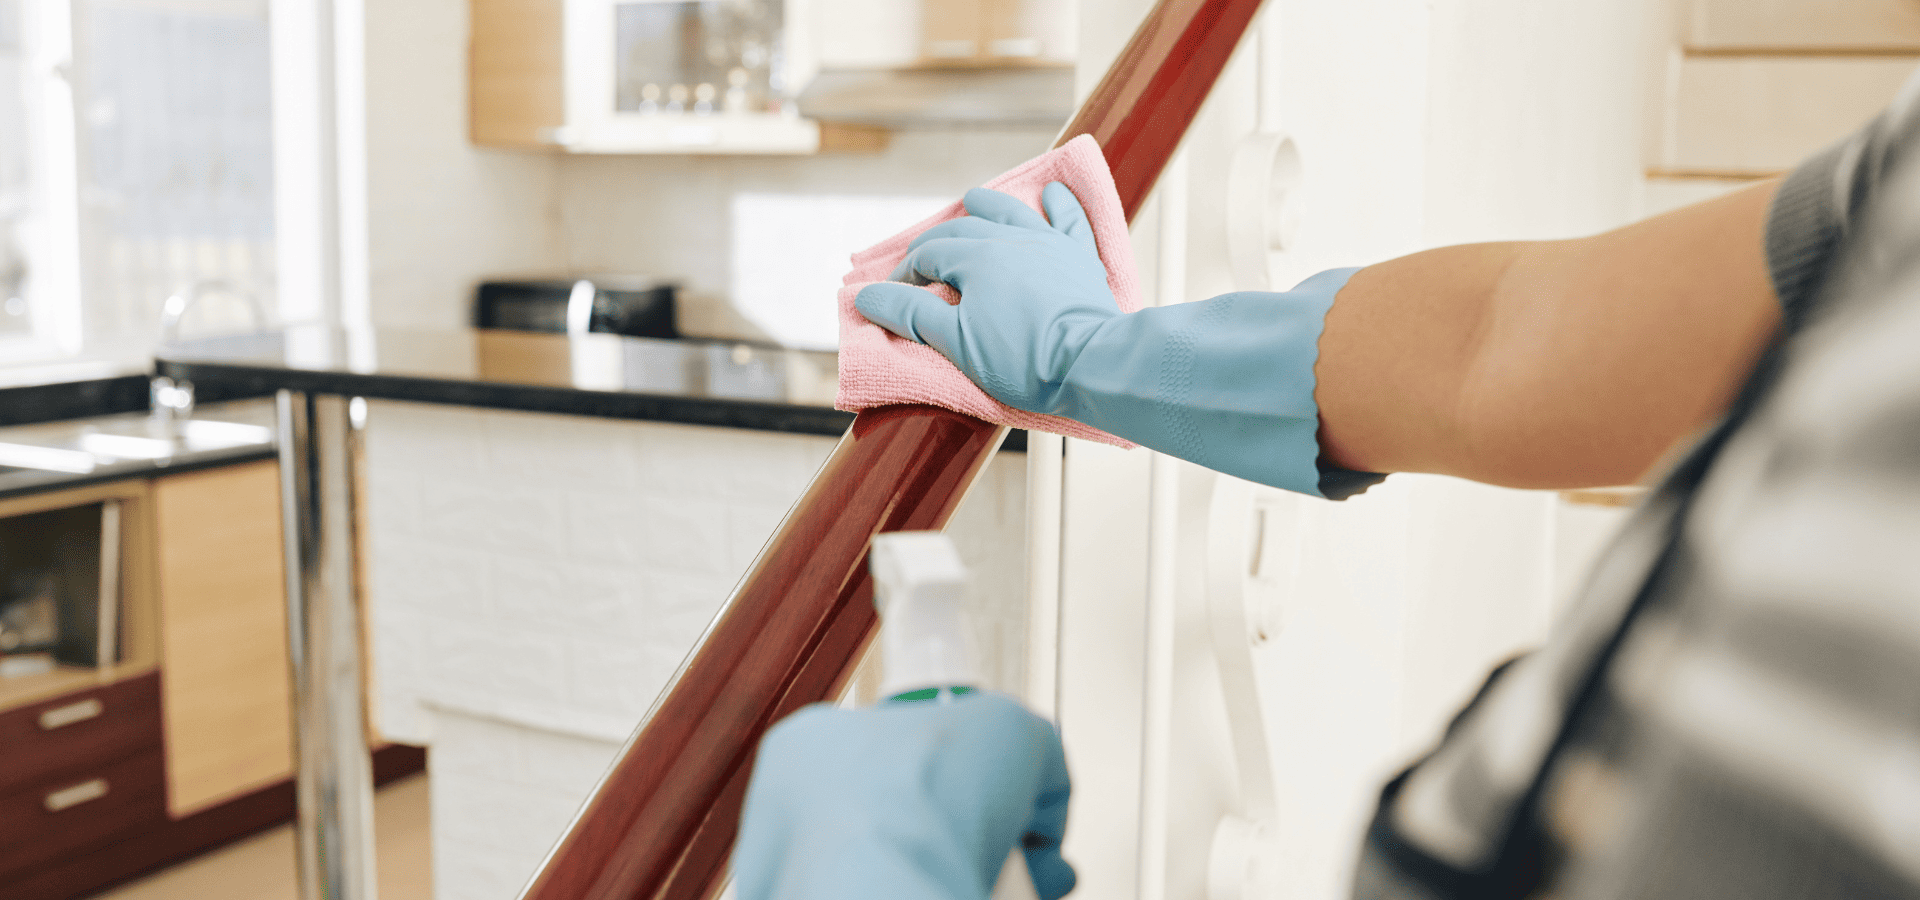
Same as painting any other surface, paint won’t stick well to dirt, debris, dust, and so on. Not only will it result in uneven spots, but when those external elements come off, your paint could come off with them too.
So give it a round of cleaning with mild detergent and water, and if there are any oily spots, use a degreaser to remove them. You can also use dish soap if the oil stain isn’t too heavy.
Then, lightly sand down your railings to smooth them and help improve adhesion.
In many cases, railings will have been painted with a glossy finish to repel stains and dirt, but that same glossy finish would prevent your primer and paint from adhering securely.
As such, you’ll need to use medium grit sandpaper to lightly sand the glossy surface, and then follow up with fine grit sandpaper for a smoother surface.
If the surface doesn’t look glossy, you don’t need to sand as aggressively. Use just fine grit sandpaper and just give your railings a light scuff.
If your spindles are curved, you can also consider using a sanding sponge to make your job easier. Note that they also come in different coarseness levels, so make sure to choose the right one for your job.
Step 3: Protect The Surroundings
When you’re painting railings, you’re likely going to be working with awkward angles and tight spots, and when you’re navigating awkward positions, the chances of accidental drips and slips increase.
Even without these awkward angles, your spindles are vertical, so there’s still a chance of paint dripping down to your flooring or carpet.
To ensure paint doesn’t get onto unintended surfaces, you need to cover them up.
Lay drop cloths over your stairs and floor, and apply painter’s tape along the edges where your railings or spindles meet the wall, trim, and stairs.
If you have staircase carpets, mask off those edges too, so that wet paint doesn’t touch them.
Step 4: Priming Your Railings
Priming is a key step in most painting projects, and staircase railings are no exception.
Under certain conditions, specifically when there is existing non-glossy paint in good condition, and the color isn’t too different from your new paint, then it’s fine to skip the primer, because the existing paint will act as the primer.
Otherwise, if you’re painting bare wood, covering a darker color with a lighter color, or the existing finish is glossy, then you’ll need to apply a coat of stain-blocking primer.
Let the primer dry, lightly sand any rough spots, and then you’re ready to start painting.
Applying primer is almost akin to another round of painting, and there’s no denying that it’s going to be tedious.
But if you skip this step, chances are, your paint will peel off much sooner, and you’ll end up having to repaint again pretty soon. So think of it as doing a bit more work now to stave off the work of having to do an entire repaint.
Step 5: Painting Your Railings
Whether to paint the spindles or handrails first depends on whether you’re painting them different colors.
If they’re both the same color, then it doesn’t matter which you start with. But if you’re using different colors for the spindles and handrails, start with the lighter color one first, then the darker color one. This way, the darker color can cover up any stray brush marks from the lighter color.
Painting Spindles
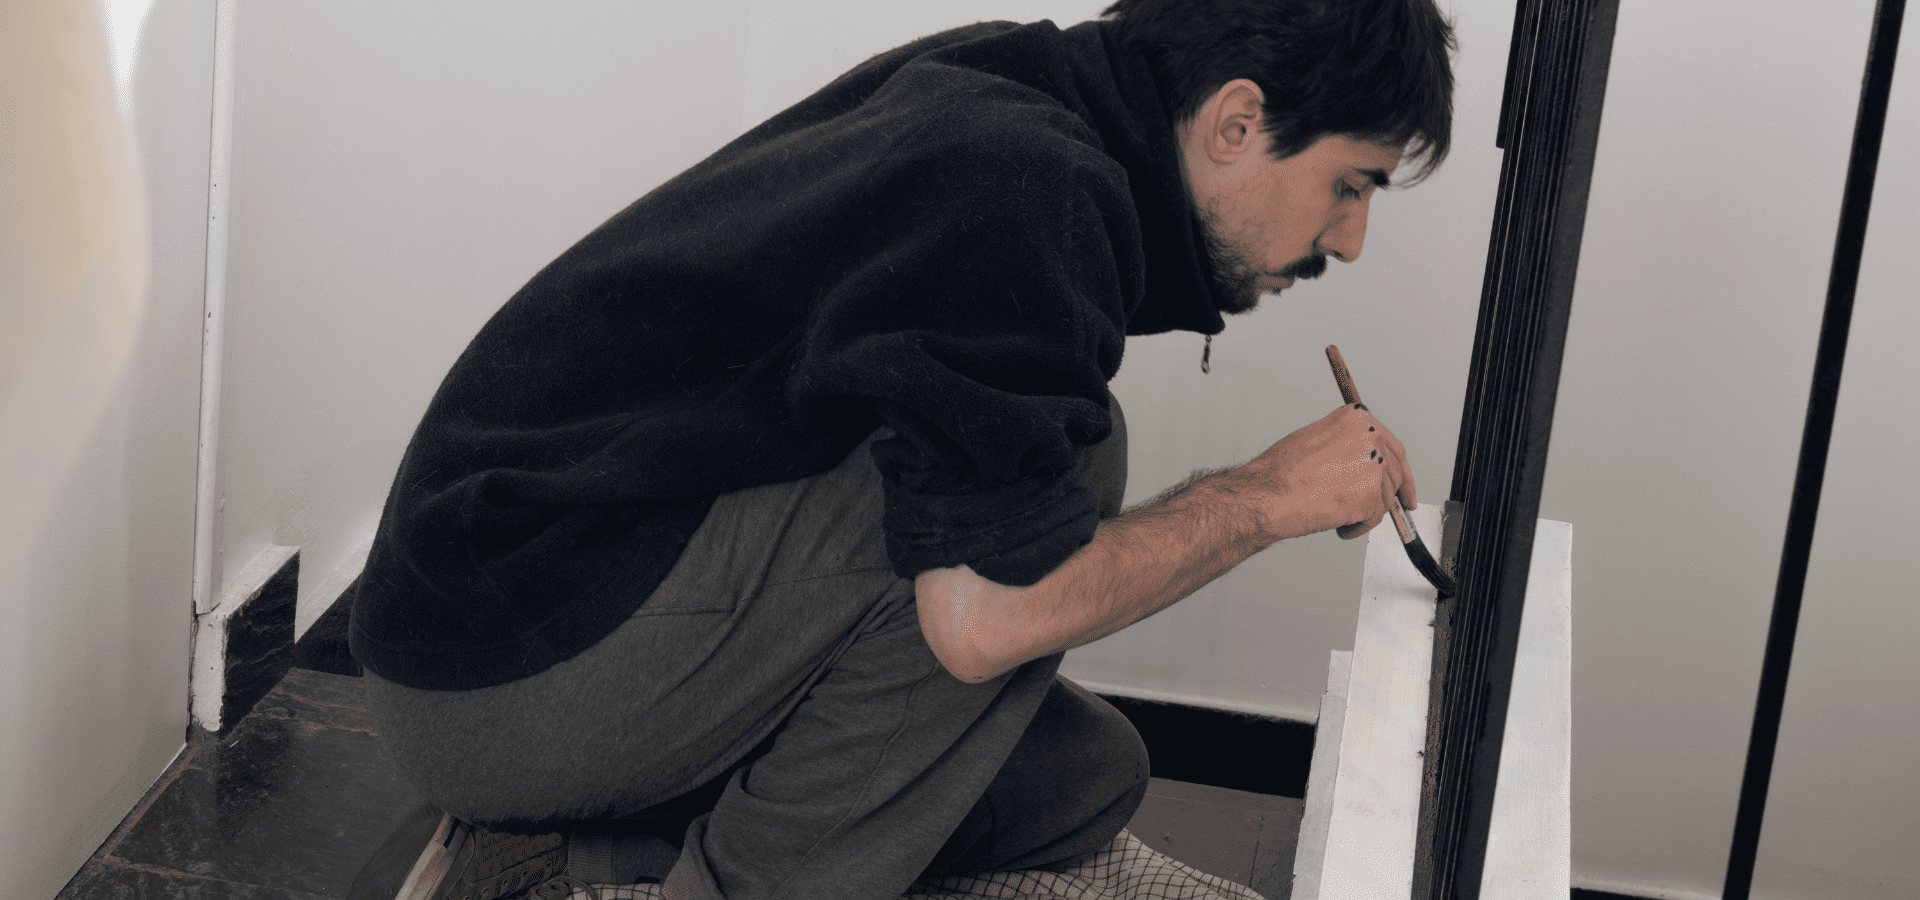
For painting spindles, always paint from bottom to top. This may sound counterintuitive, as painting from top to bottom would allow paint to drip to the bottom and essentially give you this paint to use for the bottom.
However, the issue is that if your paintbrush was too wet, or you just applied too much pressure, there could be too much paint on the surface, so it pools up into drips within a few seconds. When these drips dry up, they form very unsightly drops.
If you’re painting from top to bottom, you might not notice when drips from above form, because you’re painting the section below already, and drips tend to form from the top
Now, if you instead painted from bottom to top, as you work on the next section, when drips form at the top of the section you just painted, you’re much more likely to spot them and catch them with your next stroke, and avoid unsightly dried-up drips.
Painting Handrails And Posts
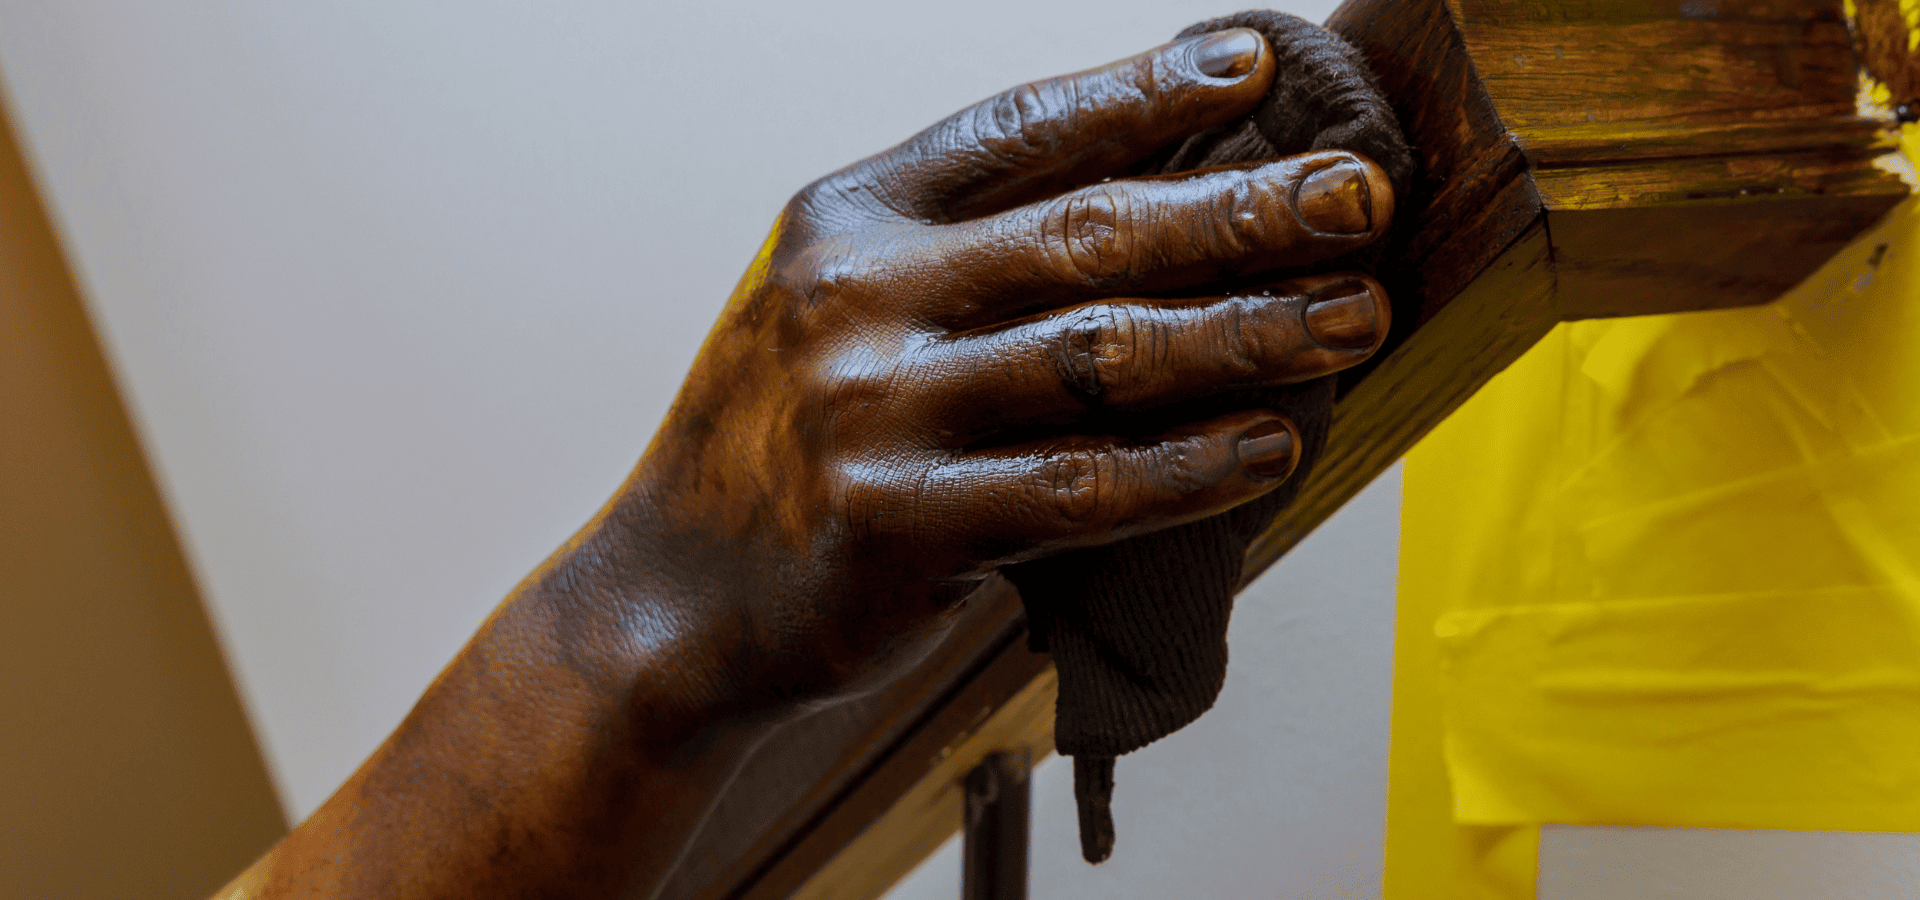
For handrails and posts, simply work with long, smooth strokes following the grain, and maintain even pressure.
Note that you should be using an angled brush for all your staircase railing painting tasks, which includes the spindles as well.
The difference is that for handrails and posts, which are larger surfaces, you should be using a 2” angled brush to cover more ground, and for spindles, which require more careful maneuvering, a smaller, 1-1.5” angled brush allows for more dexterity.
Ending Tips
Follow these steps, and you’ll have robust, eye-catching stair railings. Small budget, big impact.
For maximum durability, it’s important that you give it enough time to cure and fully harden. Light foot traffic is fine, but try to minimize contact with the railings, just for the first week.
You can still hold them if you really need the support when going up and down, but where possible, avoid actions like running your hand through the railings, scrubbing them to clean them, knocking laundry baskets against them, and so on.
Also, painting your staircase railings can be somewhat tedious, but don’t rush through it, or you’ll likely end up with unsightly drips and perhaps even uneven coats.
If you lack the patience to handle awkward angles and carefully maneuver around them, then it’s best that you engage professional house painters to carry out the paint job. You might pay more, but at least you’ll have properly painted, long-lasting stair railings.
For those residing in Raleigh, if you’re looking for
house painters in Raleigh, give Renewed Walls Painting a call today at 919-759-6676! We deliver the highest quality work, completed on time and within budget, every time.
Recent Posts
