How To Paint Stairs: A Complete Homeowner’s Guide

Is your staircase scuffed, worn-out, or just plain outdated?
A repaint might just be the answer.
Repainting your staircase can make it look good as new without the cost of a full replacement, while at the same time enhancing its durability.
You'd also be able to customize it however you like. You could have an elegant, timeless dark brown, a modern monochrome, or a warm neutral staircase — it's entirely up to you.
Sure, it might be a bit more tedious than regular wall painting, but you won't have to worry about a thing, because you’ll have this handy guide by your side!
We'll be bringing you through the entire painting process, from gathering your supplies to picking the right primer and paint, and of course, painting your stairs the right way.
Stairs Painting Tools & Equipment
The stairs aren't just part of your flooring — they're one of the most high-traffic and heavily used sections of your flooring.
Other parts of your flooring may only be traversed a few times per day. Some, even not at all.
But with stairs, anyone with a multi-story home knows that you'll be going up and down many, many times per day.
That's why staircase painting calls for exceptionally tough paint.
Slip resistance is also a huge deal. Slipping on normal floors is dangerous enough, but slipping on staircases could lead to unimaginable consequences.
To satisfy all these conditions, you need to use interior floor-grade paint.
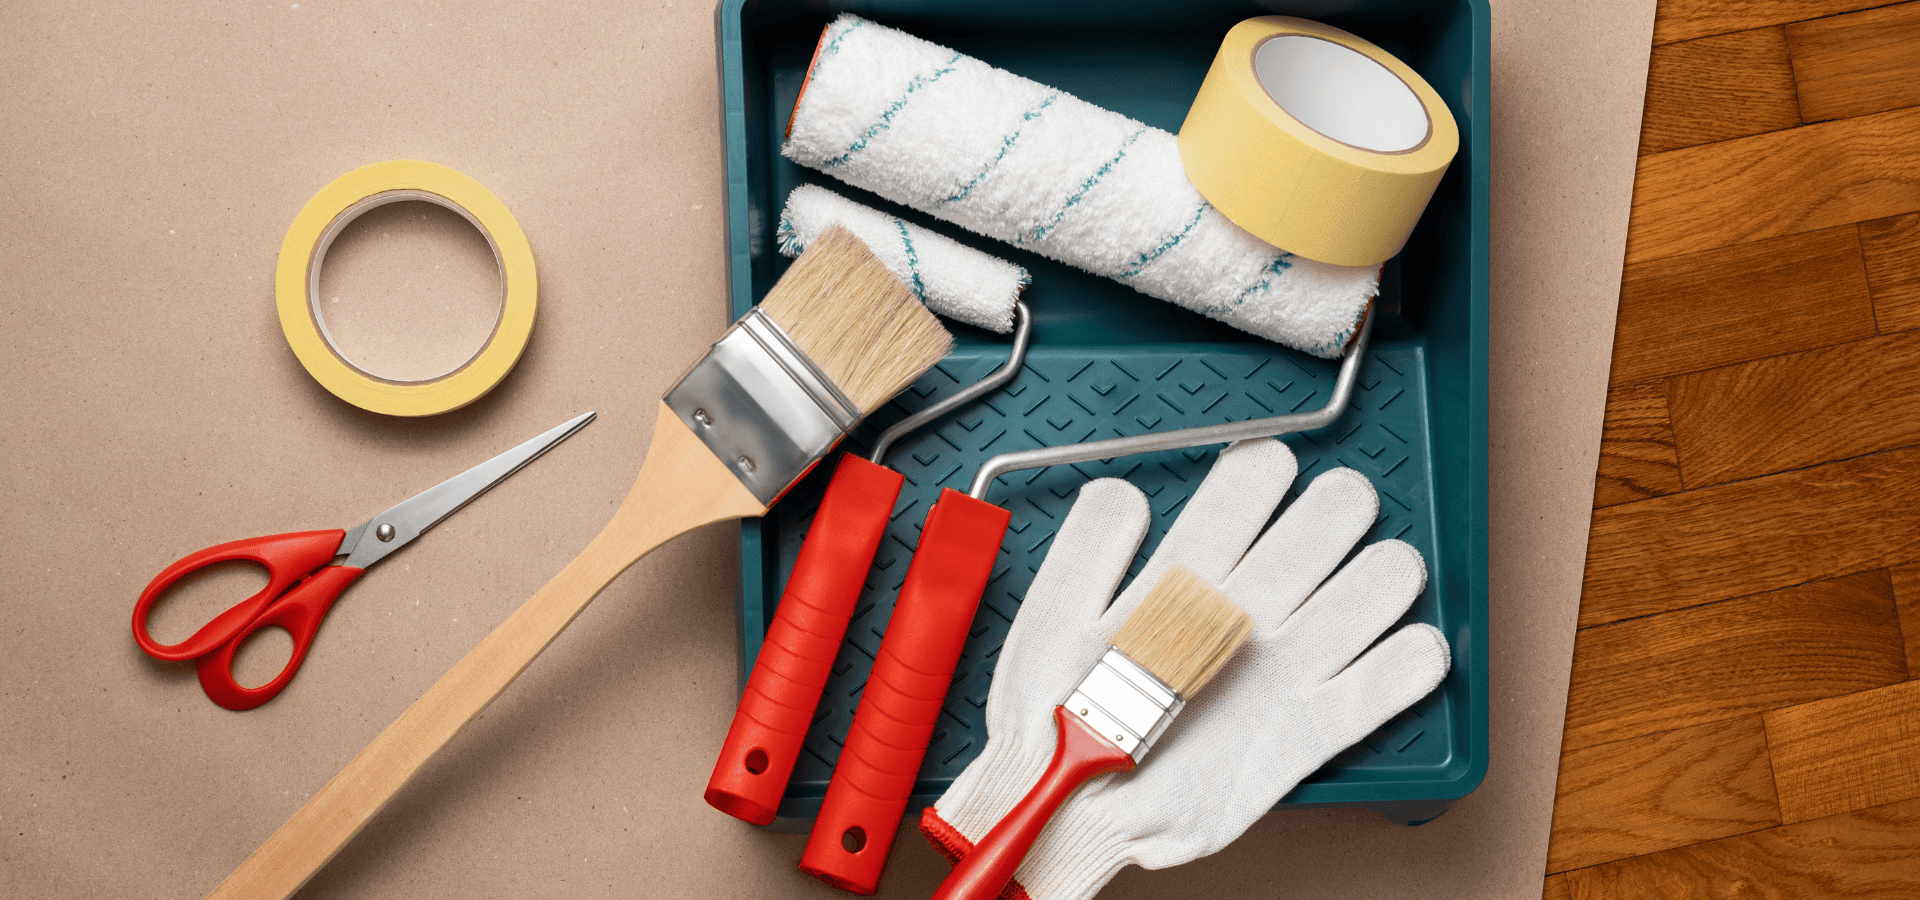
Choose a high-quality floor-grade paint, and then gather the rest of these other tools and equipment for staircase painting:
- Drop cloths
- Painter’s tape
- Sandpaper possible
- Wood filler
- Flexible paintable caulk
- Caulking tool
- Bonding primer
- Angled brush
- Small foam roller
With your tools and materials ready, it's time to start the painting.
Step 1: Protecting Nearby Surfaces
First things first, as with most interior painting projects, you don't want paint getting onto other surfaces besides your staircase, so you'll need to cover them up.
Lay your drop cloths over the following areas:
- Top and bottom of your stairs: Even if you're extra careful, paint can still drip from your paint brush onto the top and bottom of your stairs. It's also easier than you think to accidentally step off a painted step onto your flooring and end up staining it.
- Alongside the stairs: If your staircase has open sides, you don't want paint to drip onto the flooring below, so lay drop cloths over the parts of your floor that are beneath the open sides of your staircase.
Then, apply painter’s tape along the walls where the stairs meet drywall, as well as at the edges of the top and bottom of your stairs.
Step 2: Repairs, Sanding, And Cleaning
Repairs, sanding, and cleaning are all standard procedure in almost all home painting projects.
Before you begin, remove any staples or nails from your stairs. These need to be removed and then filled in. Otherwise, you’ll have bulging spots when you paint over them, and this could affect the longevity of your paint job.
So remove them, and then perform the necessary repairs.
Assuming it's a traditional wooden staircase, most of the repairs will simply be about filling up the indentations with wood filler.
For the following damages, simply fill them with wood filler and sand smooth once dry:
- Holes
- Hairline cracks
- Dents
- Deep scratches
- Chips/Gouges
- Nails/Staples
Make sure to fill the damaged spots slightly above the floor level, as filler shrinks as it dries.
For larger cracks and gaps from structural movement, you can't use wood filler, as figure movement could open up the crack or gap.
Instead, use a flexible paintable caulk. Apply a bead of caulk along the gap and then smooth it with a caulking tool.
Finally, for small cracks and uneven spots, simply sand them till they're smooth.
After you've performed the necessary repairs, sand all surfaces that you're painting to smooth them out and help the paint adhere more securely.
Generally, unless you have stairs that are in poor condition, i.e. flaking paint, bulging, uneven spots, etc, medium grit sandpaper will suffice.
If you do have more heavy-duty sanding to do, then sand once with rough grit sandpaper first, and finish off with medium grit sandpaper.
Don’t be lazy and use only rough sandpaper, or the surface won’t be smooth enough for strong adhesion.
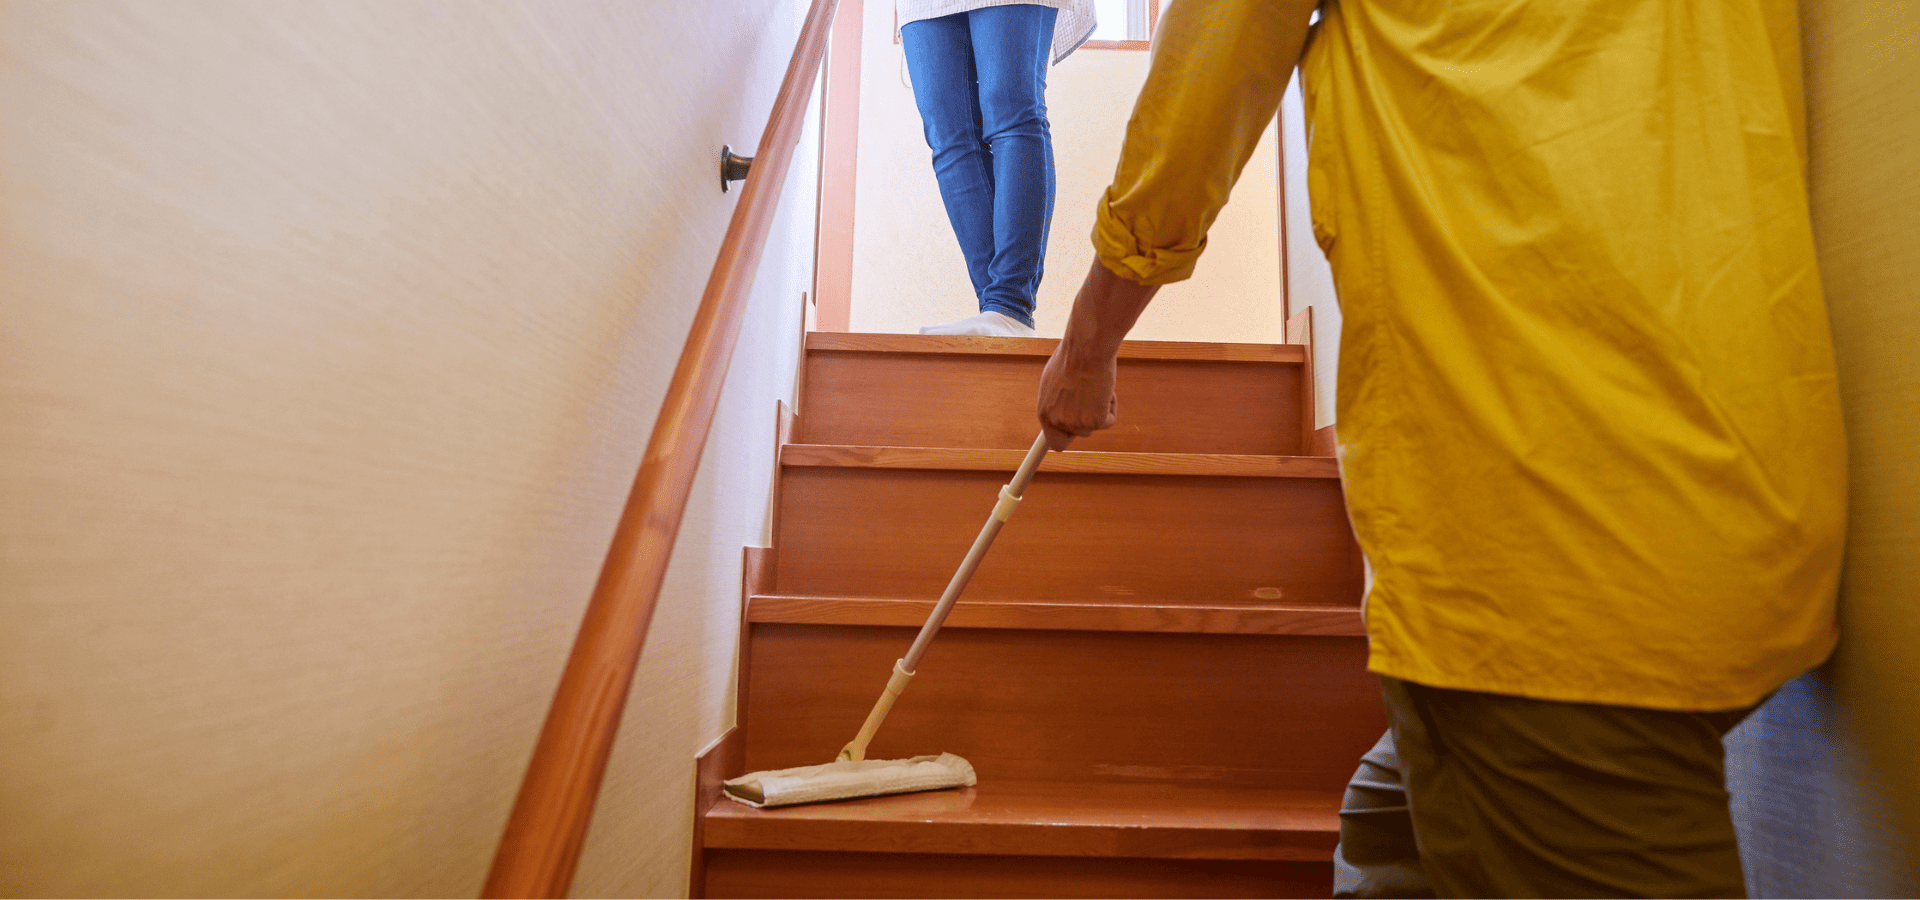
Once you’re done with the sanding, you’re almost ready to begin the painting. All that’s left to do now is to vacuum away dust and wipe your stairs down with mild soap and water, just to get rid of any remaining dirt and dust.
Step 3: Prime Your Stairs
Priming is an important step to ensure your paint can adhere well.
As with any painting project, if you already have an existing layer of paint in good condition, and your new paint color isn’t vastly different, then that layer of paint can essentially act as the primer. The paint also needs to be not glossy, or else you’ll need to sand it before painting over.
Otherwise, if it’s anything less than good, or if you’re painting a significantly different color over, it’s highly recommended that you apply primer for optimal adhesion.
Choose a bonding wood primer that matches your paint type. So if you’re using latex paint, use a latex primer, and vice versa if it’s oil-based paint that you’re using.
In addition, if you’re painting over bare wood, it’s also best to use a paint that also has wood sealing properties.
After priming, give the primer time to dry, and then lightly sand with fine sandpaper.
Then, if you want a professional finish, run a thin bead of paintable caulk along the seams where risers meet trim/walls/stringers, smooth with your finger or a caulk tool, wipe away the excess, and then let it dry.
Without paintable caulk, the seams can look somewhat uneven or shadowed after painting, so this will help give your paint job a cleaner and more professional look. It’s a purely cosmetic step though, so it’s perfectly fine to skip it. You’d still have a relatively well-done paint job, albeit a little less “polished” looking.
Step 4: Painting Your Stairs
The most commonly asked question when it comes to painting stairs is how to paint stairs without stepping onto painted parts.
You can’t just work your way down or up the stairs, or else you’d be stuck either at the top or the bottom waiting for your stairs to dry. And even after drying, you still need to give it time to cure.
Even if you tiptoe down, you’ll still end up marking or denting the finish.
And if you try to walk on painted steps prematurely without allowing enough time for proper drying and curing, there’s a good chance that you’ll leave behind footprints or scuffs.
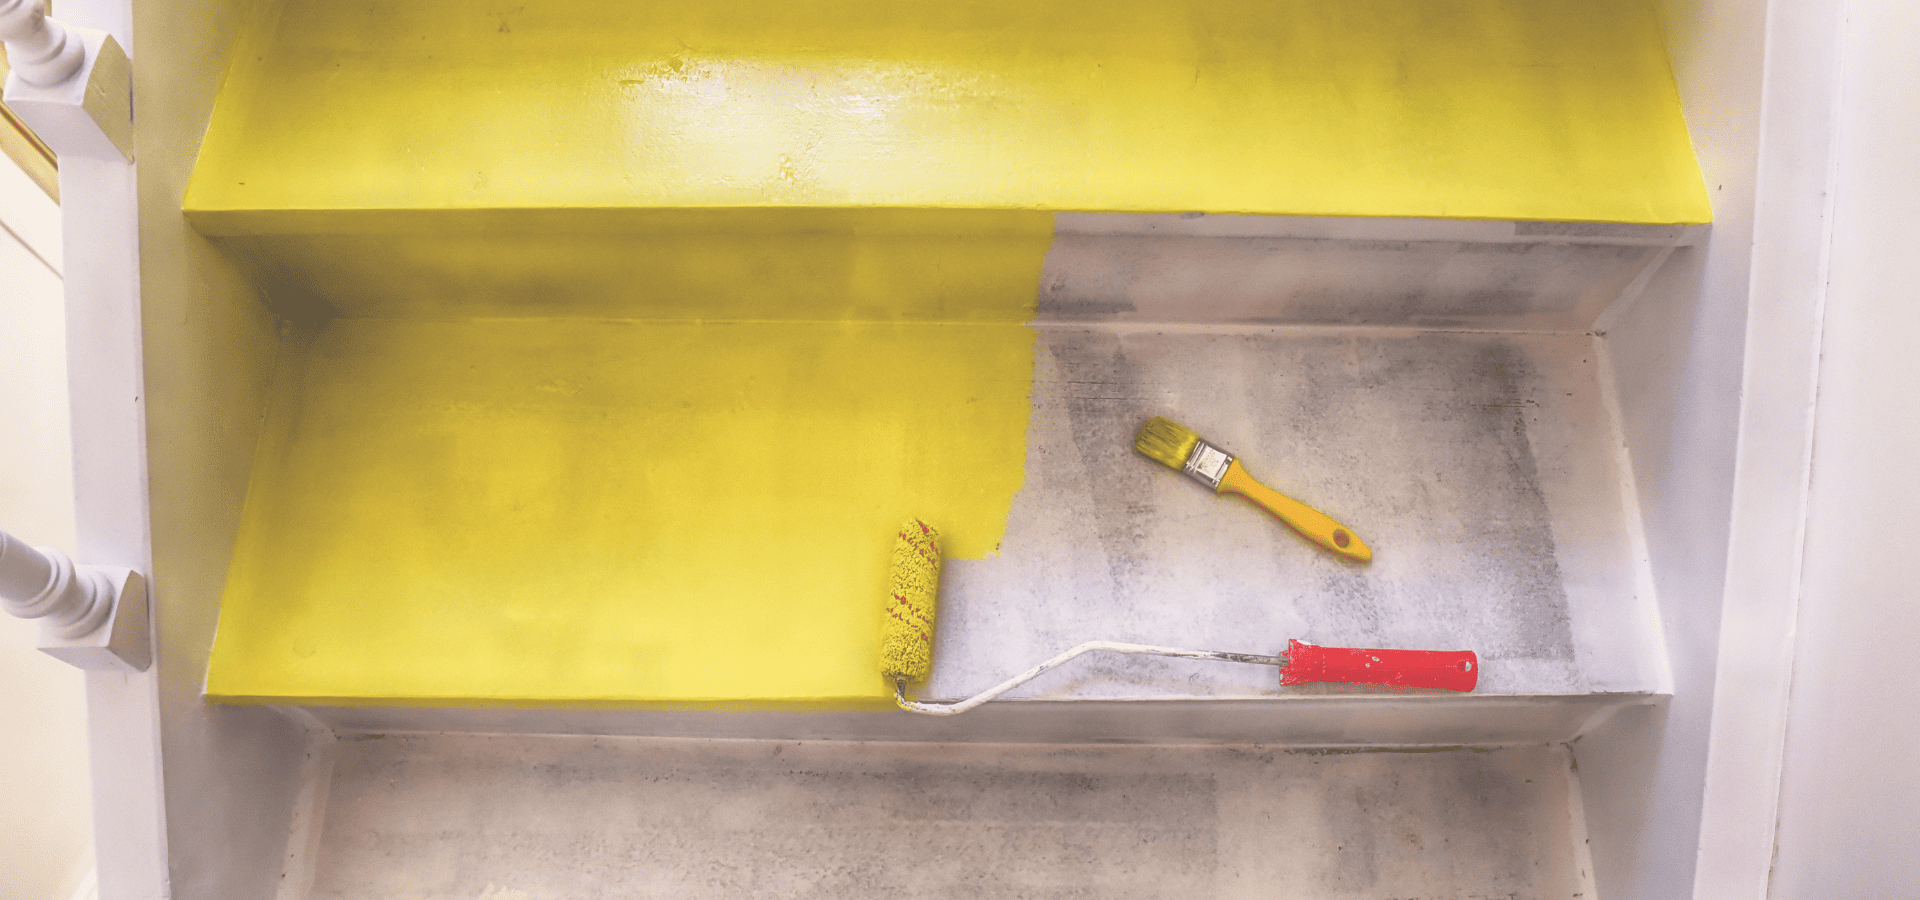
Unless you have a second staircase or you’re painting your basement stairs, you’re going to want to alternate the steps that you paint, so that you’ll always be able to go up and down freely by using the unpainted steps.
Order-wise, start with the risers, then the treads.
For painting the risers, use your angled brush to cut in around the edges where they meet the treads and walls. Then, paint the rest of the risers with your mini foam roller.
For painting the treads, follow the same process. Cut in around the edges where the treads meet the risers and walls, and paint the rest with your mini roller.
When painting, always paint with the grain of the wood, and as always, follow painting best practices. Maintain even pressure, maintain a wet edge, and apply two coats.
The sequence for painting would be:
- Paint every other step
- Wait till the first round is dry enough to be walkable. No need to wait till it’s fully cured, just enough to be walkable (usually 8-24 hours, will be stated on the paint can “Light foot traffic: after X hours”). Then, walk on the first round’s painted steps to paint the unpainted ones.
- Wait for the second round of steps to be dry, then repeat steps 1 and 2 again for the second coat.
Ending Tips
And just like that, you now have a beautifully painted, durable, and non-slip staircase!
After you’re done painting, remember to give it adequate time to cure. Drying is one thing, curing is another thing entirely.
Most floor paints will fully dry within 24-48 hours, but can take up to 2 weeks to cure for latex paints, and 4 weeks for oil-based paints.
During this time, the paint isn’t fully hardened yet, so avoid heavy traffic, or you risk compromising the paint’s integrity with scuffs, scratches, permanent impressions, and even peeling or lifting.
To learn how to paint just your staircase railings, check out our stair railings painting guide.
Lastly, if you have leftover paint (which you will have in most cases), keep it for future use, like for touching up nicks and scratches.
For those residing in Raleigh, if you’re looking for
Raleigh house painters to handle your staircase painting, Renewed Walls Painting is here to help. We pride ourselves on delivering the highest quality work, completed on time and within budget, every time.
Recent Posts
